
Project scope is a hard wall. An
@-mention in Project A can’t reach Project B. Need a clause from another matter? Drag it into Documents here.What lives inside a project
| Type | What it is |
|---|---|
| Chats | Every conversation you start in the project. |
| Documents | Every uploaded file, plus completed Reviews and Discoveries. |
| Reviews | Contract reviews using your Review templates. |
| Discoveries | Multi-document data extractions. |
Creating a project
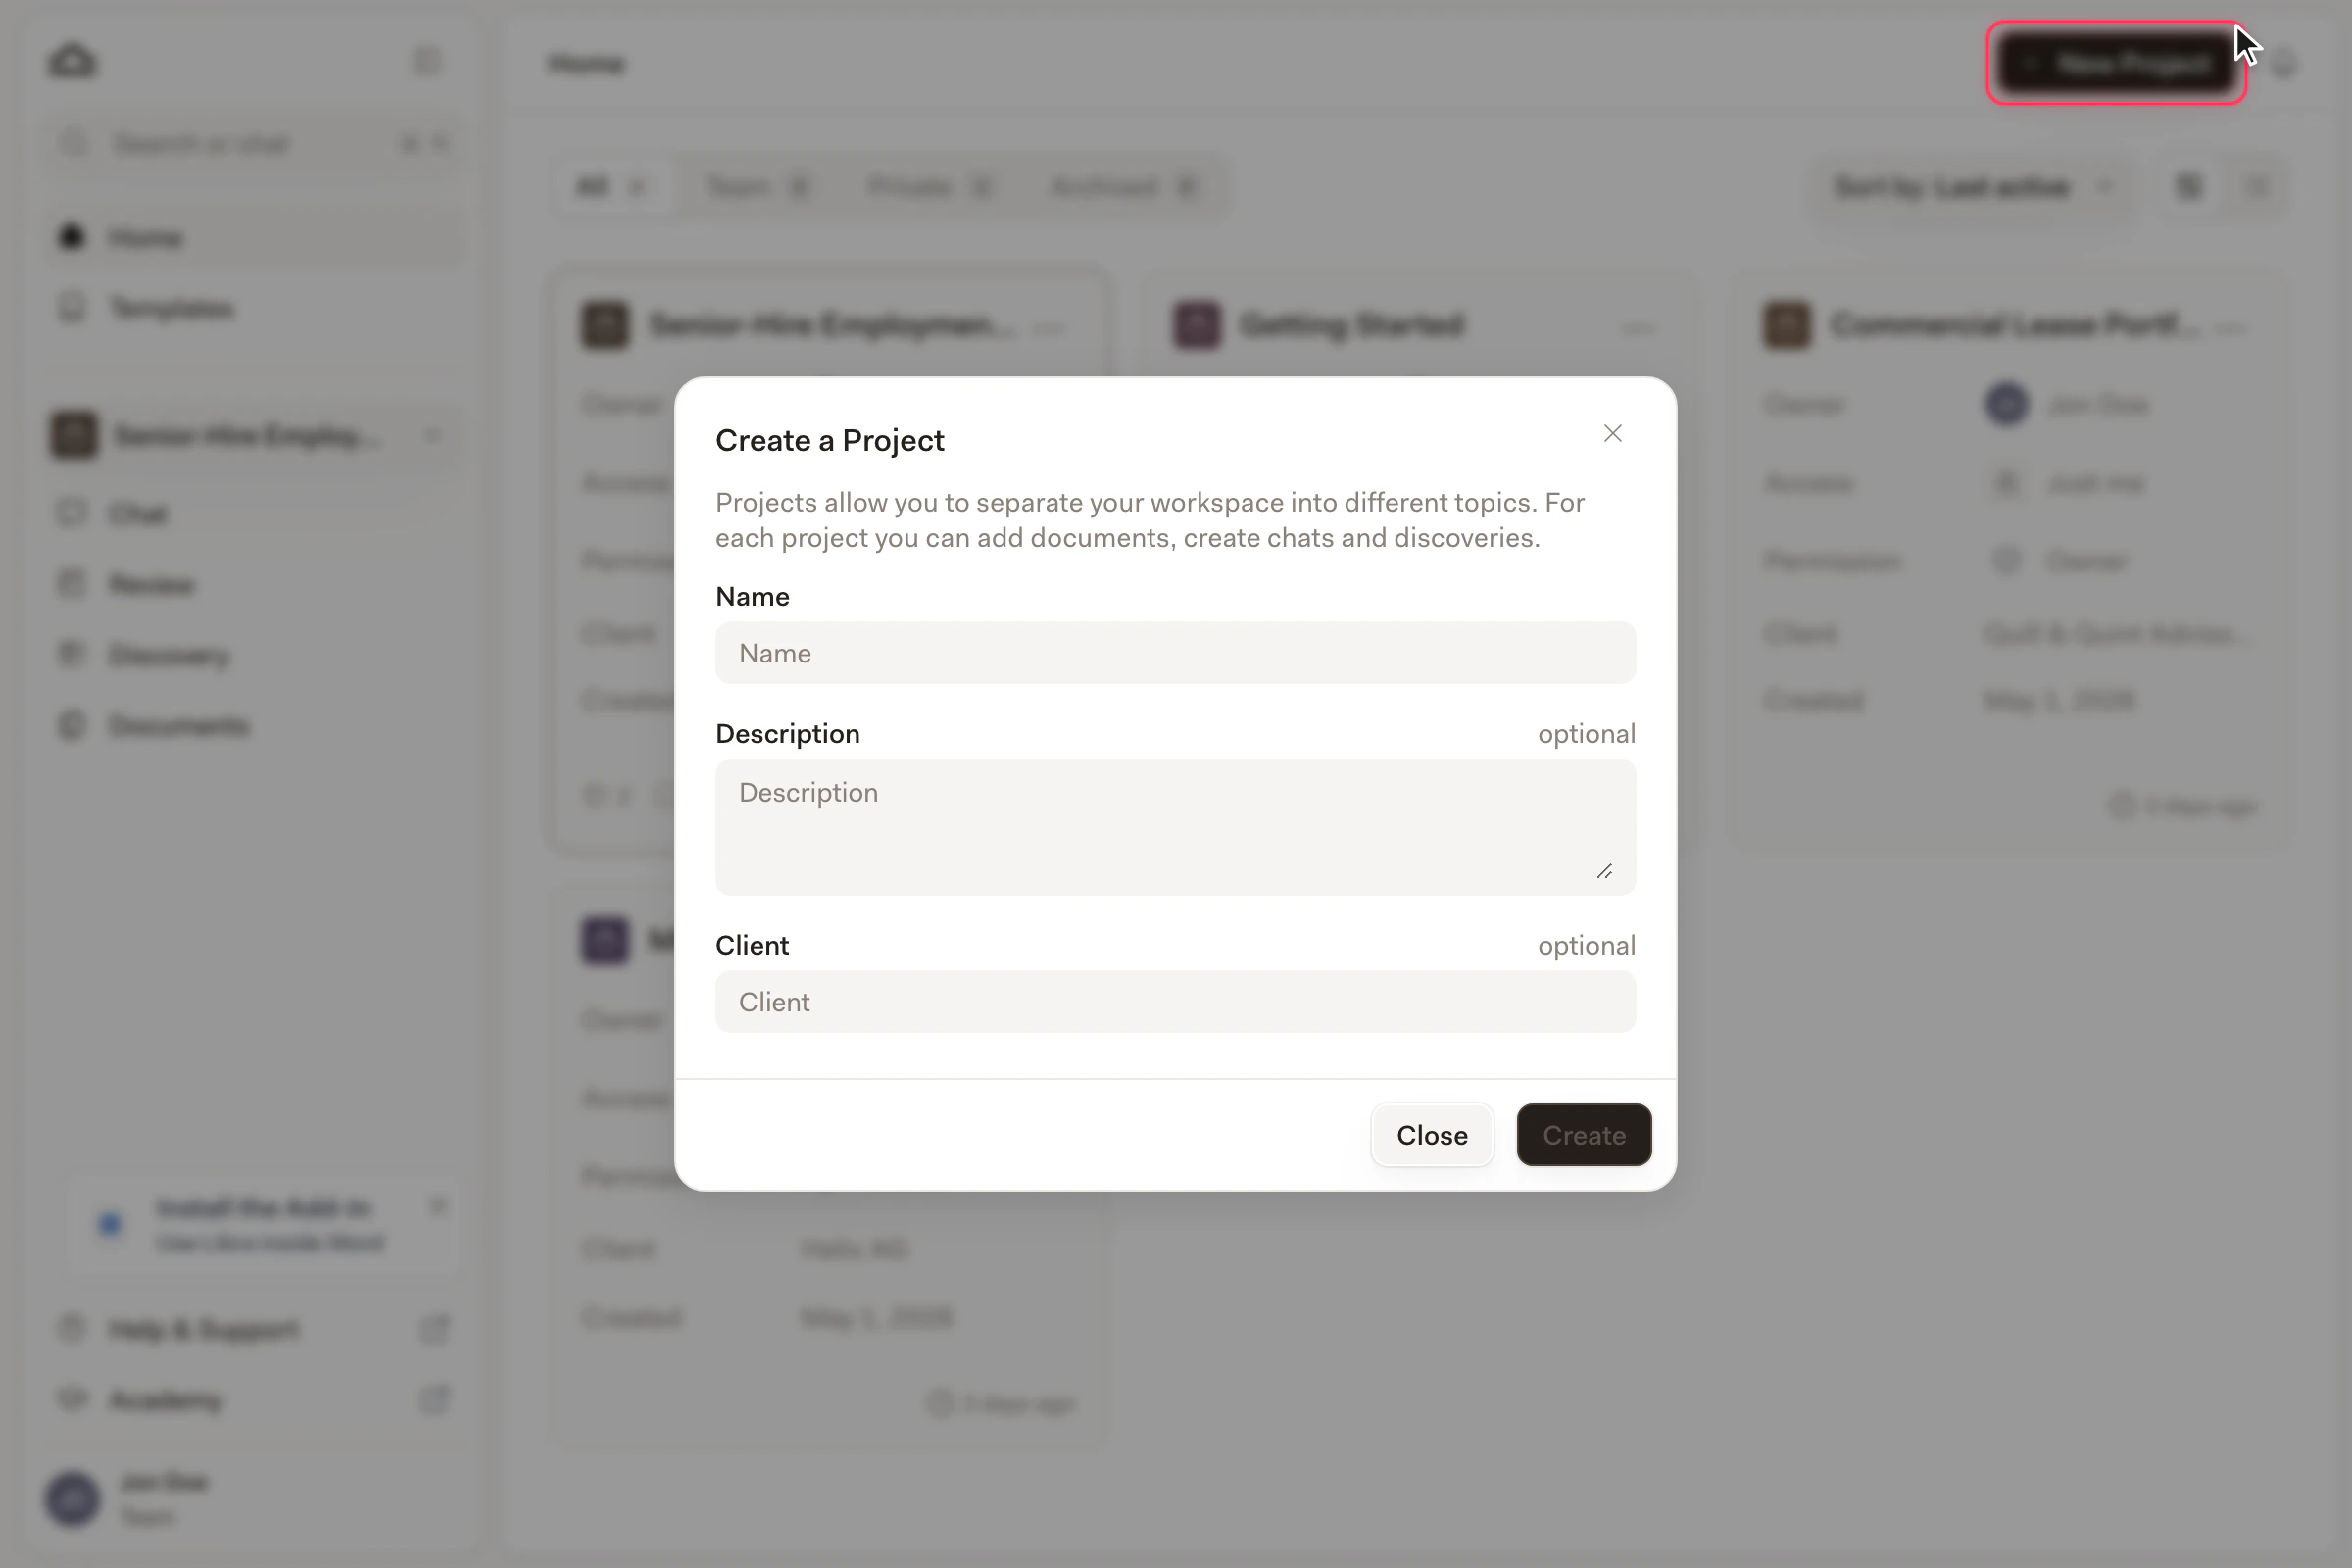
The + Create new button is always visible on the Home page.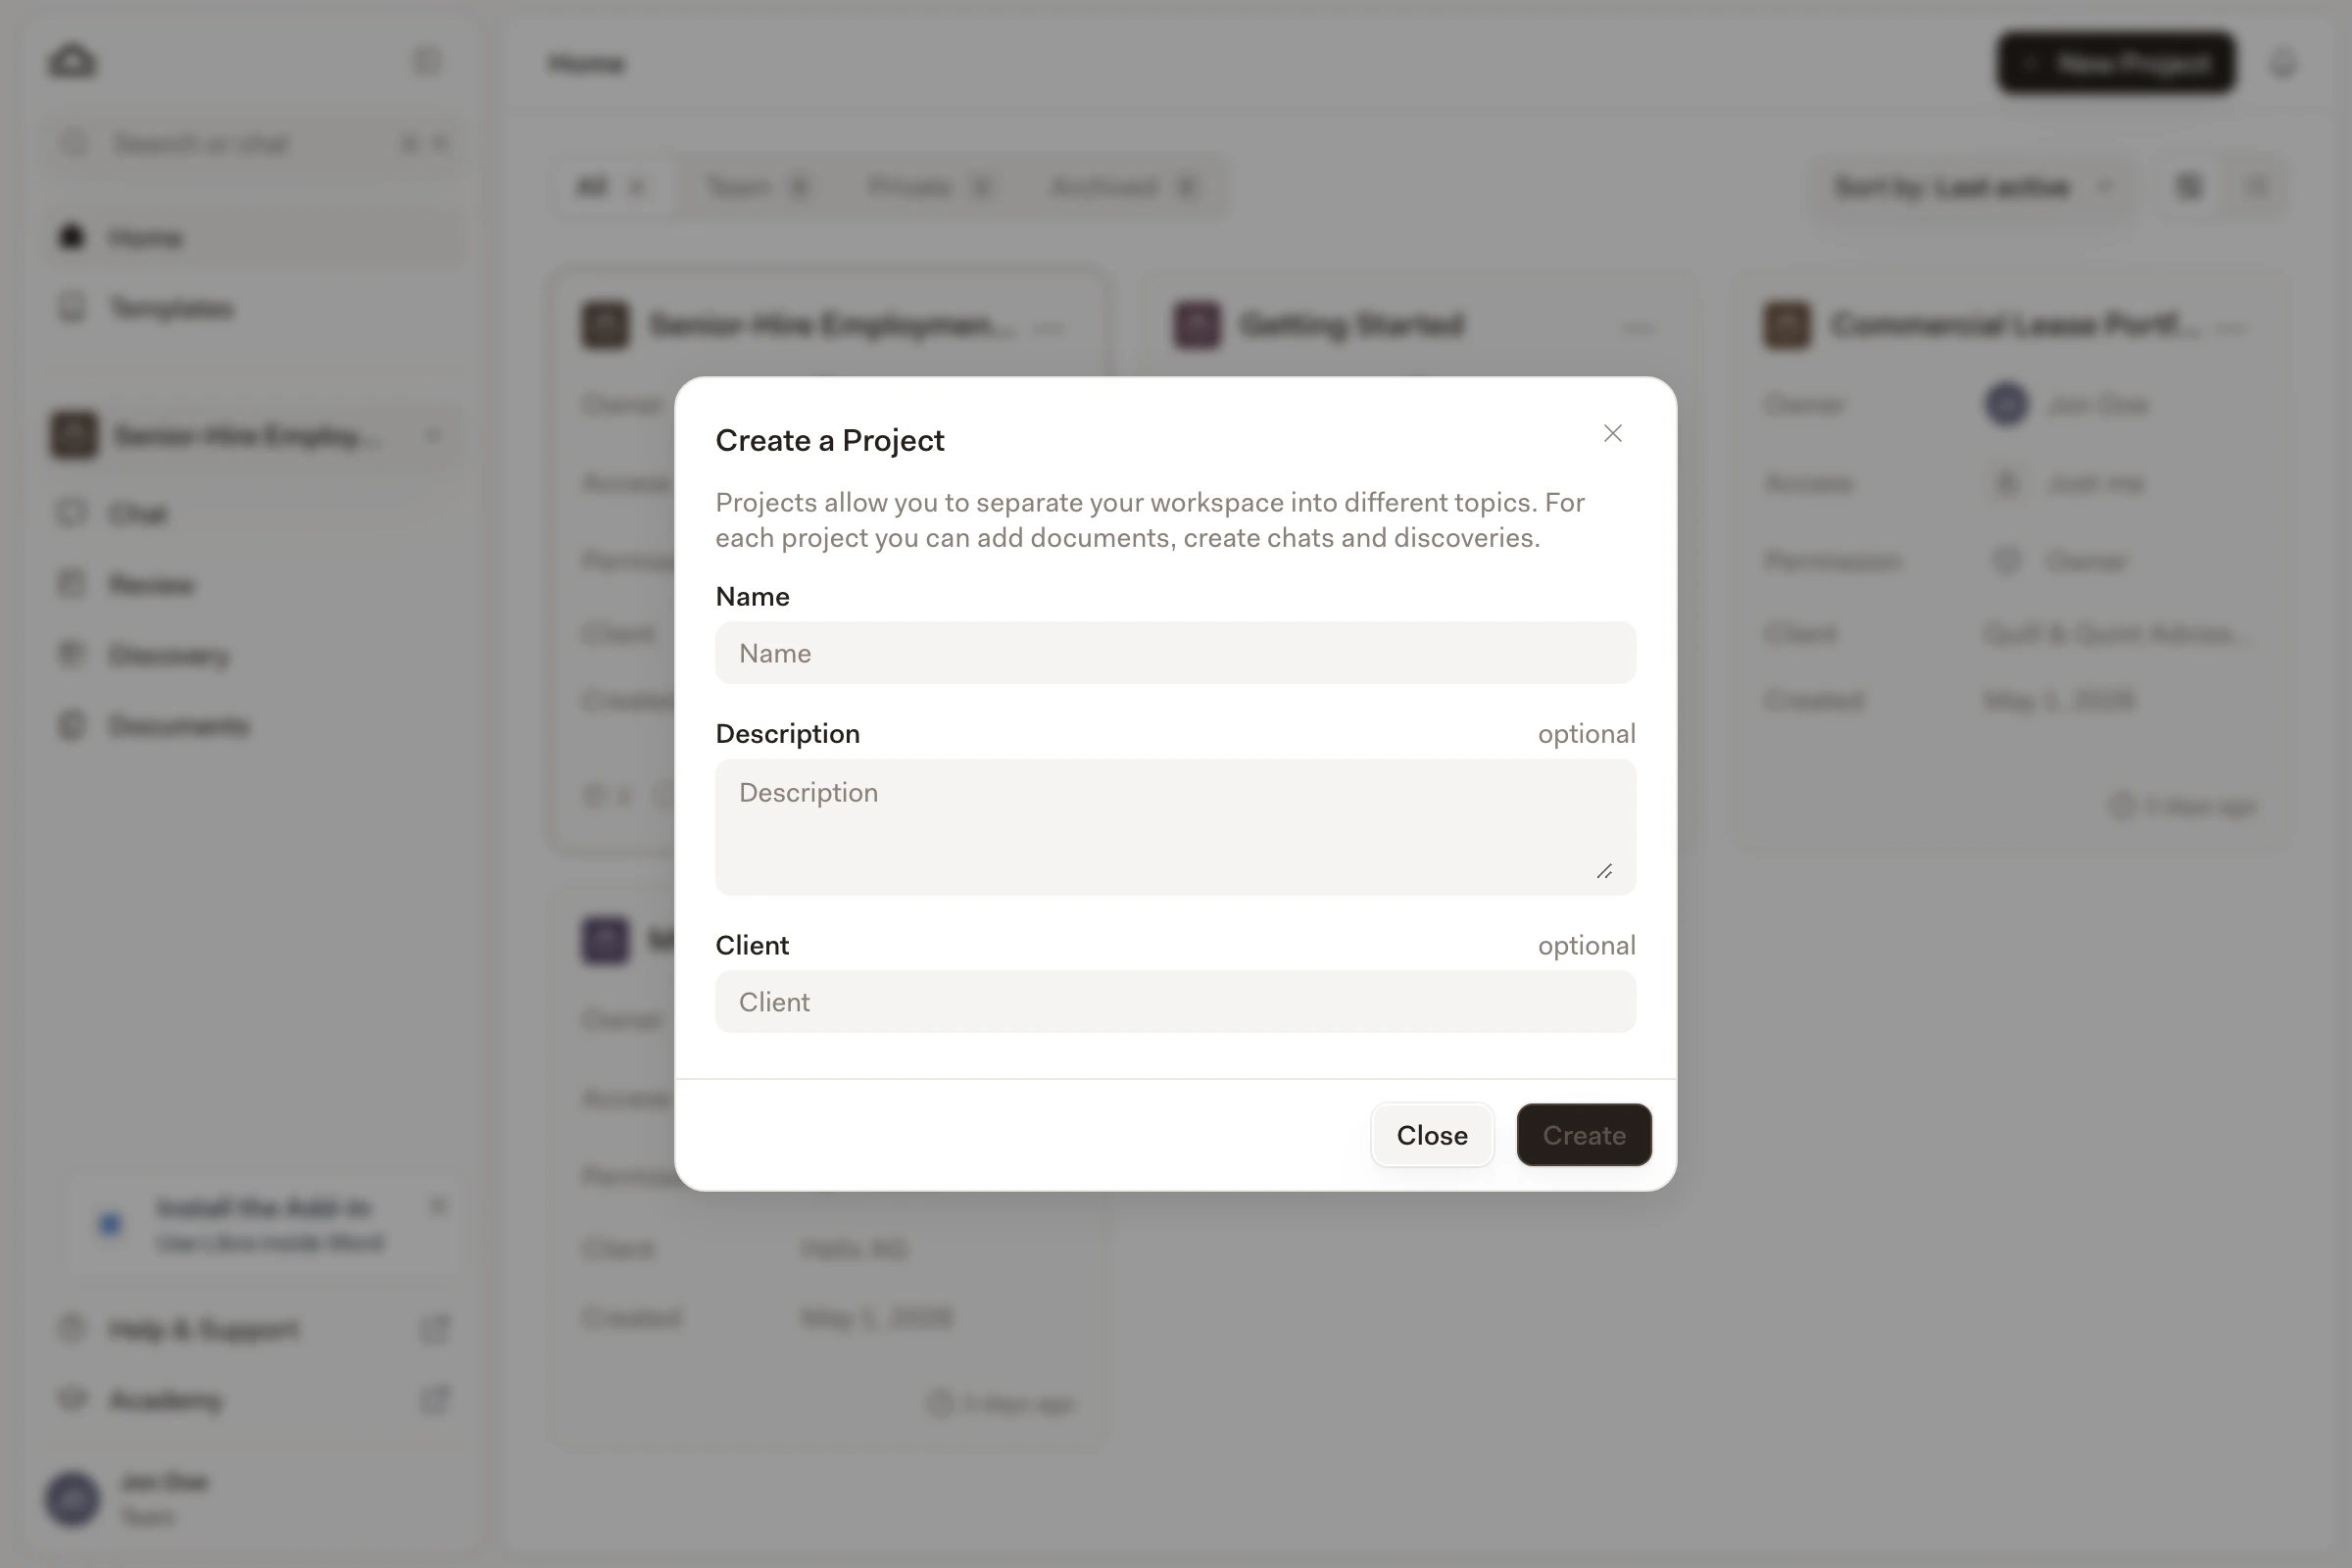
Fill in the basics
| Field | What it’s for |
|---|---|
| Name | A clear, findable name. “Acme Corp, M&A 2026” beats “Project 4”. |
| Client | Optional. The client this matter belongs to. |
| Practice area | Optional. Picked from a fixed list. Used for filtering on Home. |
| Description | Optional. A few sentences about what the project covers. |
Set sharing
Pick who can see the project: just you, specific colleagues, a user group, a team, or your whole organisation. You can change this later. See Sharing & access.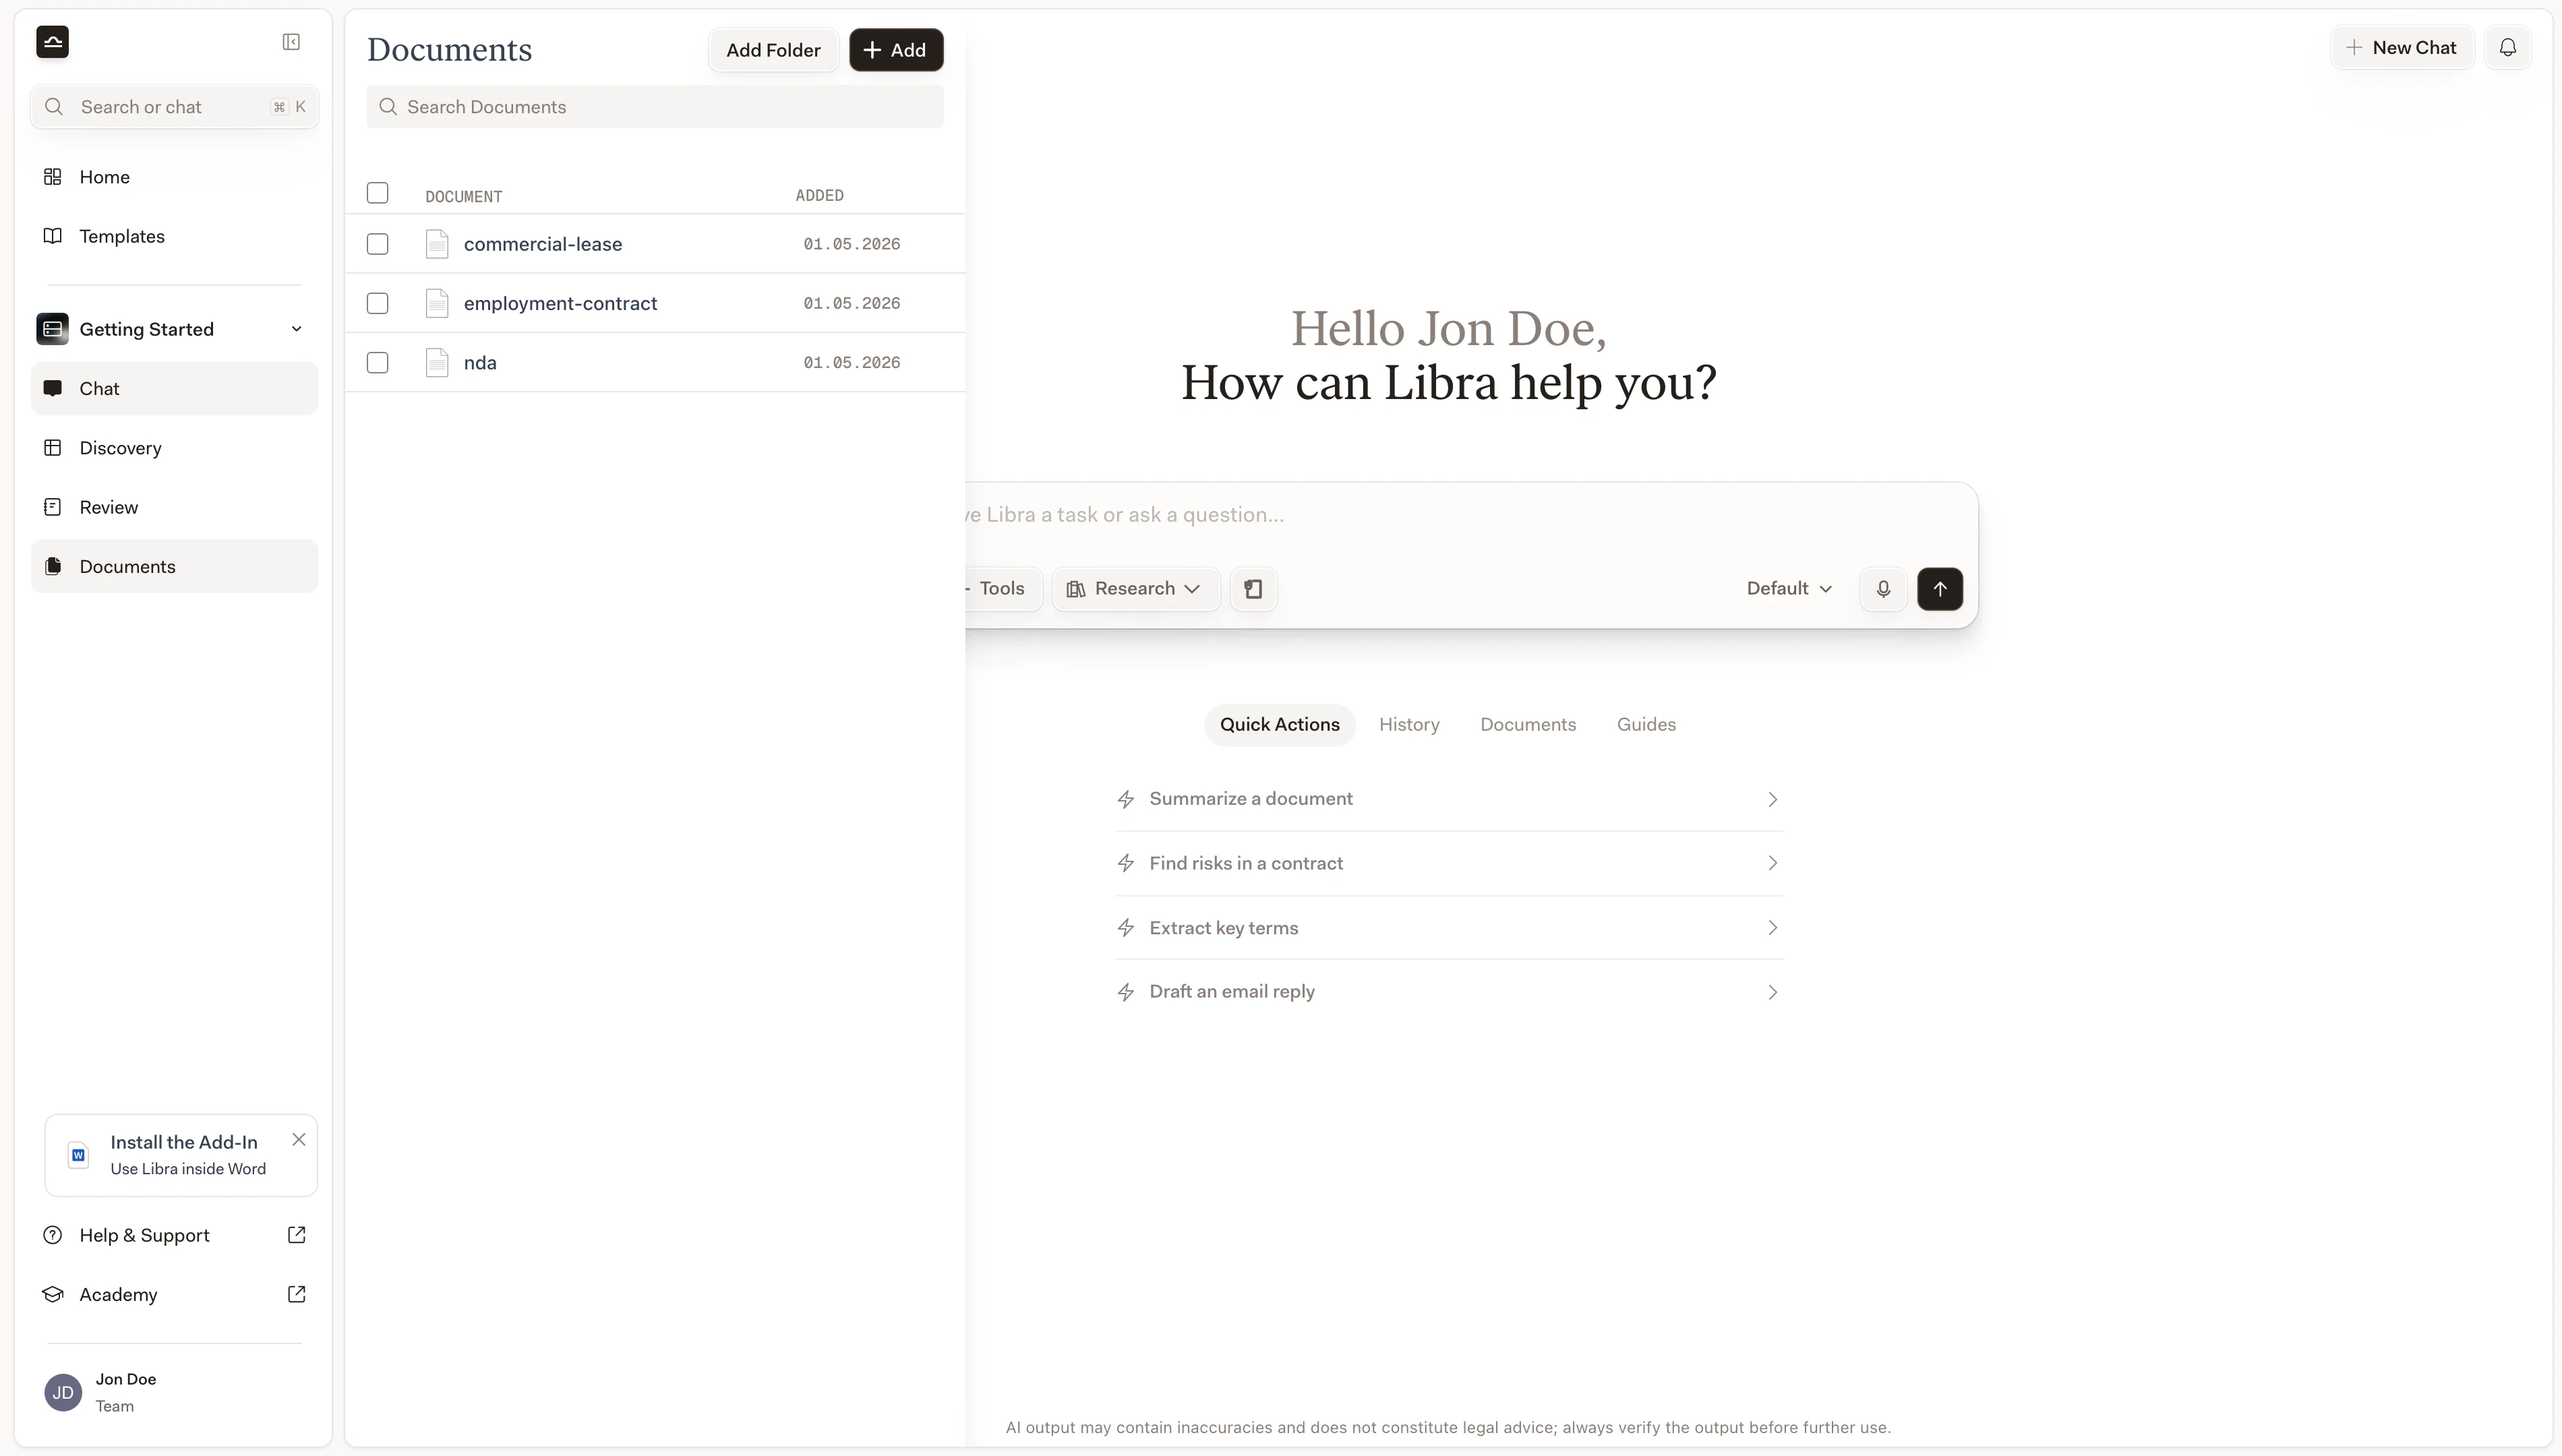
Switching between projects
Three ways to switch.Project switcher in the sidebar
Project switcher in the sidebar
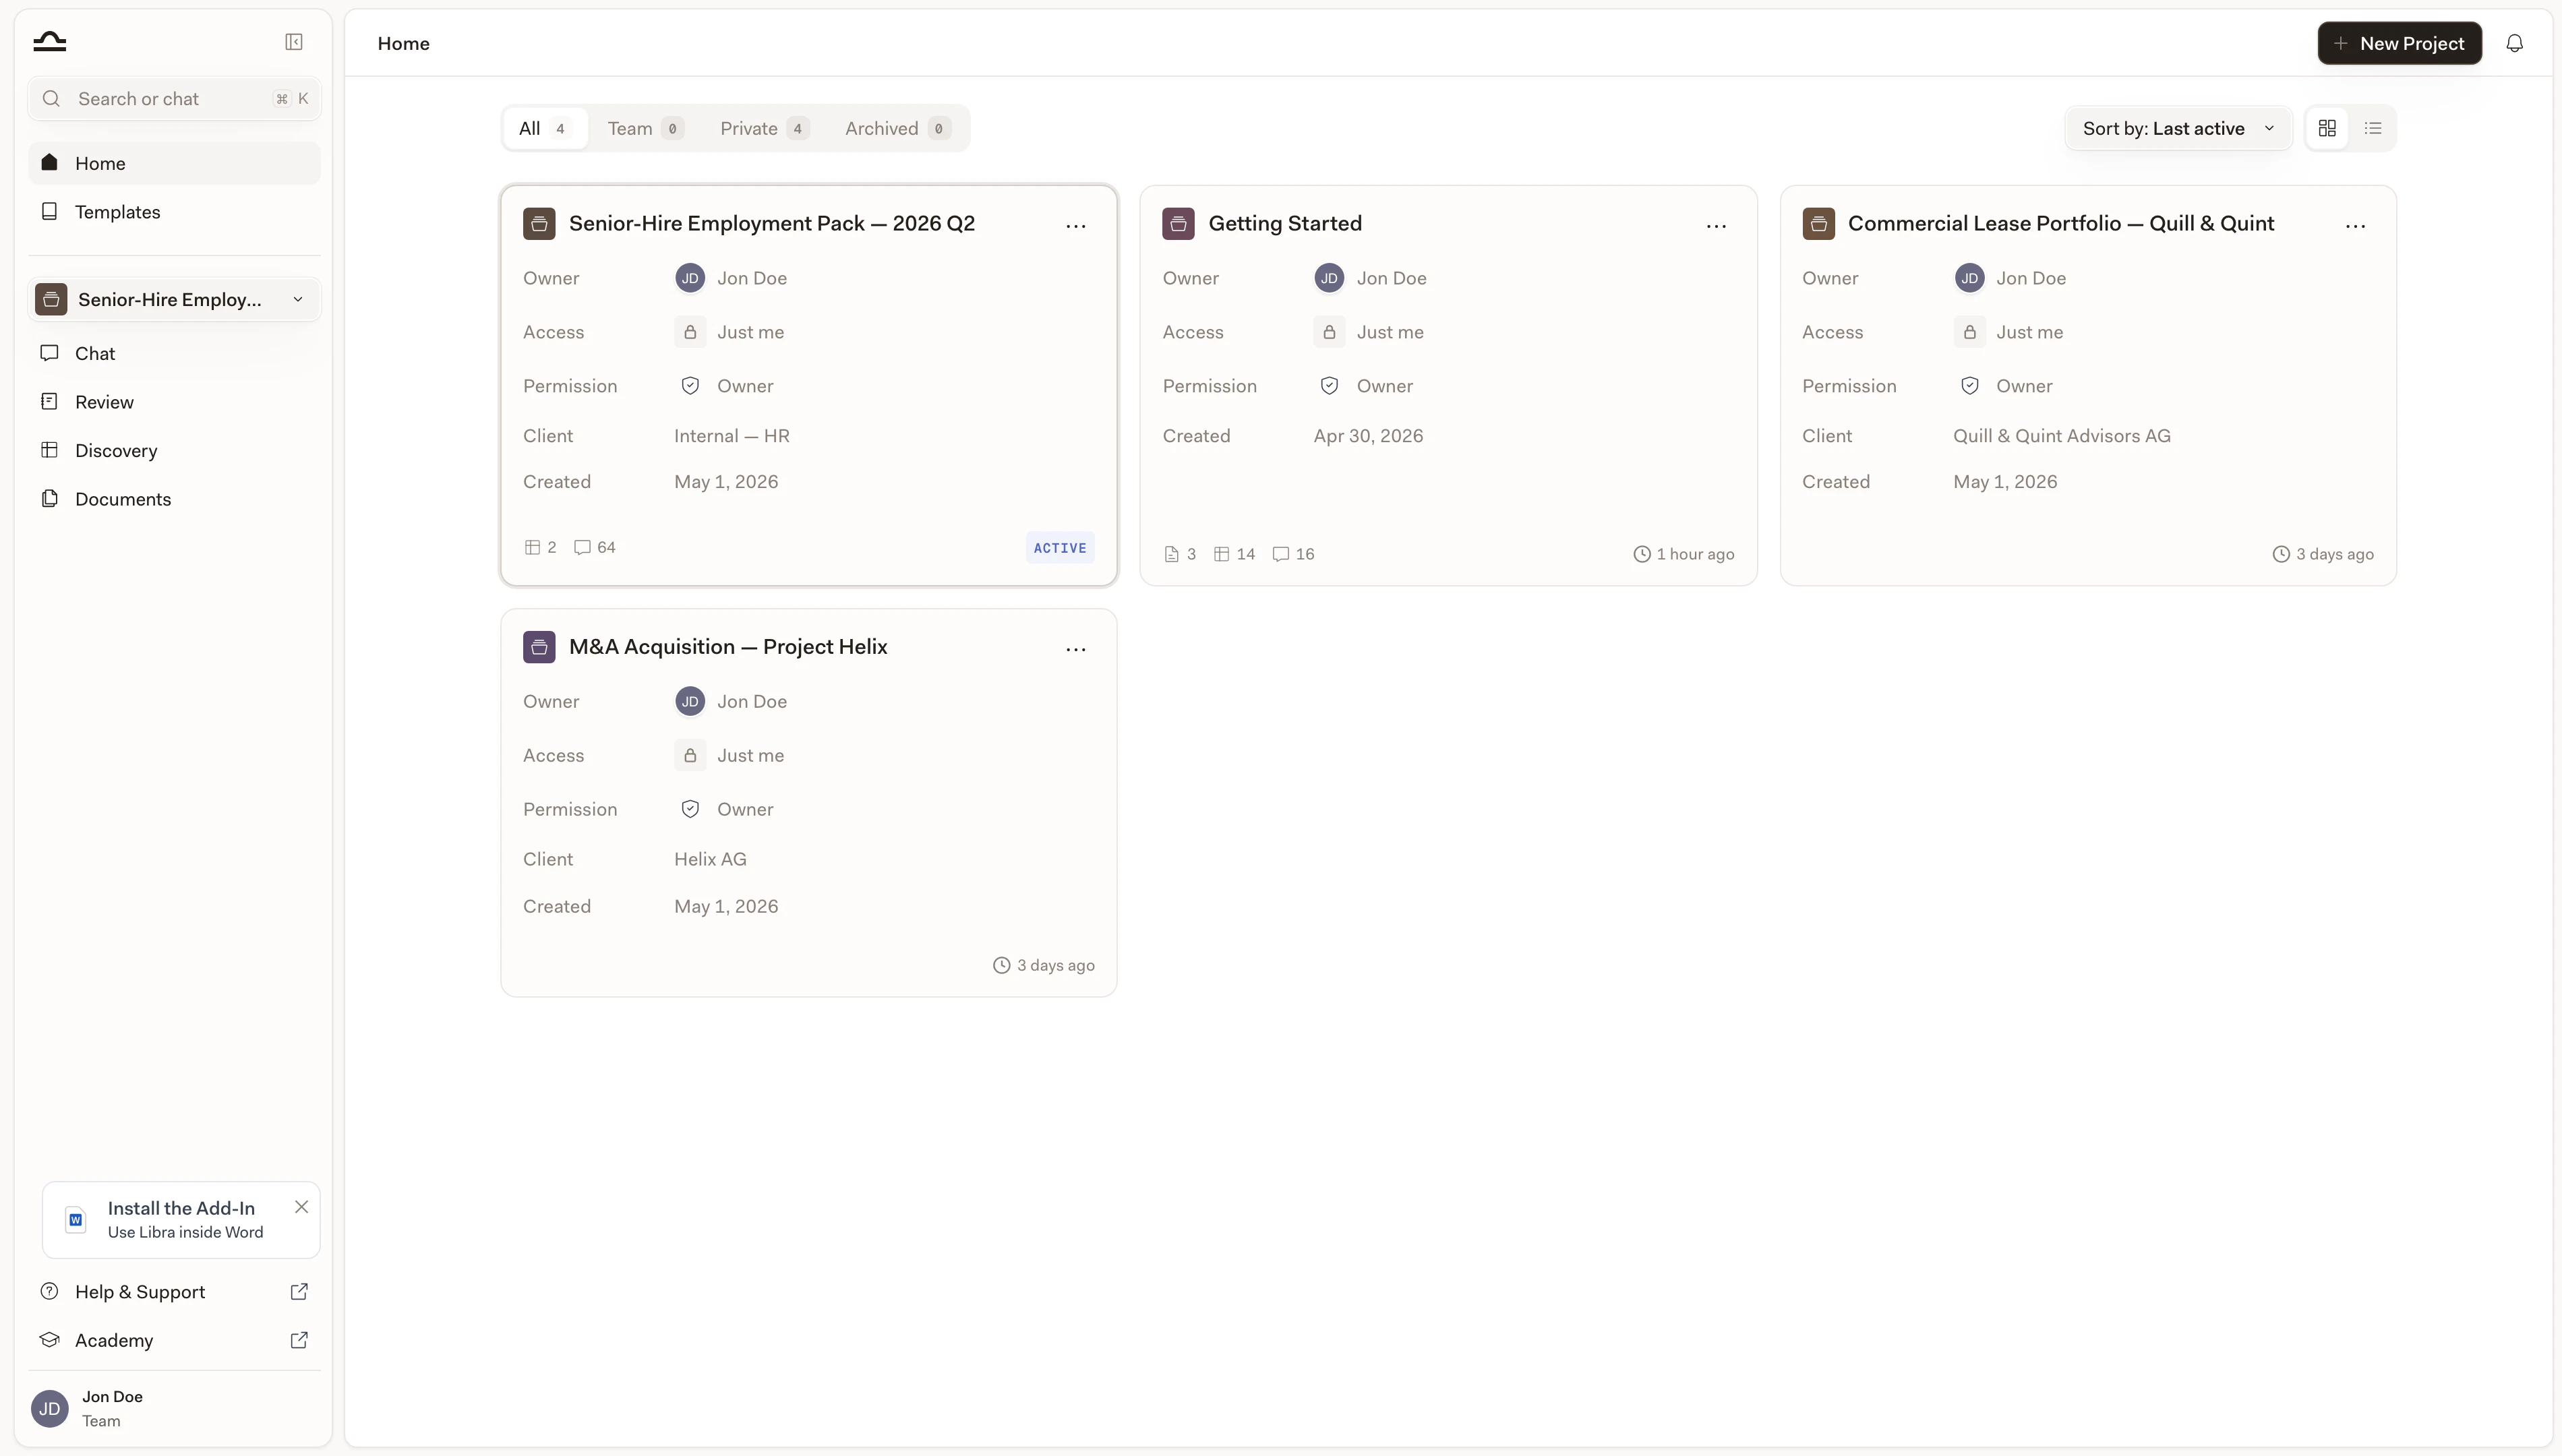
From the Home page
From the Home page
Open Home in the global section, click any project card. Libra opens that project.
With Search (Cmd+K)
With Search (Cmd+K)
Press Cmd+K, type the project name, hit Enter. Search opens the project directly.
Editing a project
You can edit the project name, client, practice area, description, and sharing without entering the project.
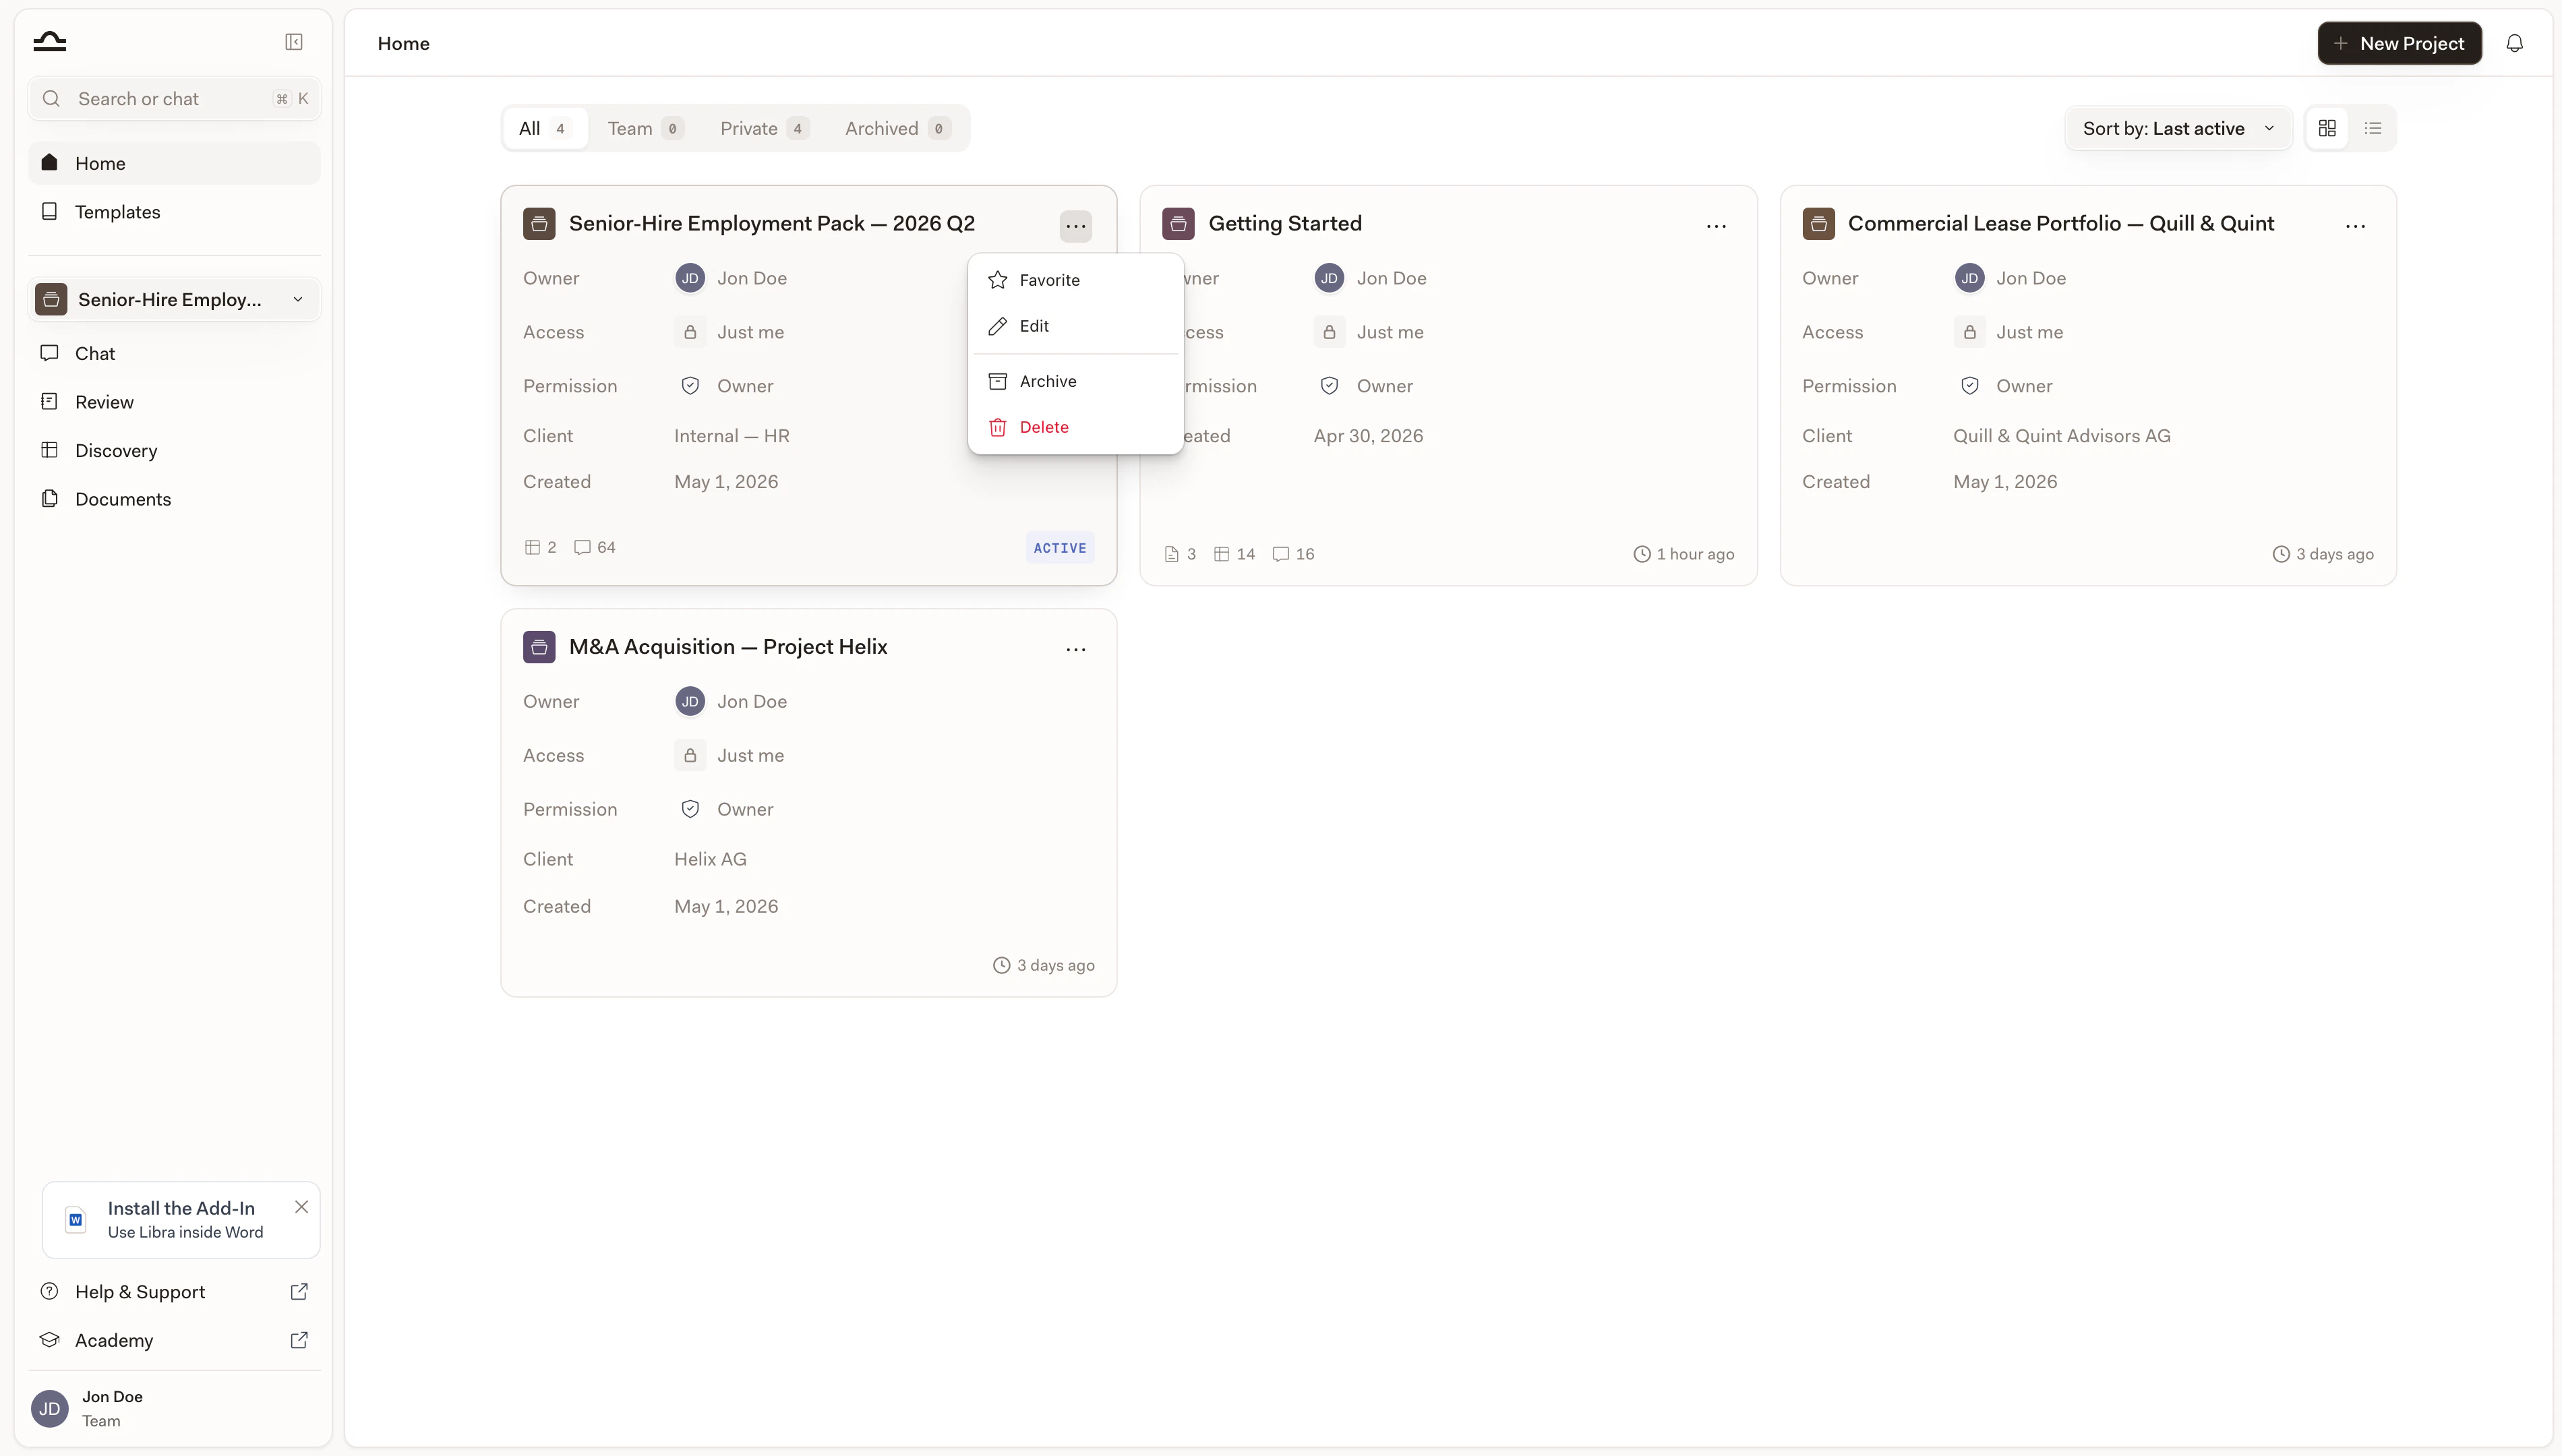
Archiving and deleting
A finished matter doesn’t need to clutter your active list.| Action | What happens | Reversible? |
|---|---|---|
| Archive | Project moves to the Archived tab on Home. Everything inside (chats, documents, Reviews, Discoveries) is preserved. | Yes, restore from the Archived tab. |
| Delete | Project and everything inside it is removed permanently. | No. |
Organising your project list
There’s no single right way. Common patterns:| Pattern | Best for |
|---|---|
| One project per client matter | The default. Most legal work fits here; each engagement gets a project. |
| One project per topic | Research-heavy practice. “GDPR research”, “German employment law tracker”. |
| Personal + shared mix | A solo “drafts and notes” project alongside shared client matters. |
| Practice-area projects | Useful for partners overseeing a practice: one shared workspace per practice area, sub-divided by matter. |
Next steps
Home
Manage every project from one place.
Sharing & access
Control who sees what.