
1
Open Settings
Click your profile picture in the bottom-left of the sidebar and select Settings.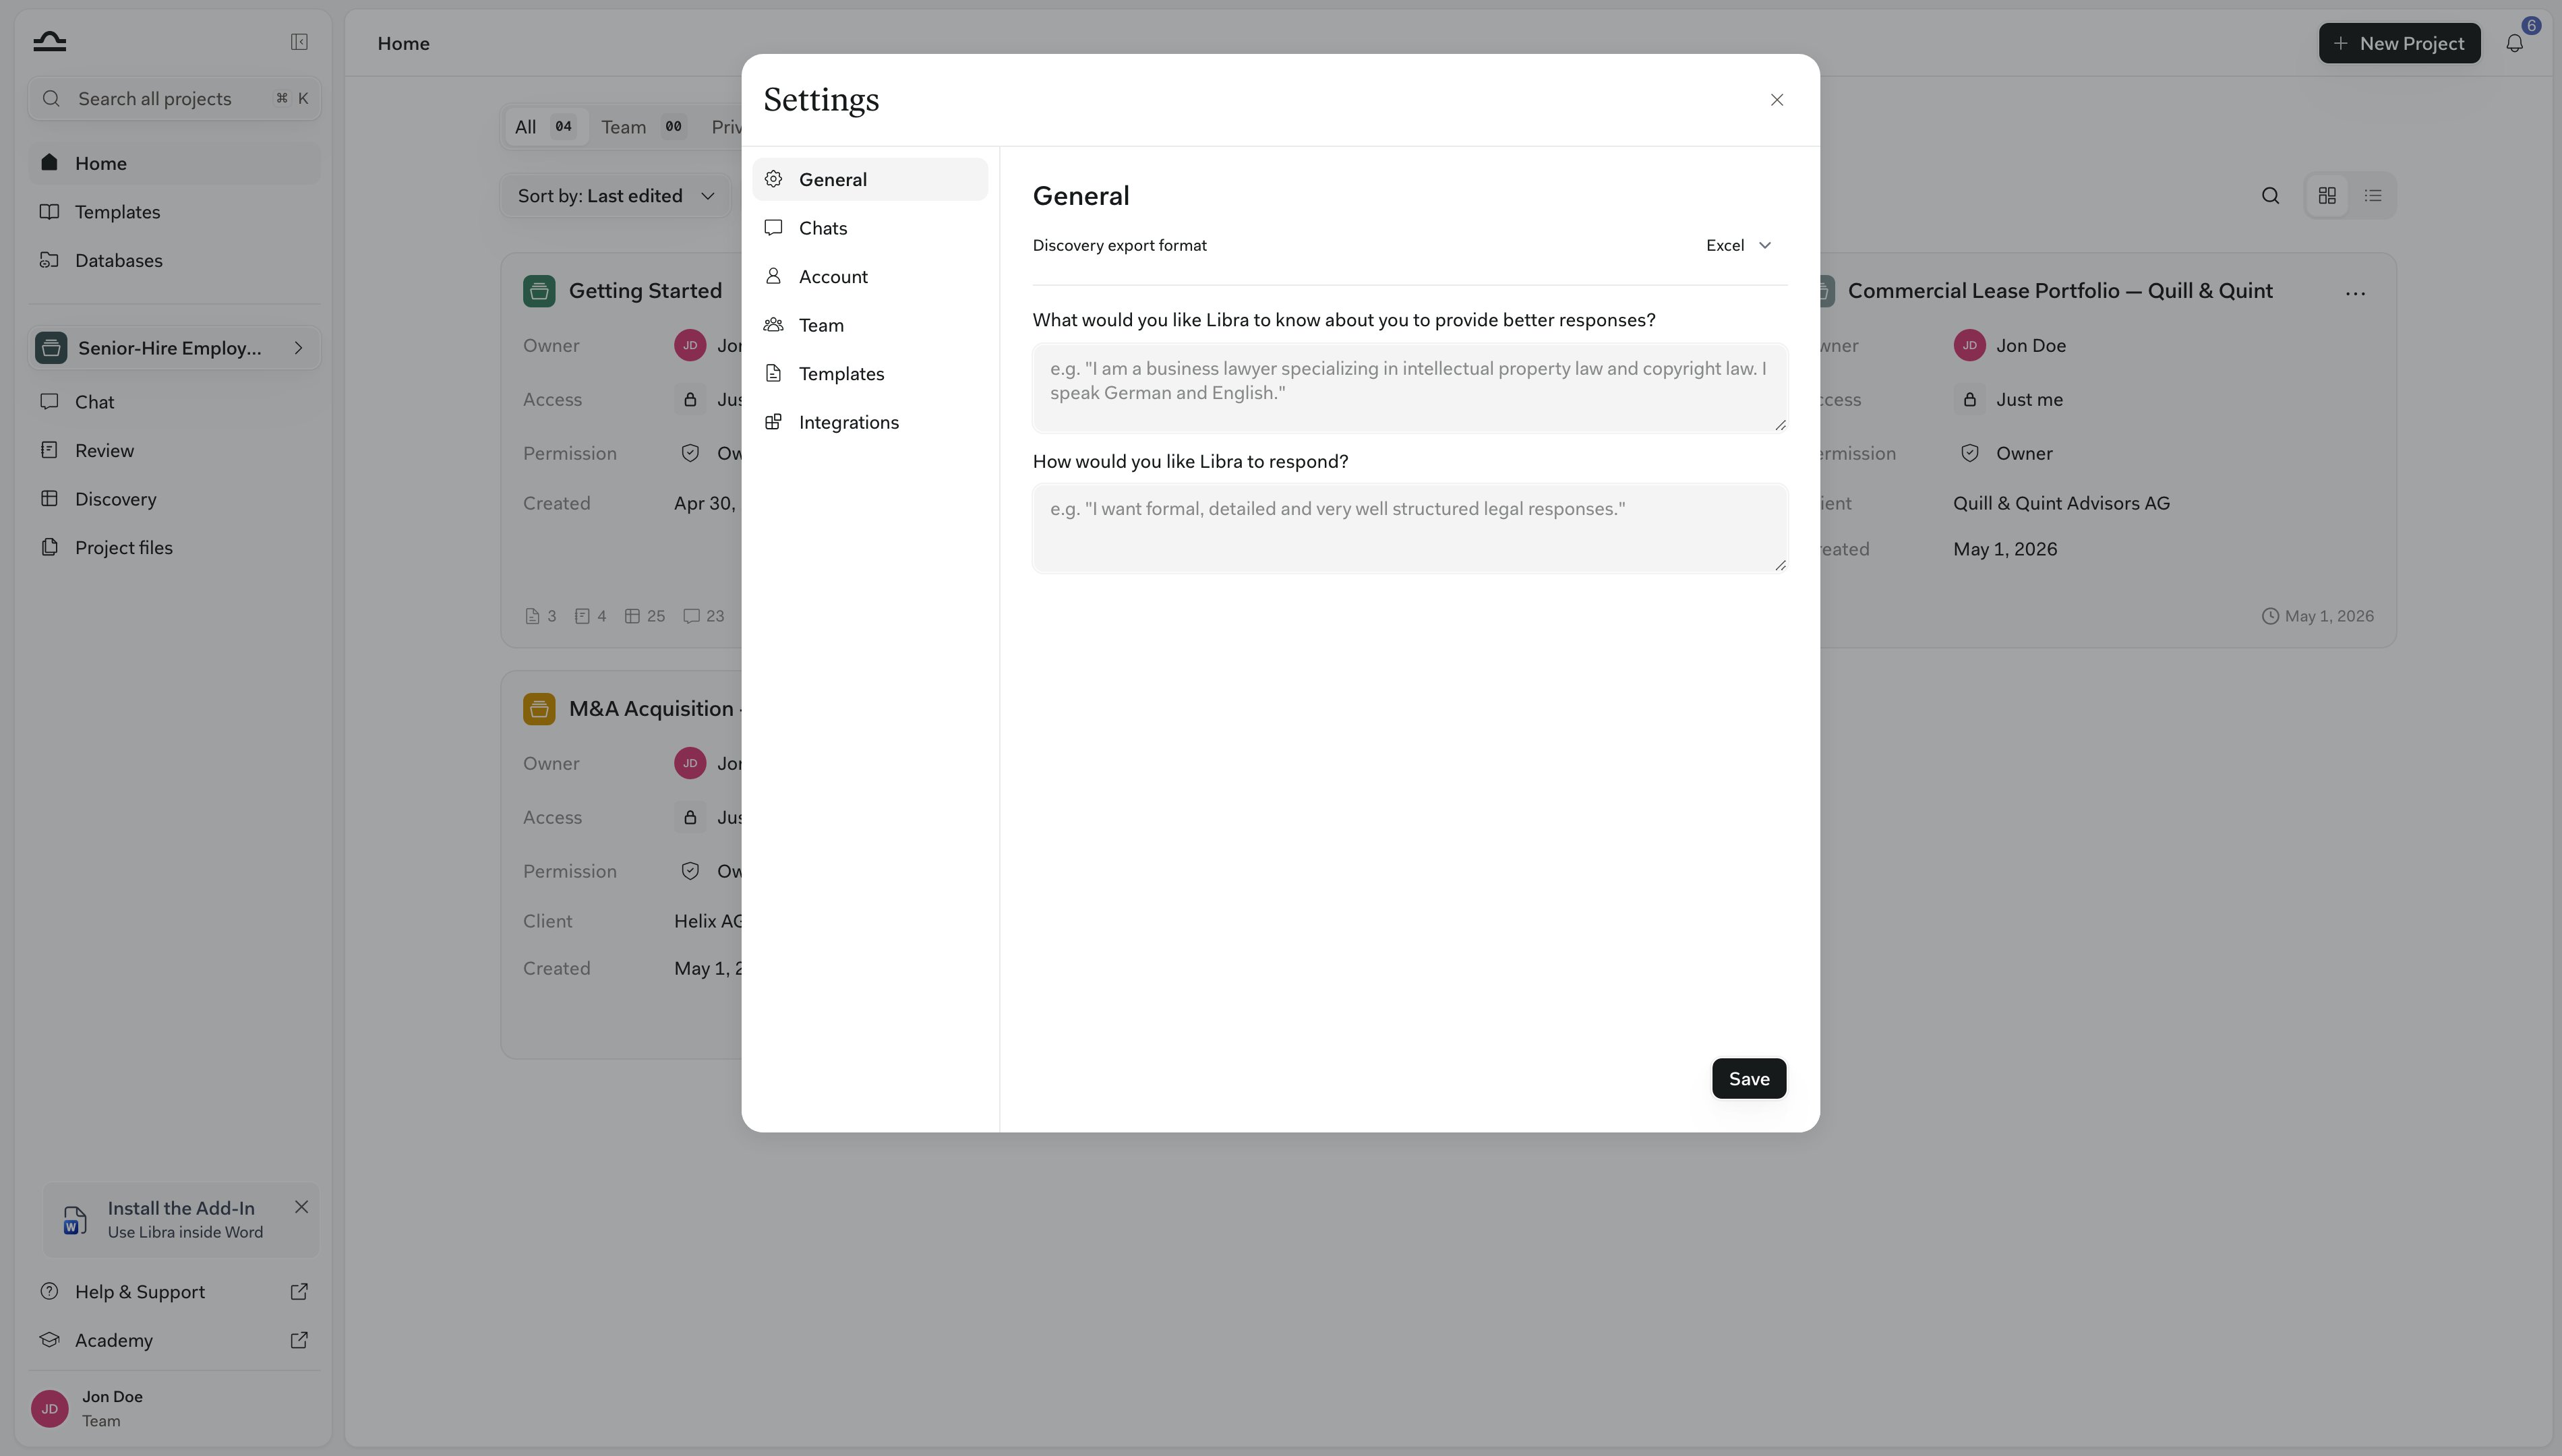
General
The General tab is where you tell Libra who you are and how you want it to write. Whatever you put here applies to every conversation, so you set it once instead of repeating it in each prompt.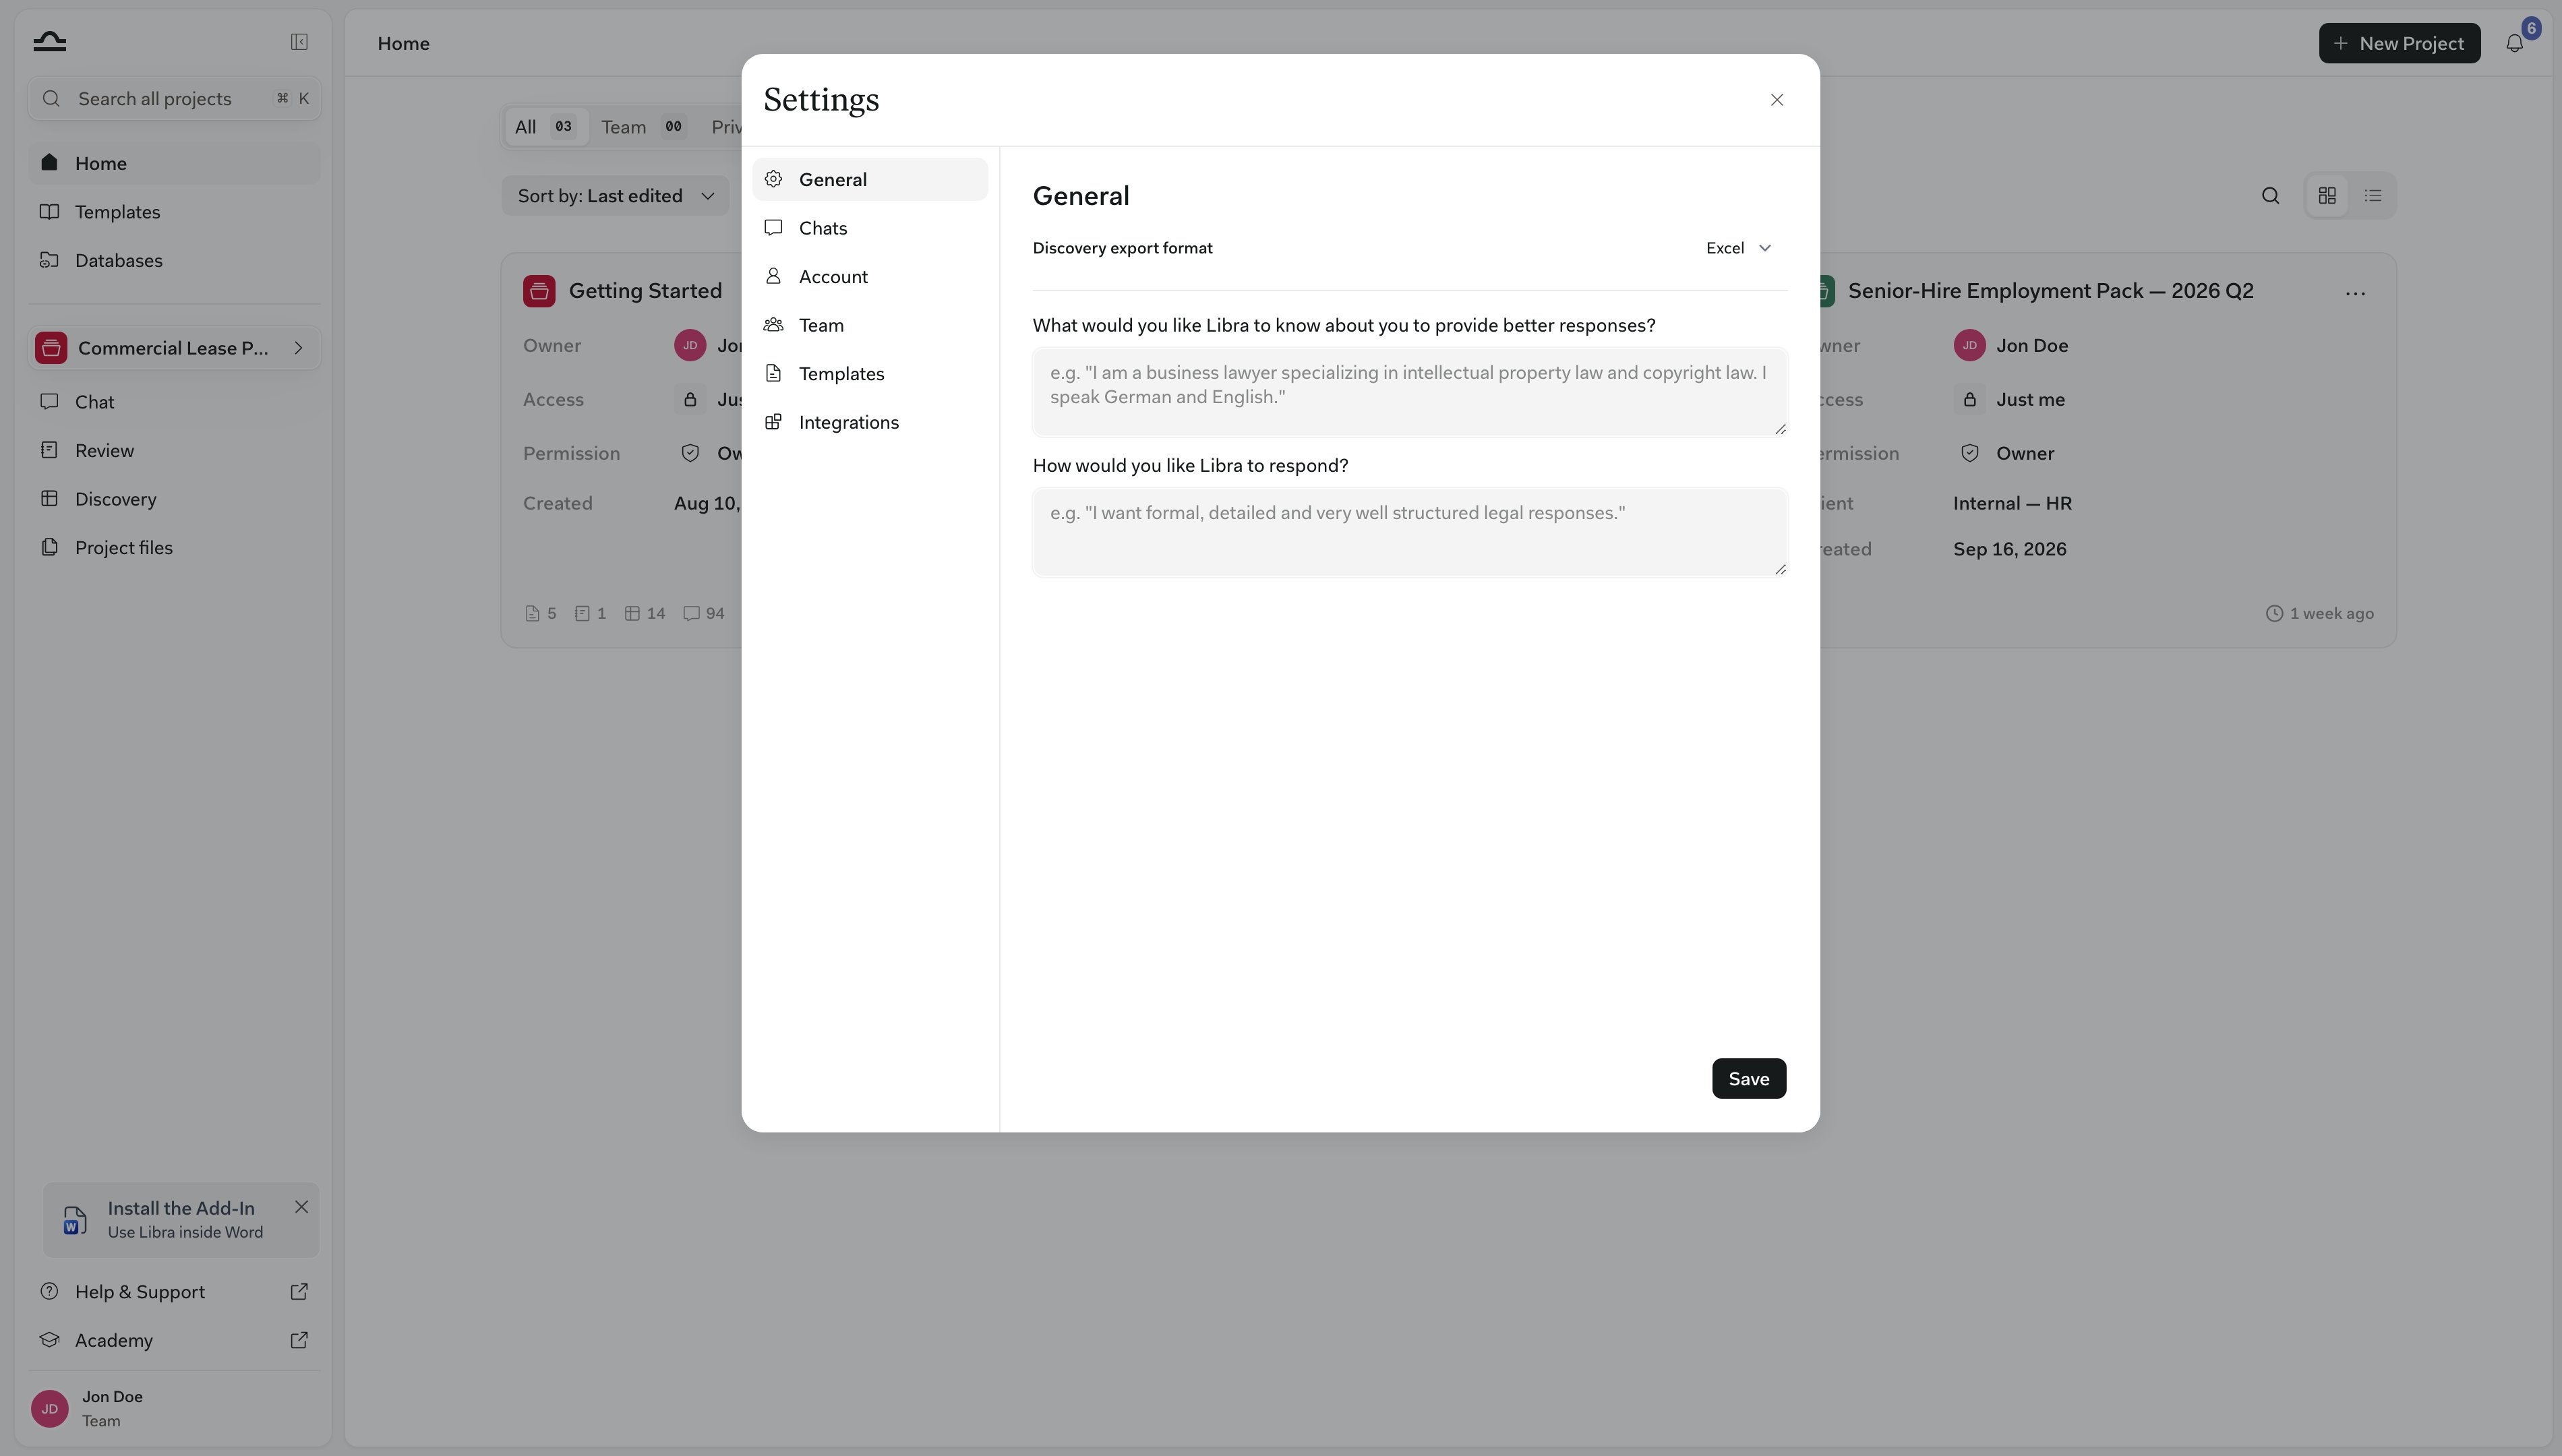
Click Save at the bottom of the tab — nothing is kept until you do. Discovery export format, at the top, is the exception: it saves as soon as you pick Excel, Word or CSV, and sets the file type every Discovery downloads as.
How Libra uses them
Both fields travel with every message you send, in every chat and every project, including chats in the Word and Outlook add-ins. Libra also receives your name from your profile alongside them. They are read fresh each time rather than stored with a conversation. An edit therefore lands on your very next message, in chats you started weeks ago as well as new ones. They add to what else shapes an answer rather than replacing it. With an Assistant driving the chat, your preferences apply on top of the Assistant’s own instructions. A request in the prompt itself still decides that one answer. Ask for “just three bullet points this time” and you get three, whatever your standing style says.Writing a style instruction that works
Write instructions, not a biography. Libra follows concrete constraints far better than adjectives, so say what the answer should look like:- “Lead with the answer, then the reasoning. Keep it under a page unless I ask for more.”
- “Cite statutes by section, for example § 622 BGB, and link the source where there is one.”
- “Answer in German unless I write in English. Use Sie, never du.”
- “End with anything I should verify before relying on the answer.”
Account
The Account tab manages your profile and security.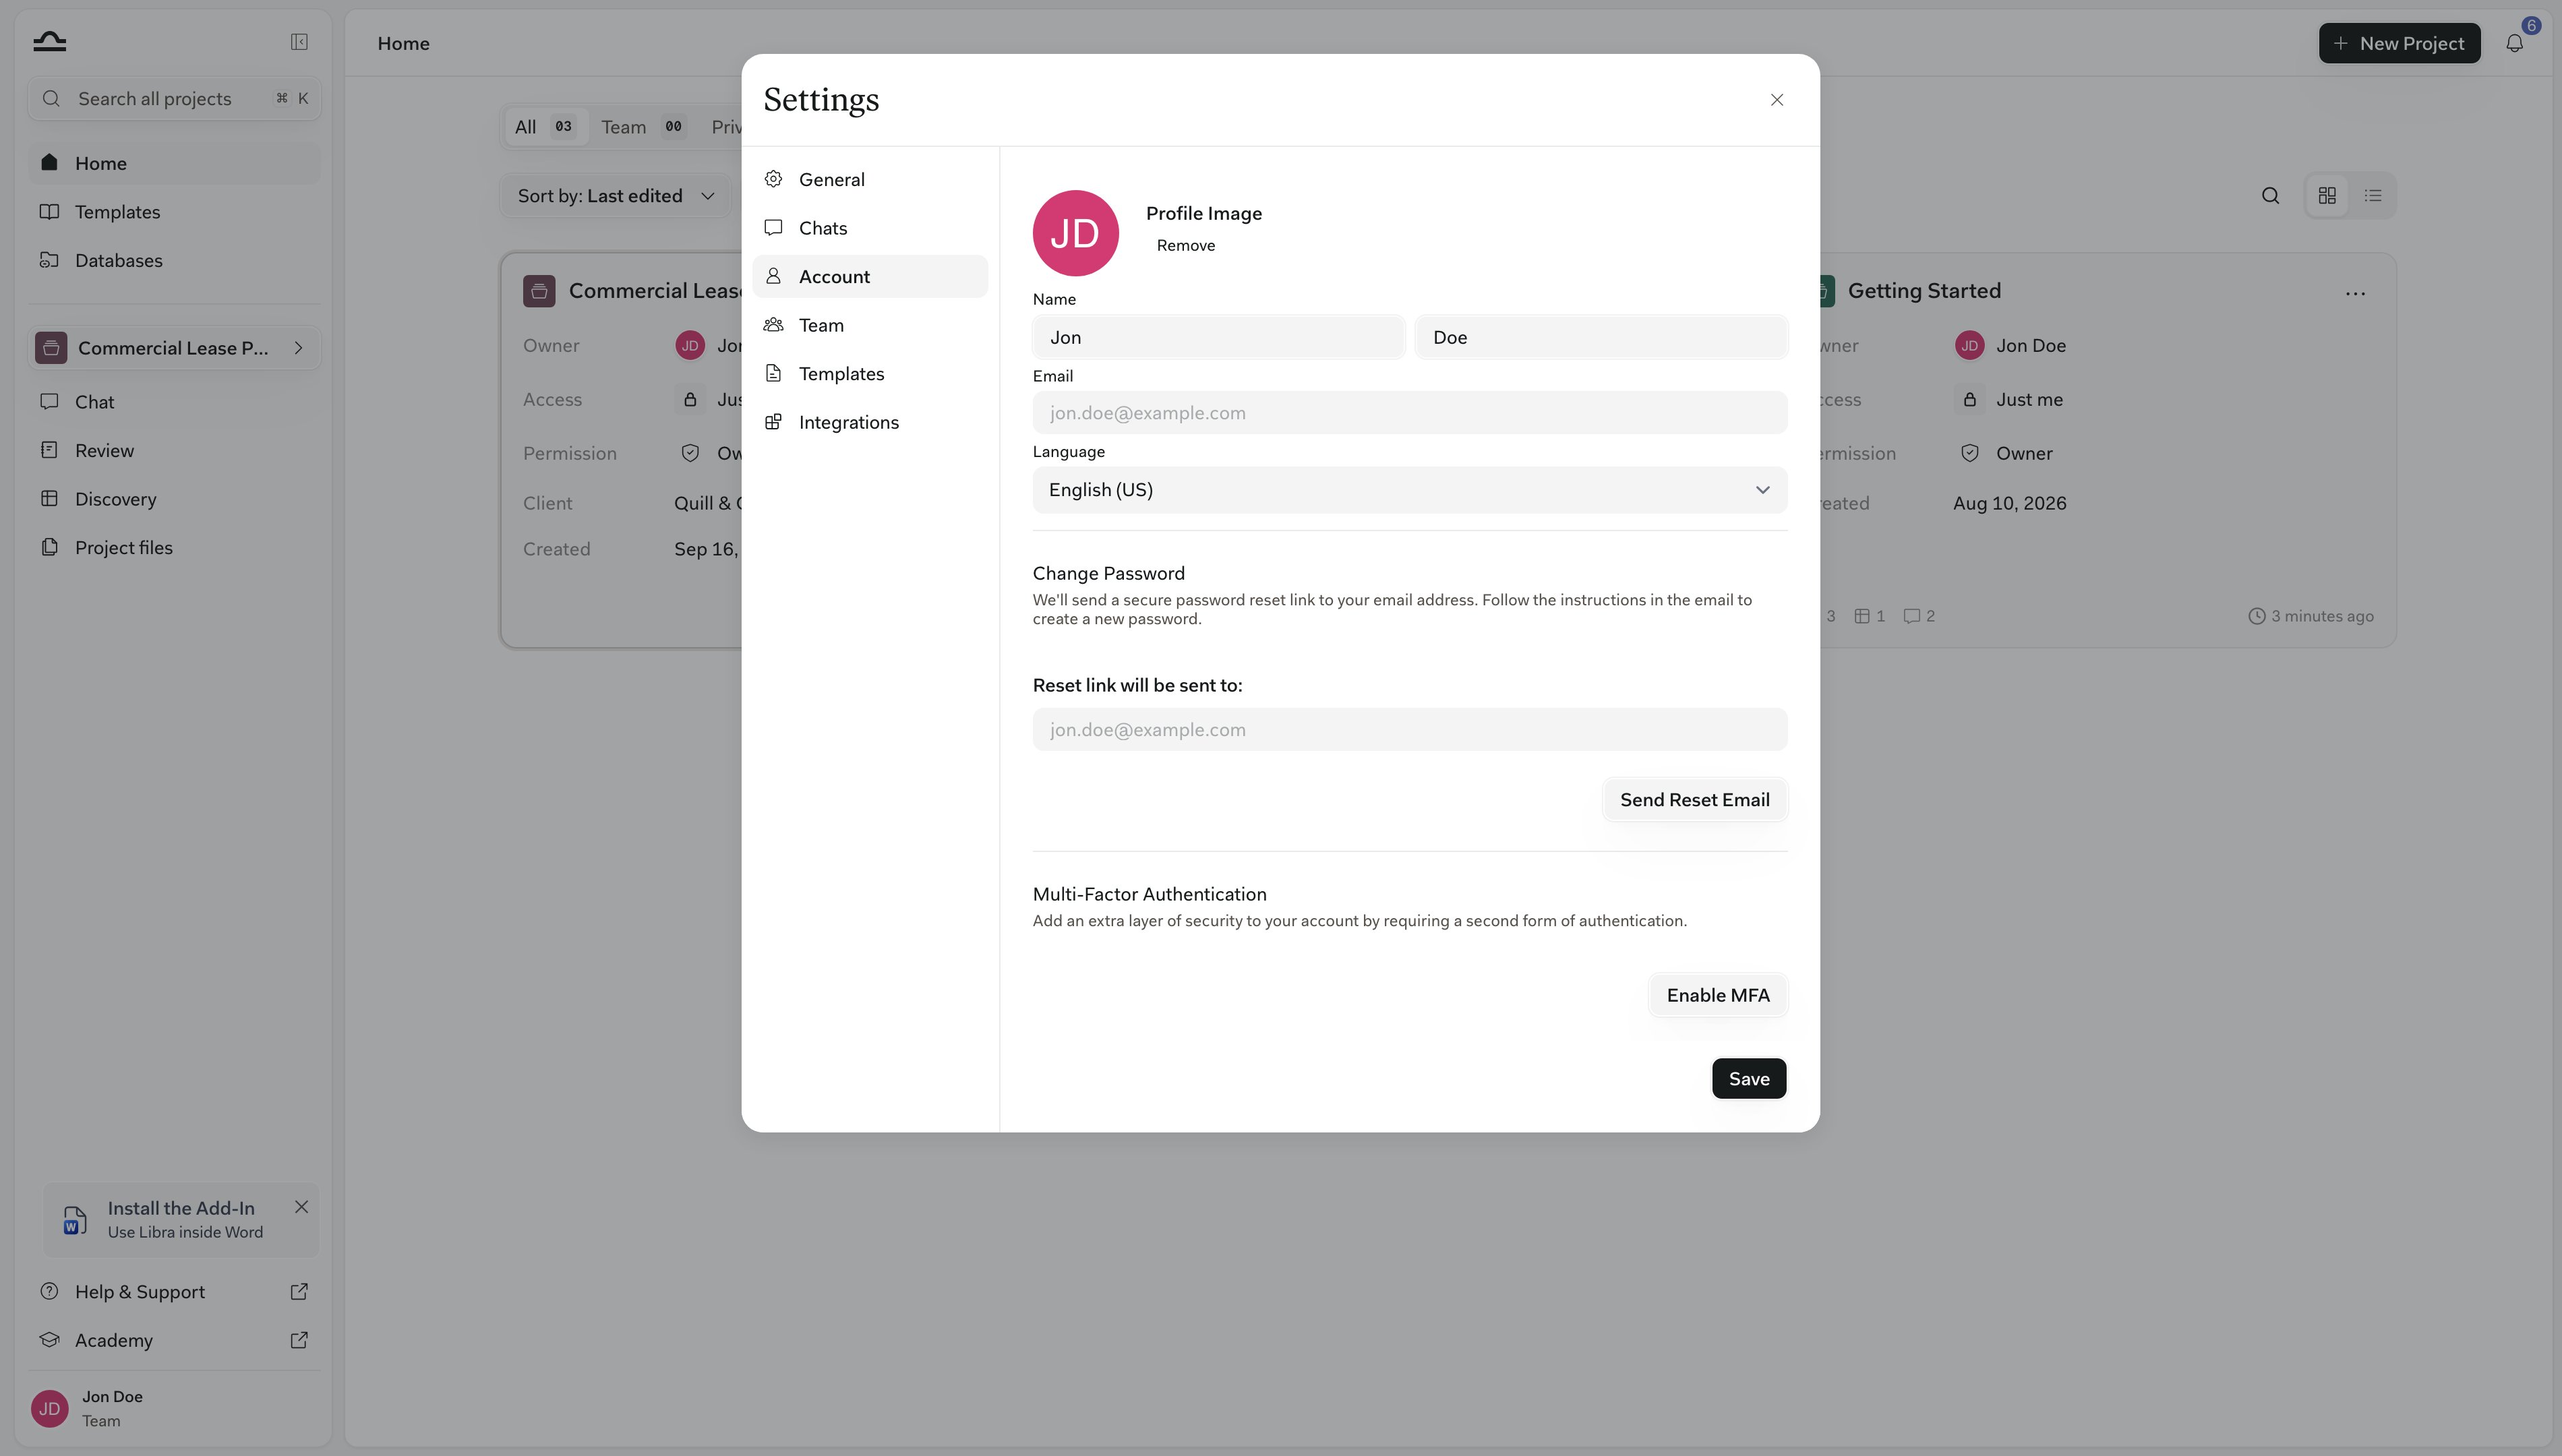
Profile information
Profile information
- Profile image — choose between your initials, a Gravatar image, or remove the image entirely
- Name — first and last, displayed on shared content and in team communications
- Email — your login email (read-only)
- Language — your preferred interface language
Change password
Change password
Click Send Reset Email, then follow the link in the email to set a new password. If your firm uses SSO, you’ll see an SSO notice instead — change your password through your identity provider.
Multi-factor authentication
Multi-factor authentication
Add a second factor to your login:
- Click Enable MFA.
- Scan the QR code with an authenticator app (Google Authenticator, Authy, 1Password).
- Enter the 6-digit code to confirm.
API keys
API keys
API access is not switched on by default. The API keys section only appears on the Account tab once Libra has enabled API access for your team, so most accounts don’t see it at all. To request it, email support@libratech.ai.Where it is enabled, click Create new secret key to mint a key for accessing Libra programmatically. A key grants full access to your account, so don’t share it.
Templates
The Templates tab lets you upload a Word template that Libra applies whenever you export to.docx. Drag a .docx file onto the upload area (or click to browse), and Libra shows a first-page preview of the template you’ve uploaded.
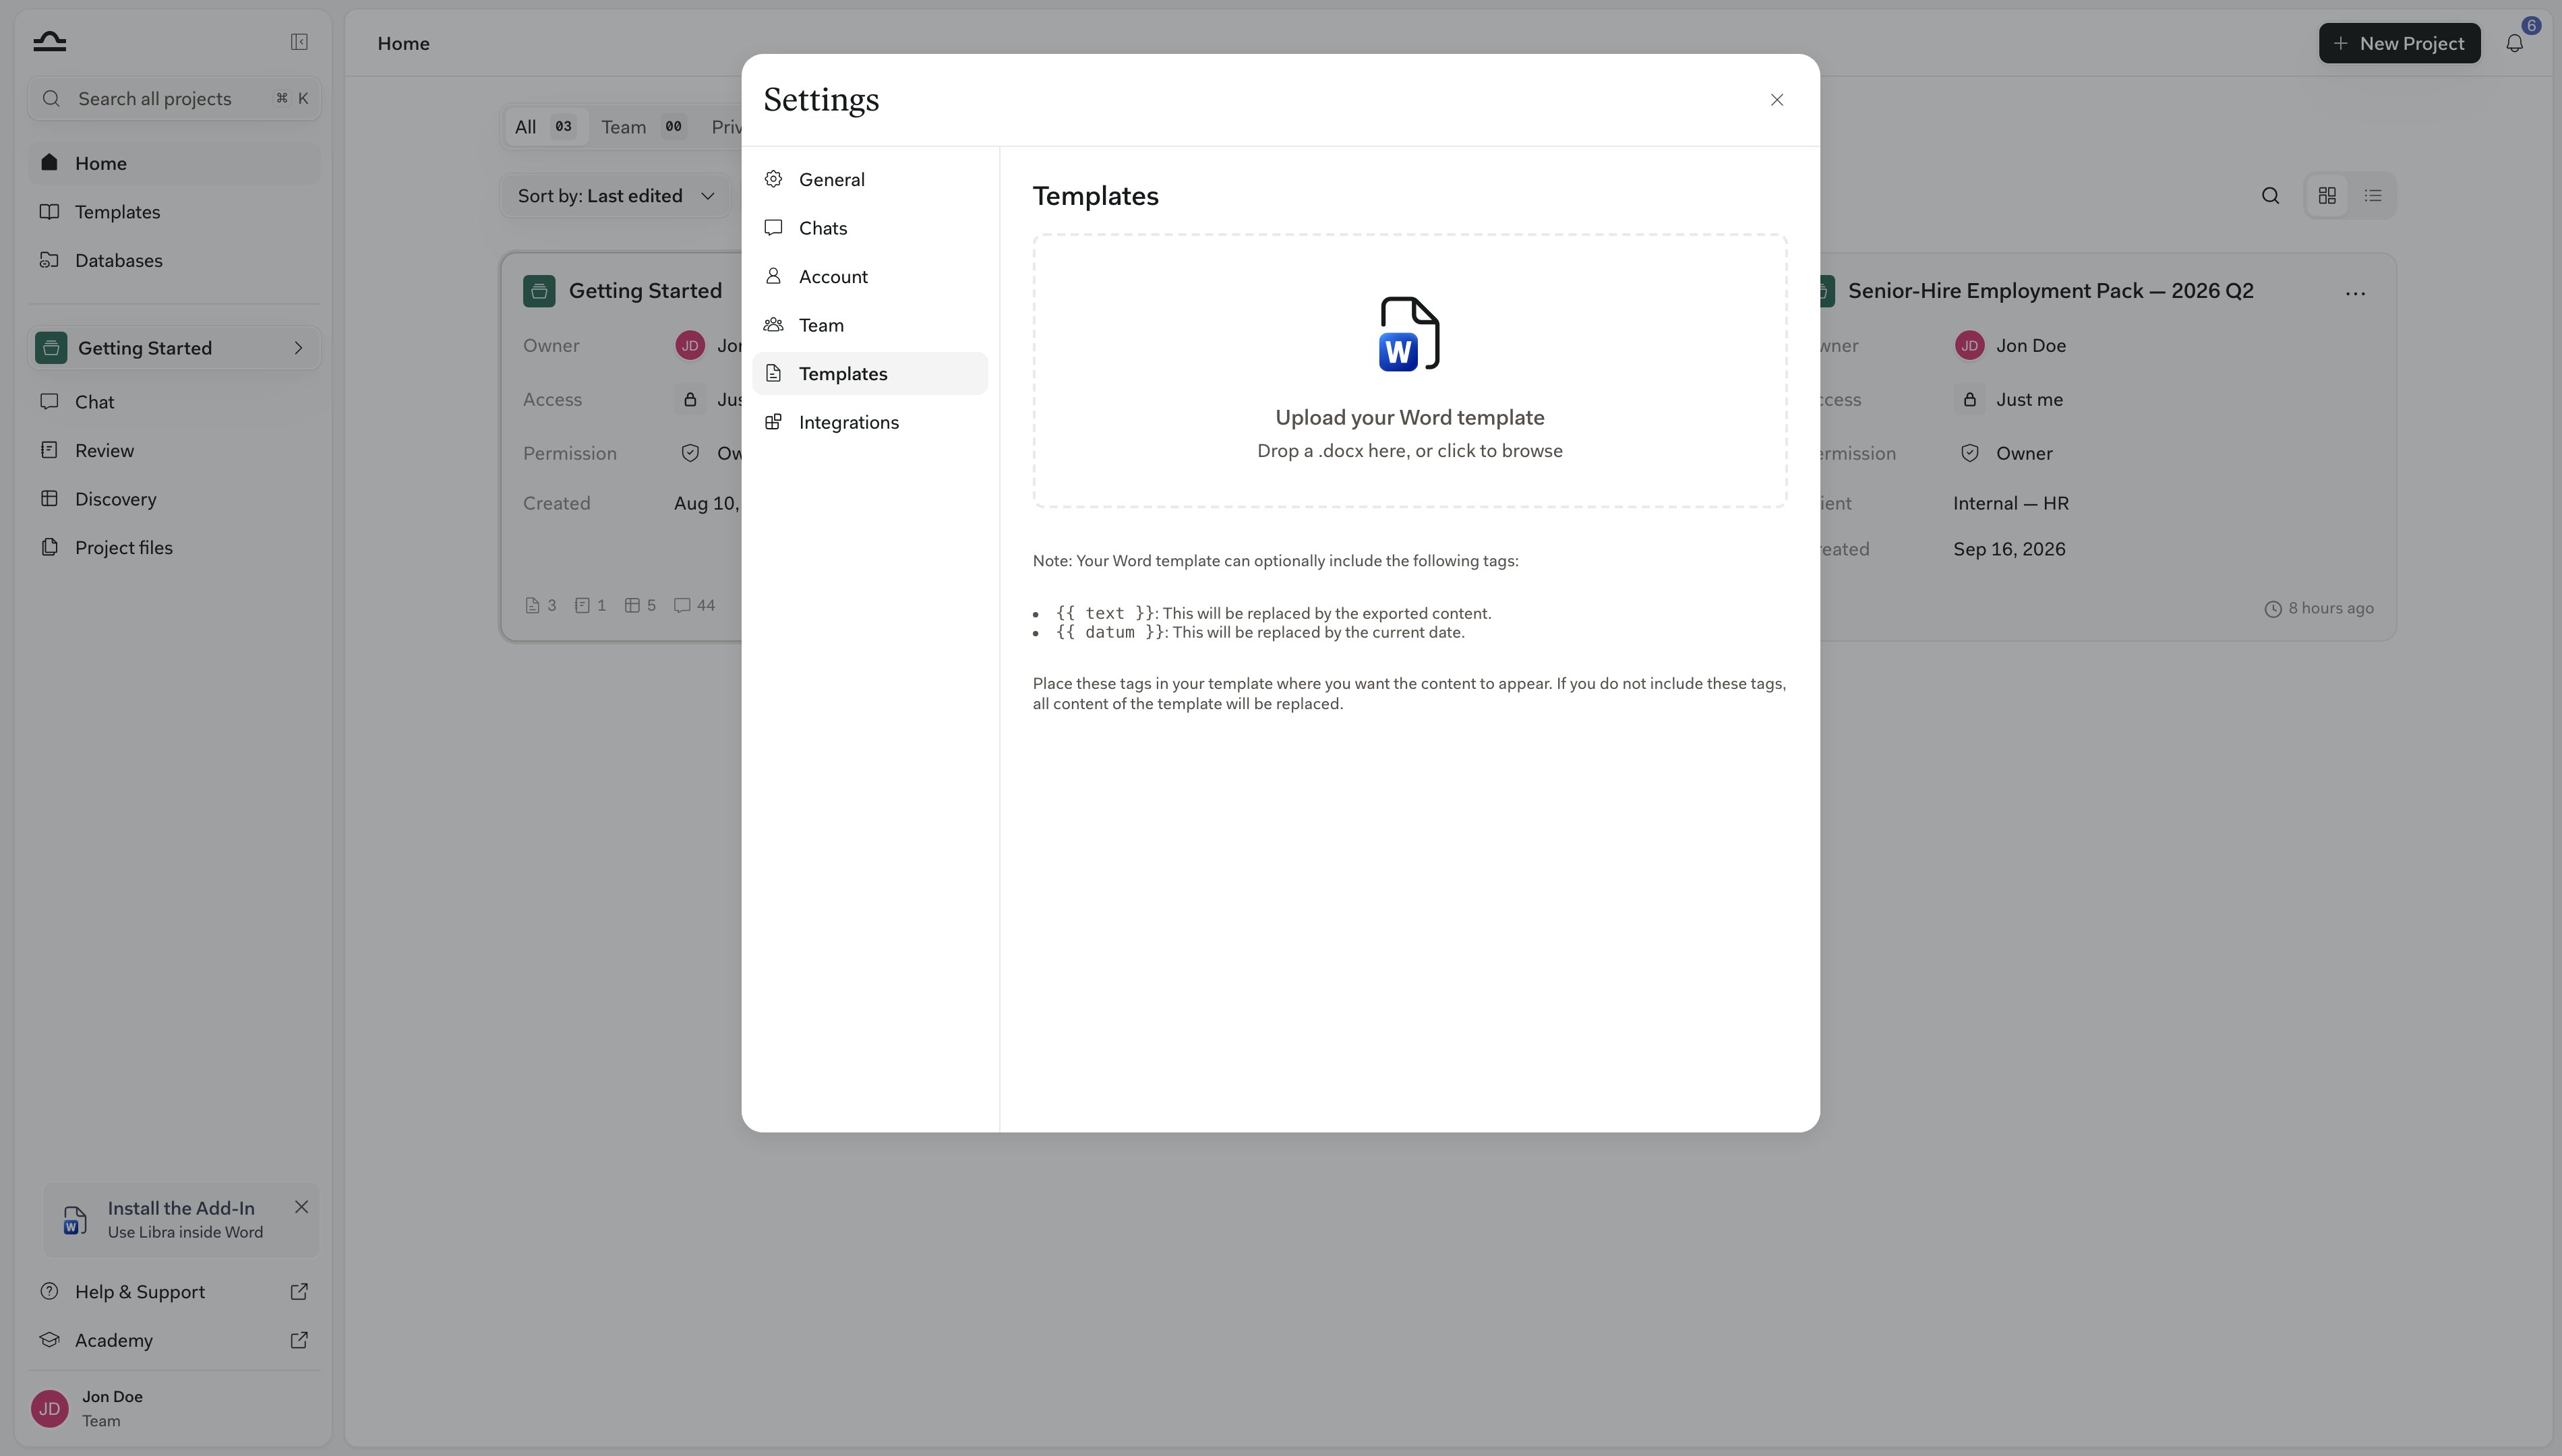
Uploading a new template replaces the existing one.
Integrations
The Integrations tab is where you connect external services to your Libra account. The list shows everything available to your firm; click any integration to manage its connection.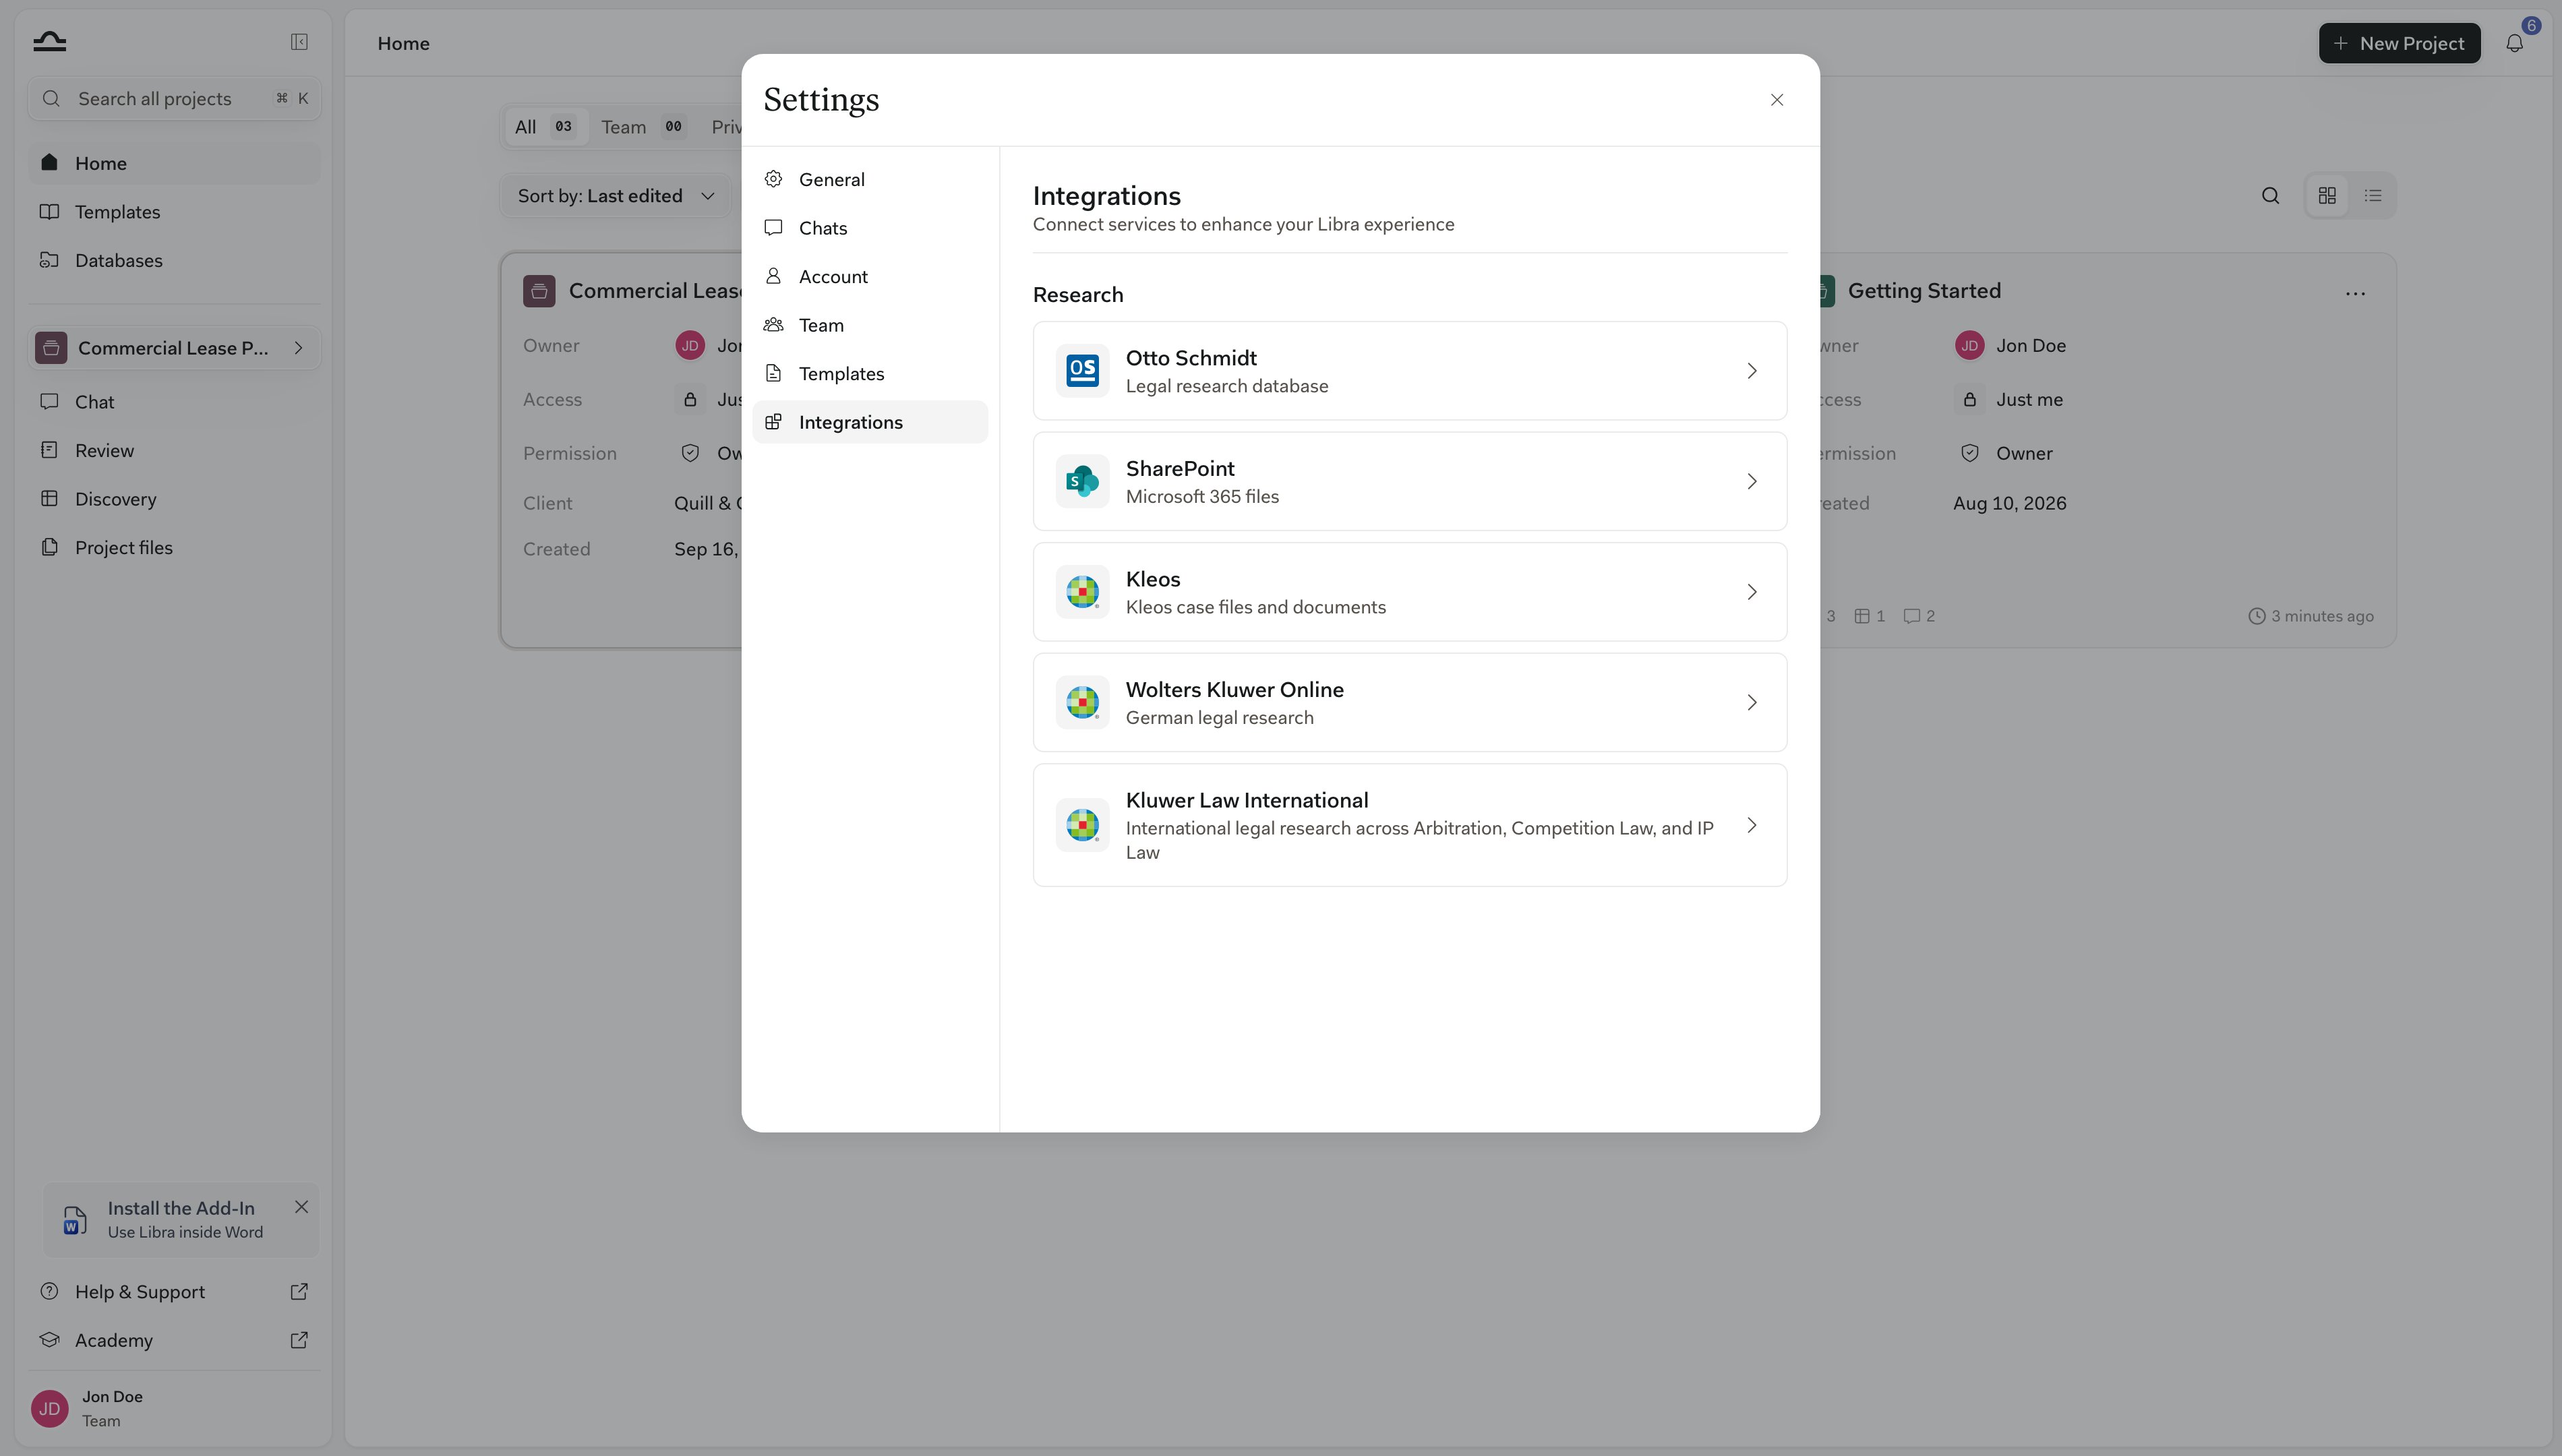
Which integrations appear on your tab depends on your firm’s plan and country. For setup details and per-integration walkthroughs, see Content integrations.
Related pages

Chat basics
The chat input, modes, @-mentions and research.
Subscription & billing
Manage your plan, licenses, and payment.

Team management
Roles, user groups, license assignment, team profile.

Content integrations
Setup walkthroughs for every available integration.