
Click Generate on Instructions; Libra drafts a system prompt from the name and description. Treat it as a draft to sharpen, not a final spec.
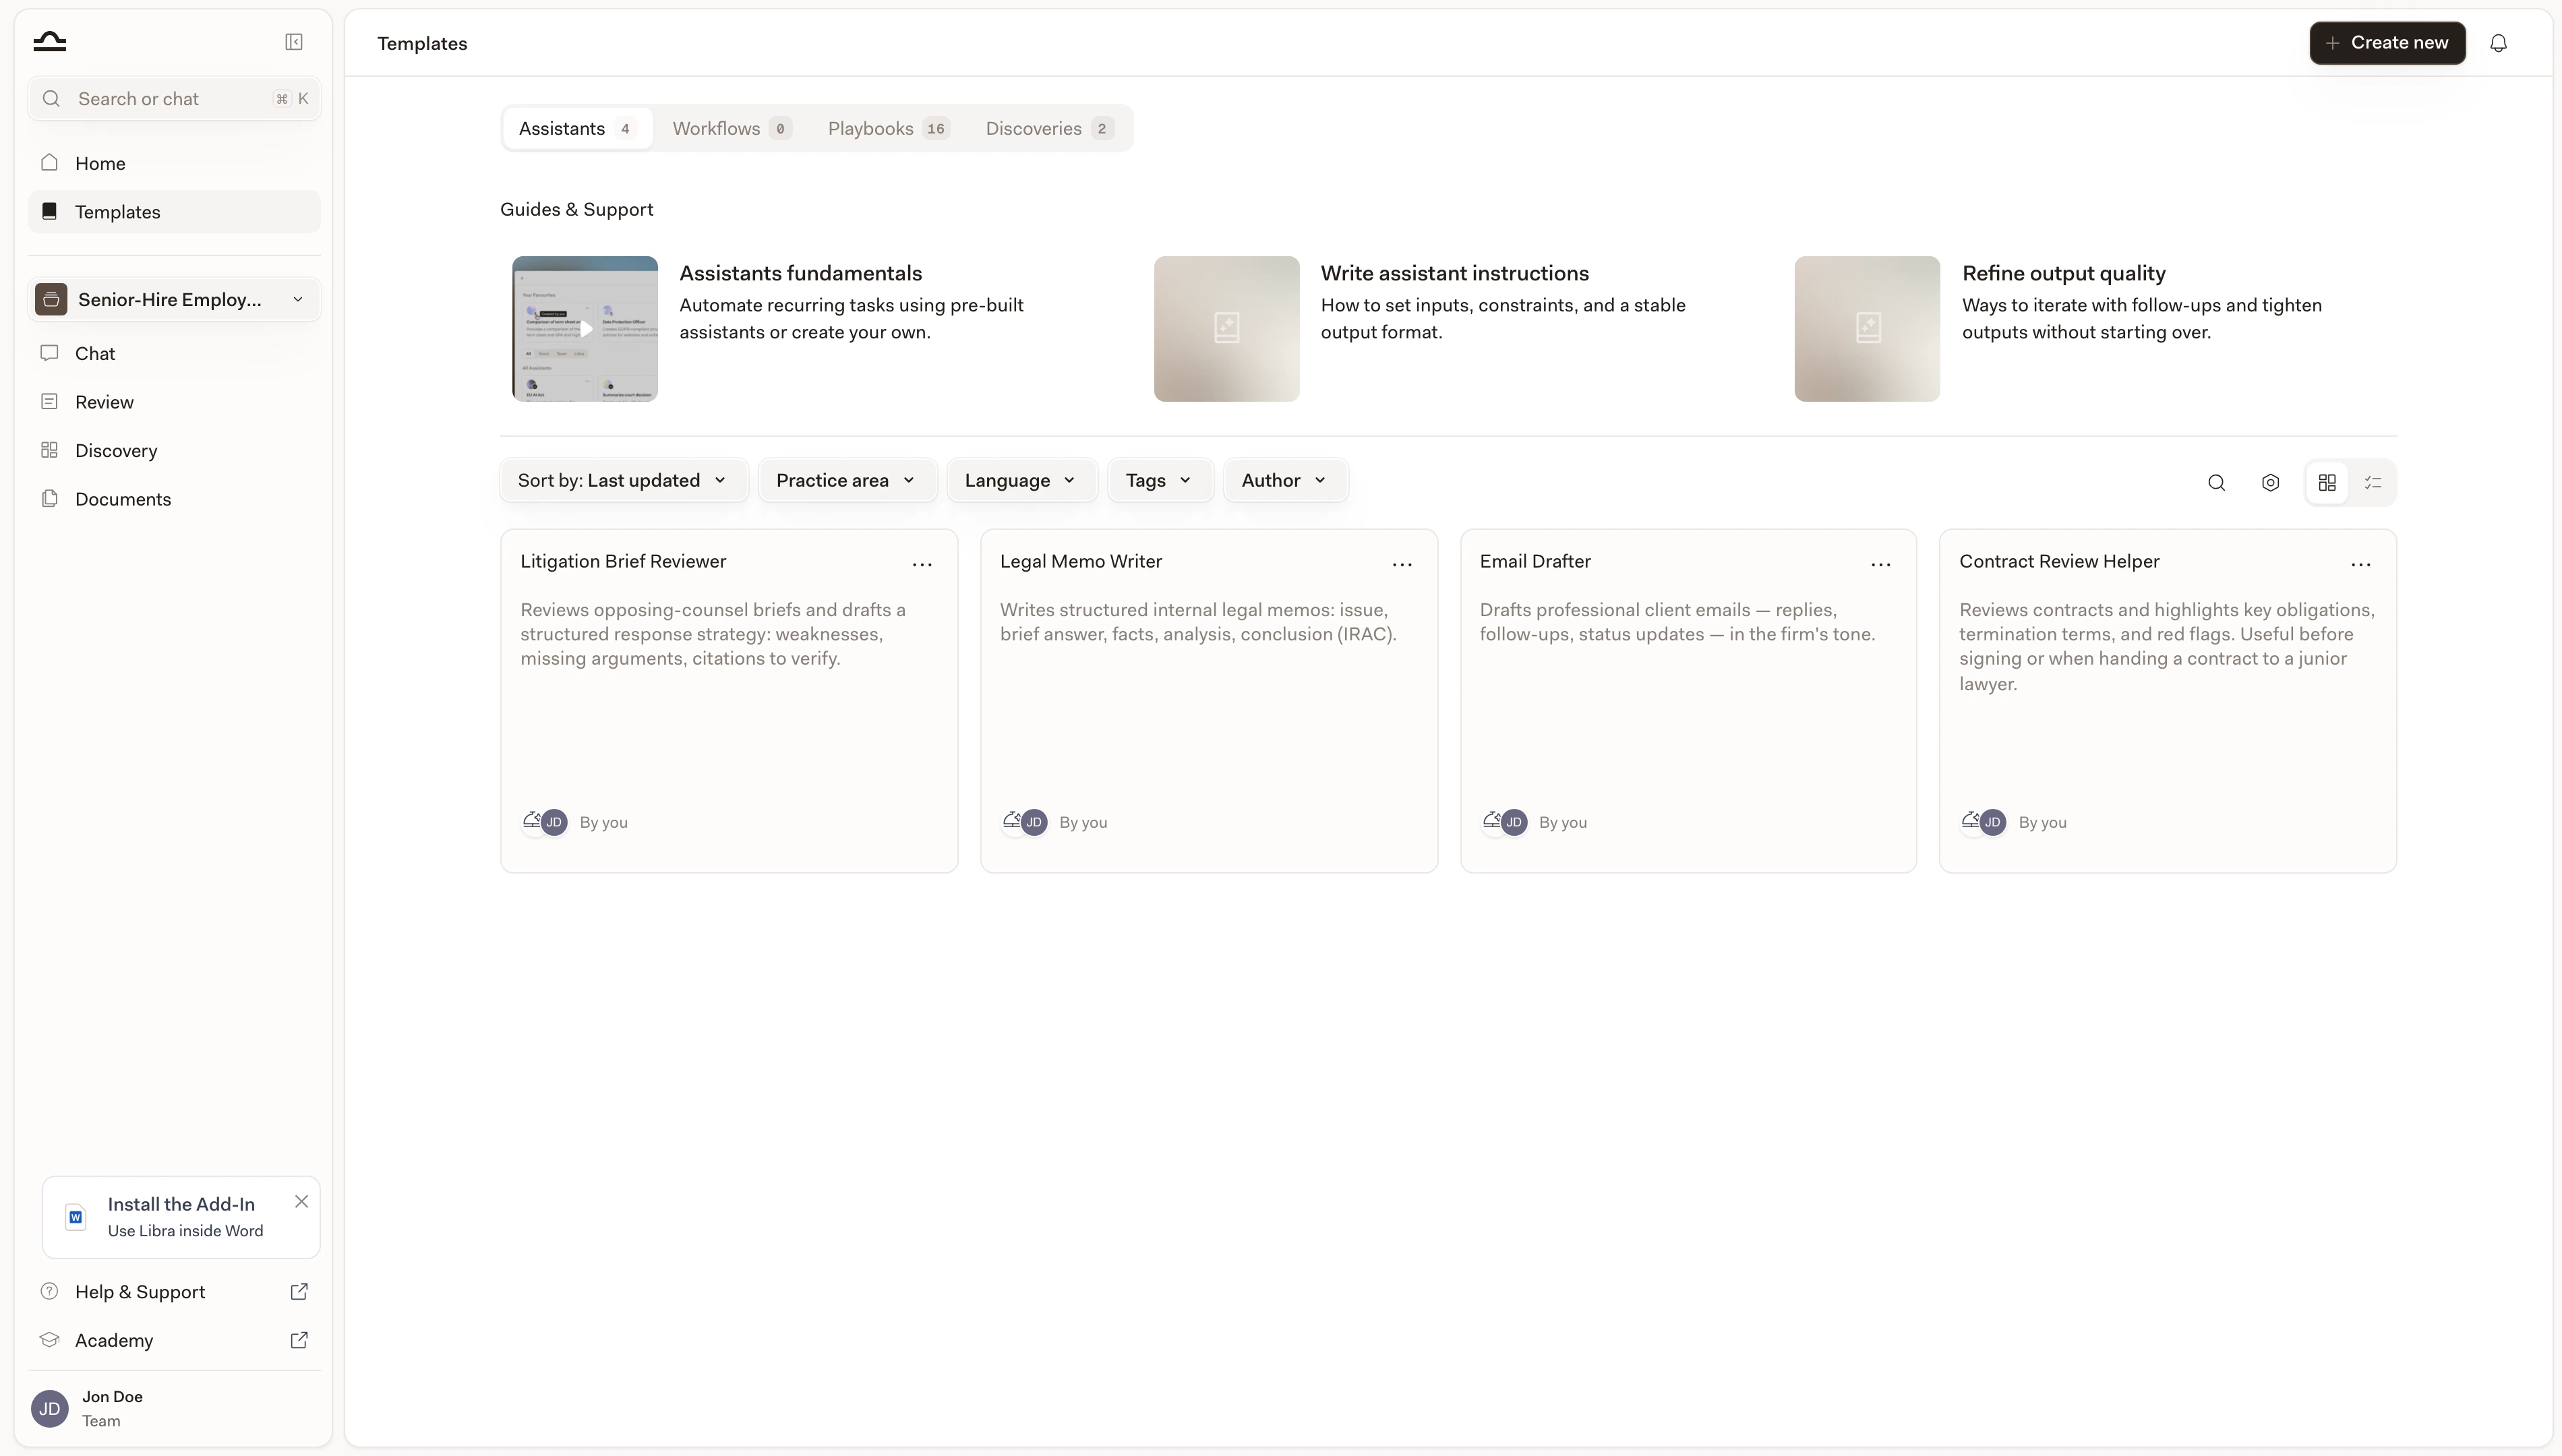
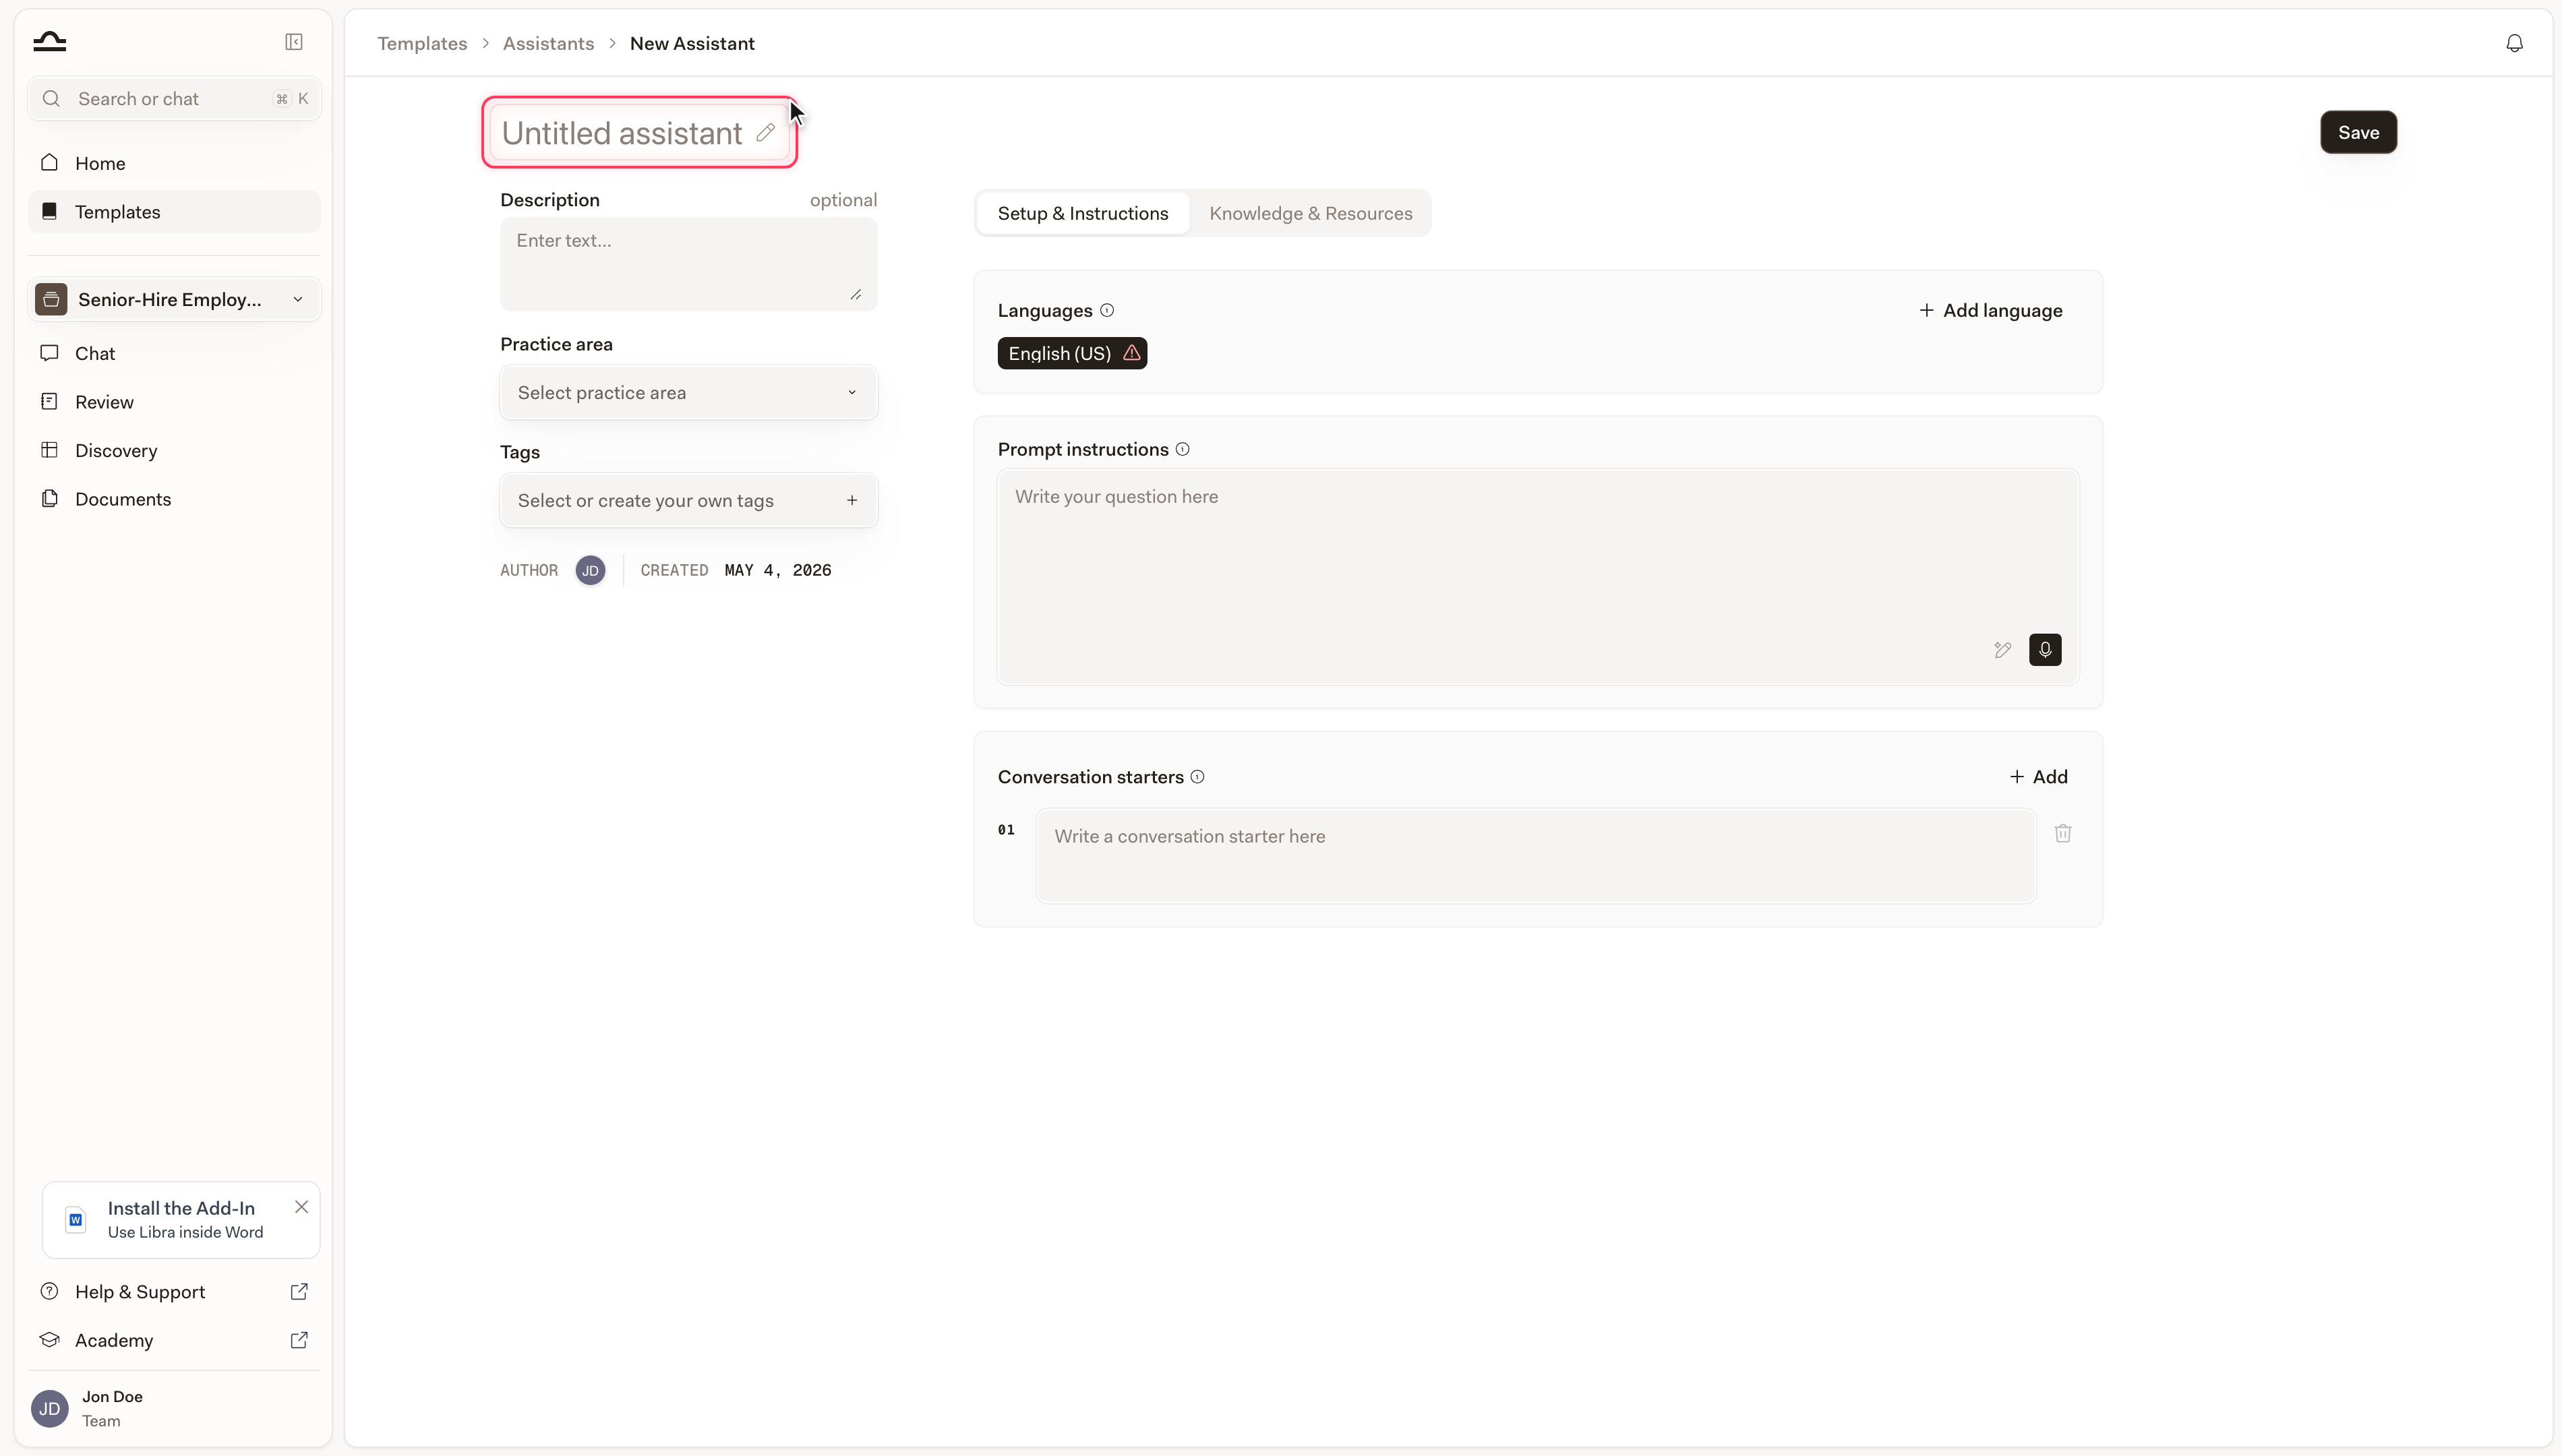
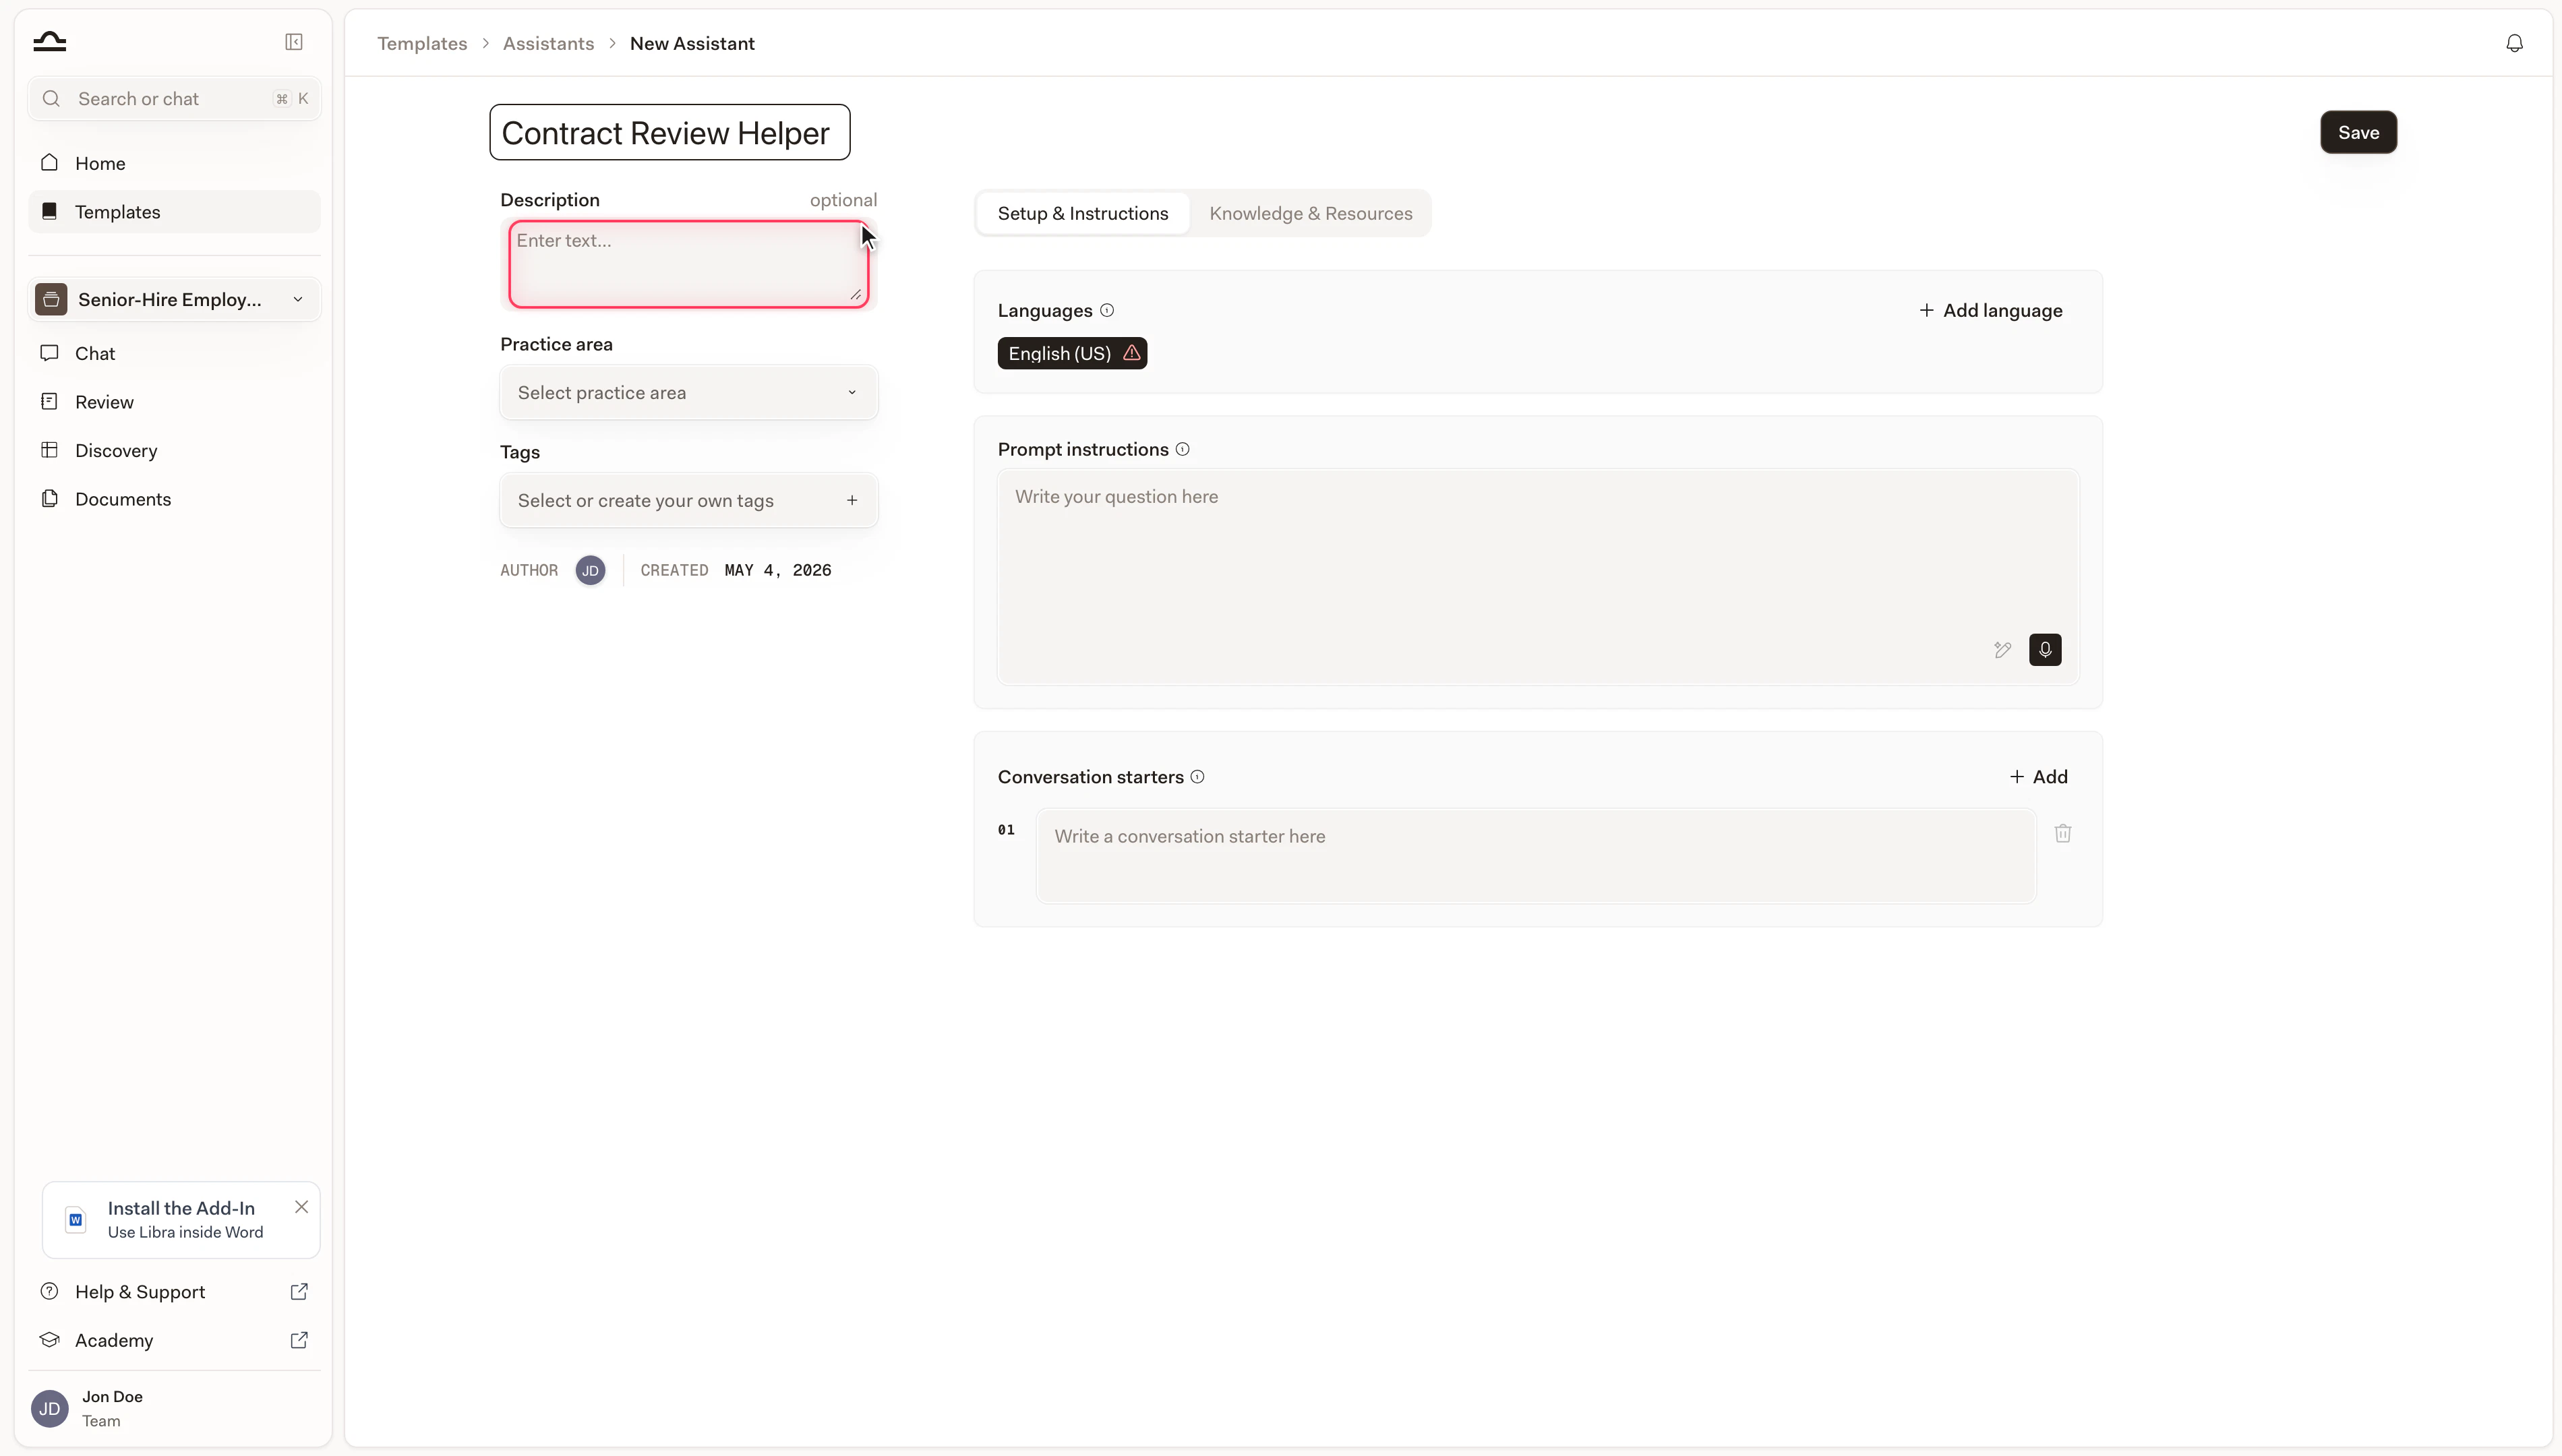
Open the editor
Section 1: Instructions
The system prompt. Four-part structure works well:Identity: who the Assistant is
Identity: who the Assistant is
“You are an experienced employment lawyer at a German commercial law firm. You specialise in cross-border employment disputes.”
Task: what the Assistant does
Task: what the Assistant does
“Your job is to review employment contracts and identify clauses that may be unenforceable under German labour law. Output a structured findings list.”
Format: how the output is shaped
Format: how the output is shaped
“For each finding, include: clause reference, the issue, risk level (Low / Medium / High), and a one-sentence recommendation.”
Constraints: what the Assistant never does
Constraints: what the Assistant never does
“Never recommend signing a contract with High-risk findings unresolved. Focus only on German law; if the contract spans jurisdictions, note this but do not analyse the other jurisdictions.”
Section 2: Knowledge (optional)
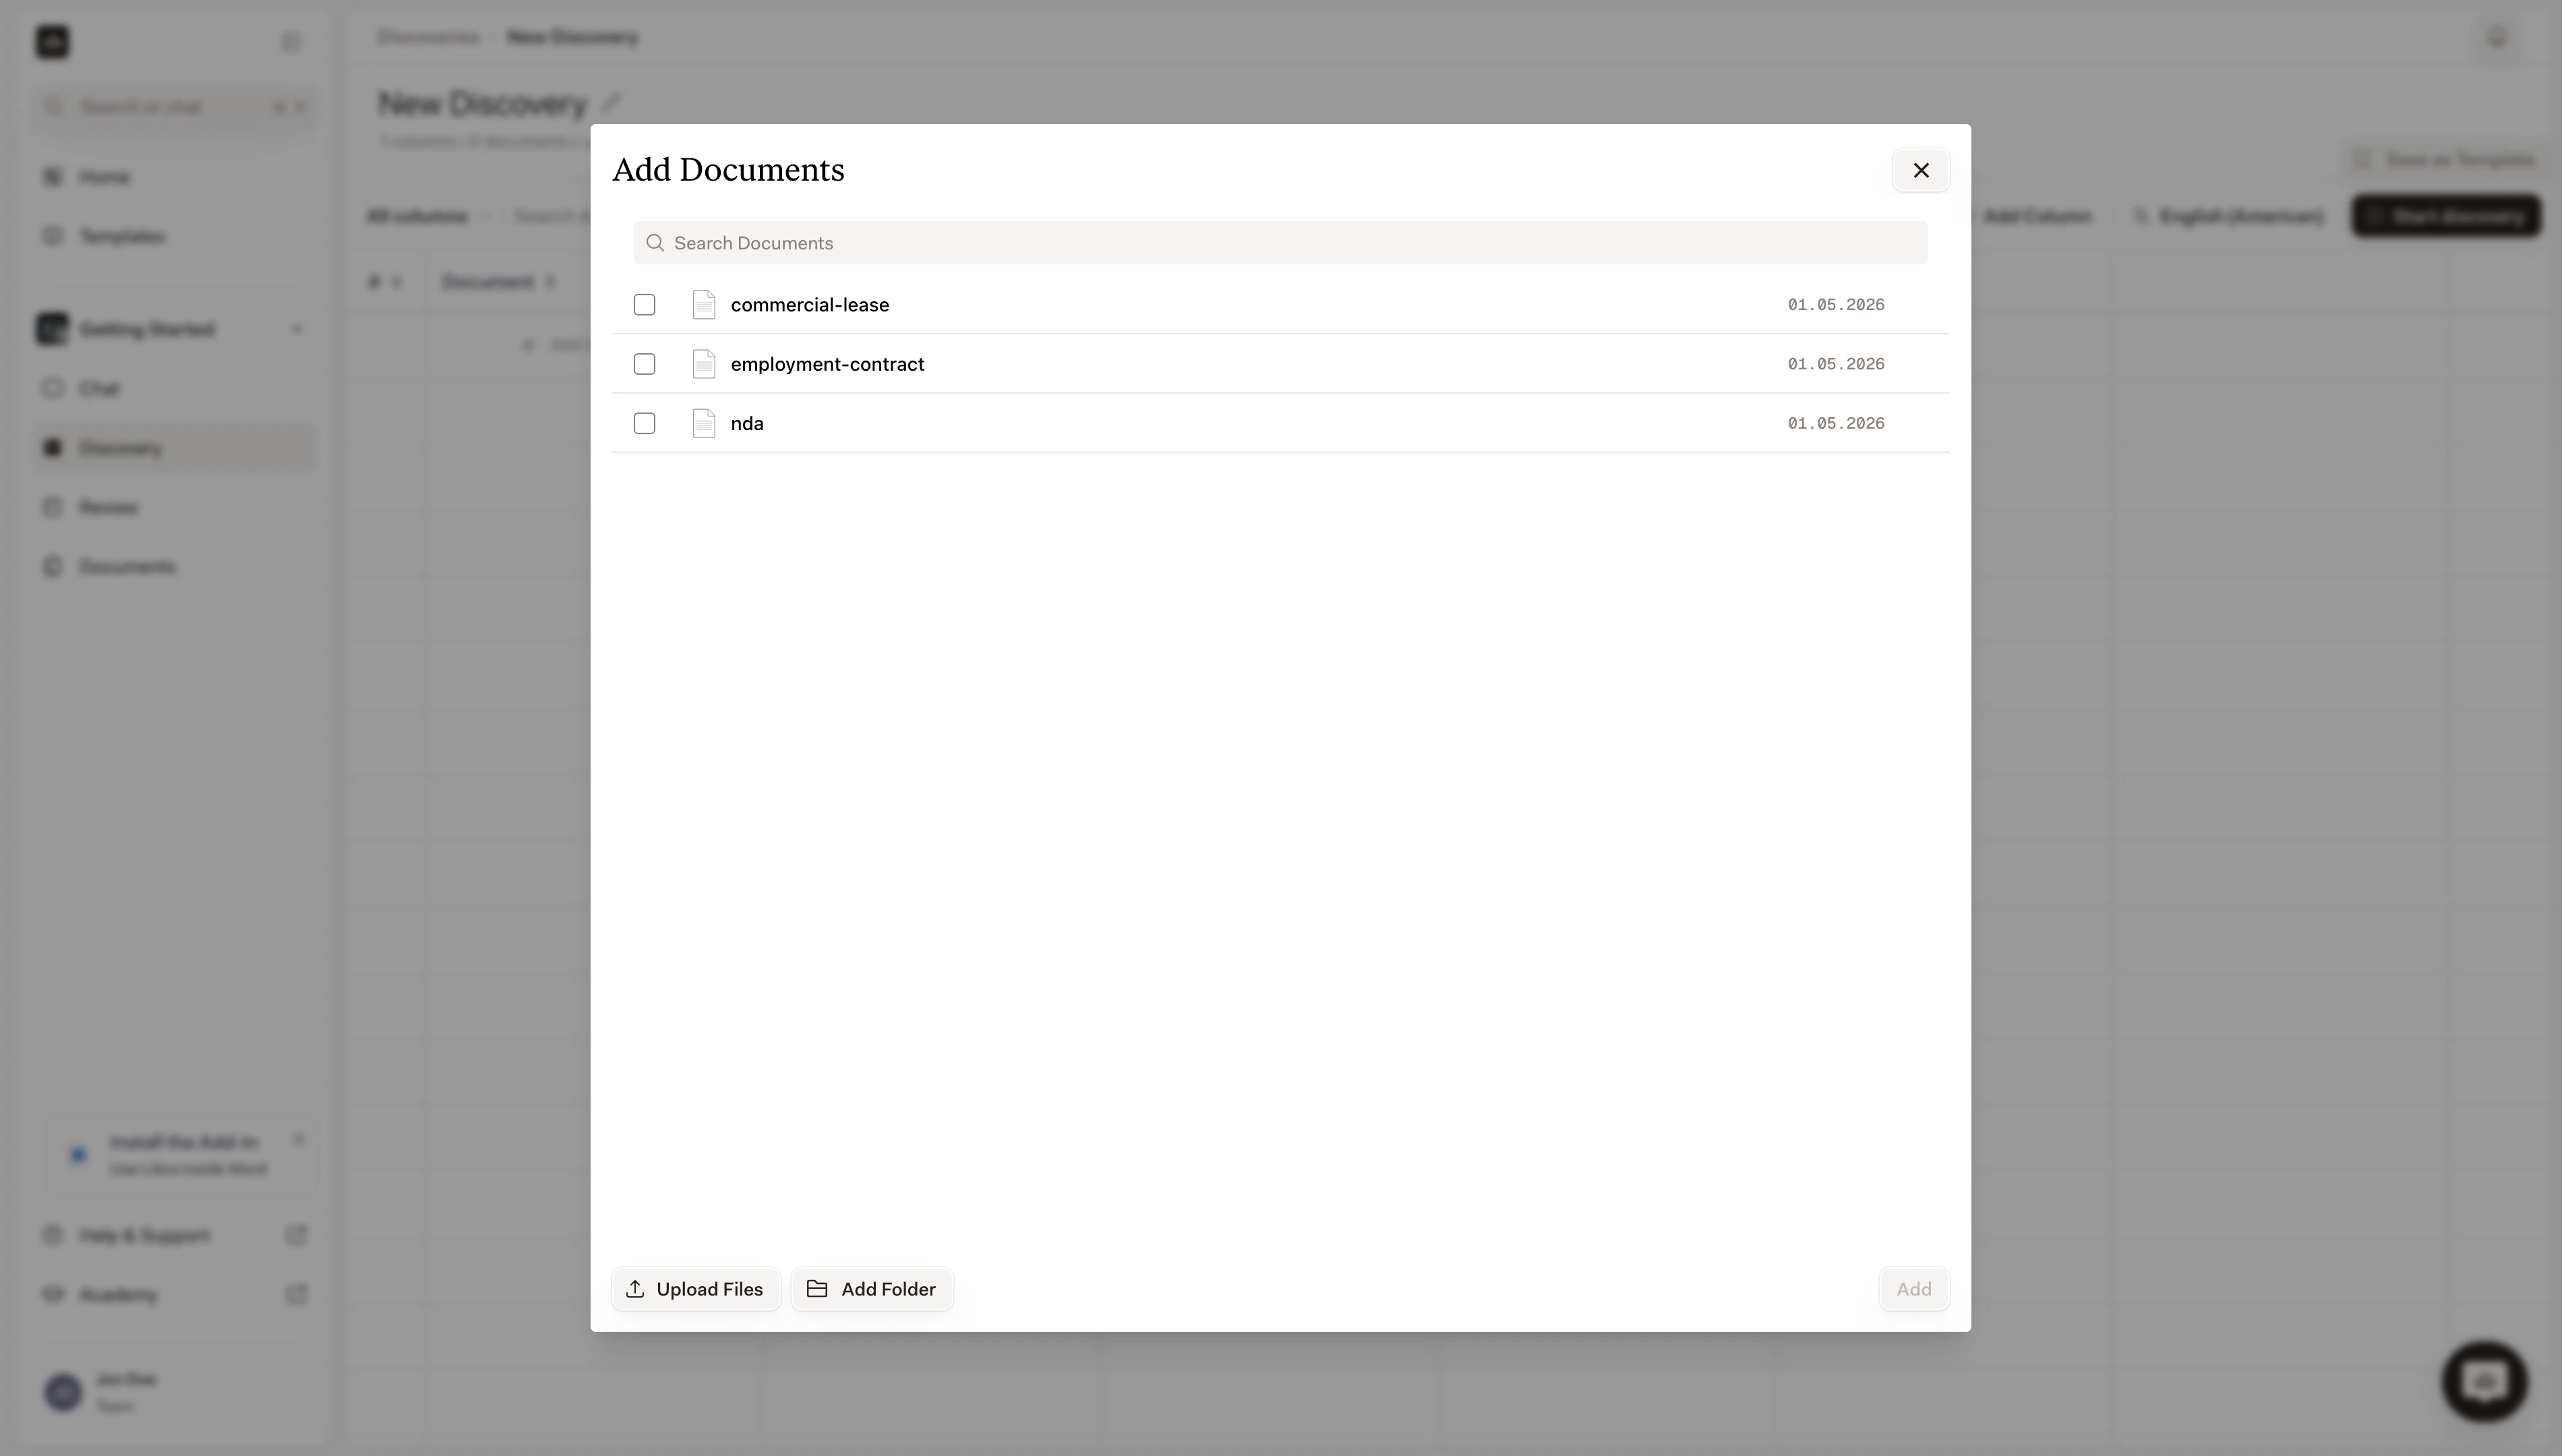
Knowledge documents are the reference material the Assistant can cite when answering. Think of them as the onboarding pack you’d give a junior associate.| What to include | Examples |
|---|---|
| Templates and samples | Your firm’s standard NDA template, a sample memo in the right format. |
| Internal guidelines | The house style guide, the firm’s redline policy. |
| Reference materials | Relevant statutes, the most-cited commentaries on the topic. |
| Client-specific context | When the Assistant is for a specific client, that client’s prior agreements. |
Section 3: Configuration
Behavioural defaults. None are required; sensible defaults apply.| Setting | Effect |
|---|---|
| Default Chat mode | What Chat mode the Assistant runs in. Default for most; Deep Thinking for analytical Assistants; Fast for quick lookups. |
| Default Research sources | The legal databases the Assistant always researches from. Picked from the same list as Research mode. |
| Practice area | Picked from the fixed list. Used to filter the Assistant in the Templates library. |
| Custom tags | Free-form tags. See Practice areas & tags. |
Default Research sources
Pre-selecting research sources is what turns a generic Assistant into a jurisdiction-specific one. When the Assistant runs, Research mode is auto-enabled with those sources — you don’t have to toggle Research and pick the databases each time.
A “Swiss Employment Law Researcher” Assistant with Fedlex + Schweizer Rechtsprechung pre-set; a “German Tax Memo Drafter” with Wolters Kluwer Online + Otto Schmidt pre-set. The user types the prompt, the Assistant brings the right database.
| Pattern | Sources to pre-set |
|---|---|
| German legal research | Wolters Kluwer Online, Otto Schmidt, German Case Law |
| Swiss legal research | Fedlex, Schweizer Rechtsprechung, Open Case Law |
| Dutch legal research | InView Legal NL, Legal Intelligence |
| Cross-jurisdiction comparative work | Multiple jurisdictions; pair with Deep Thinking as the default Chat mode |
| General drafting (no research) | Leave empty — the Assistant runs without Research mode |
Connecting research sources
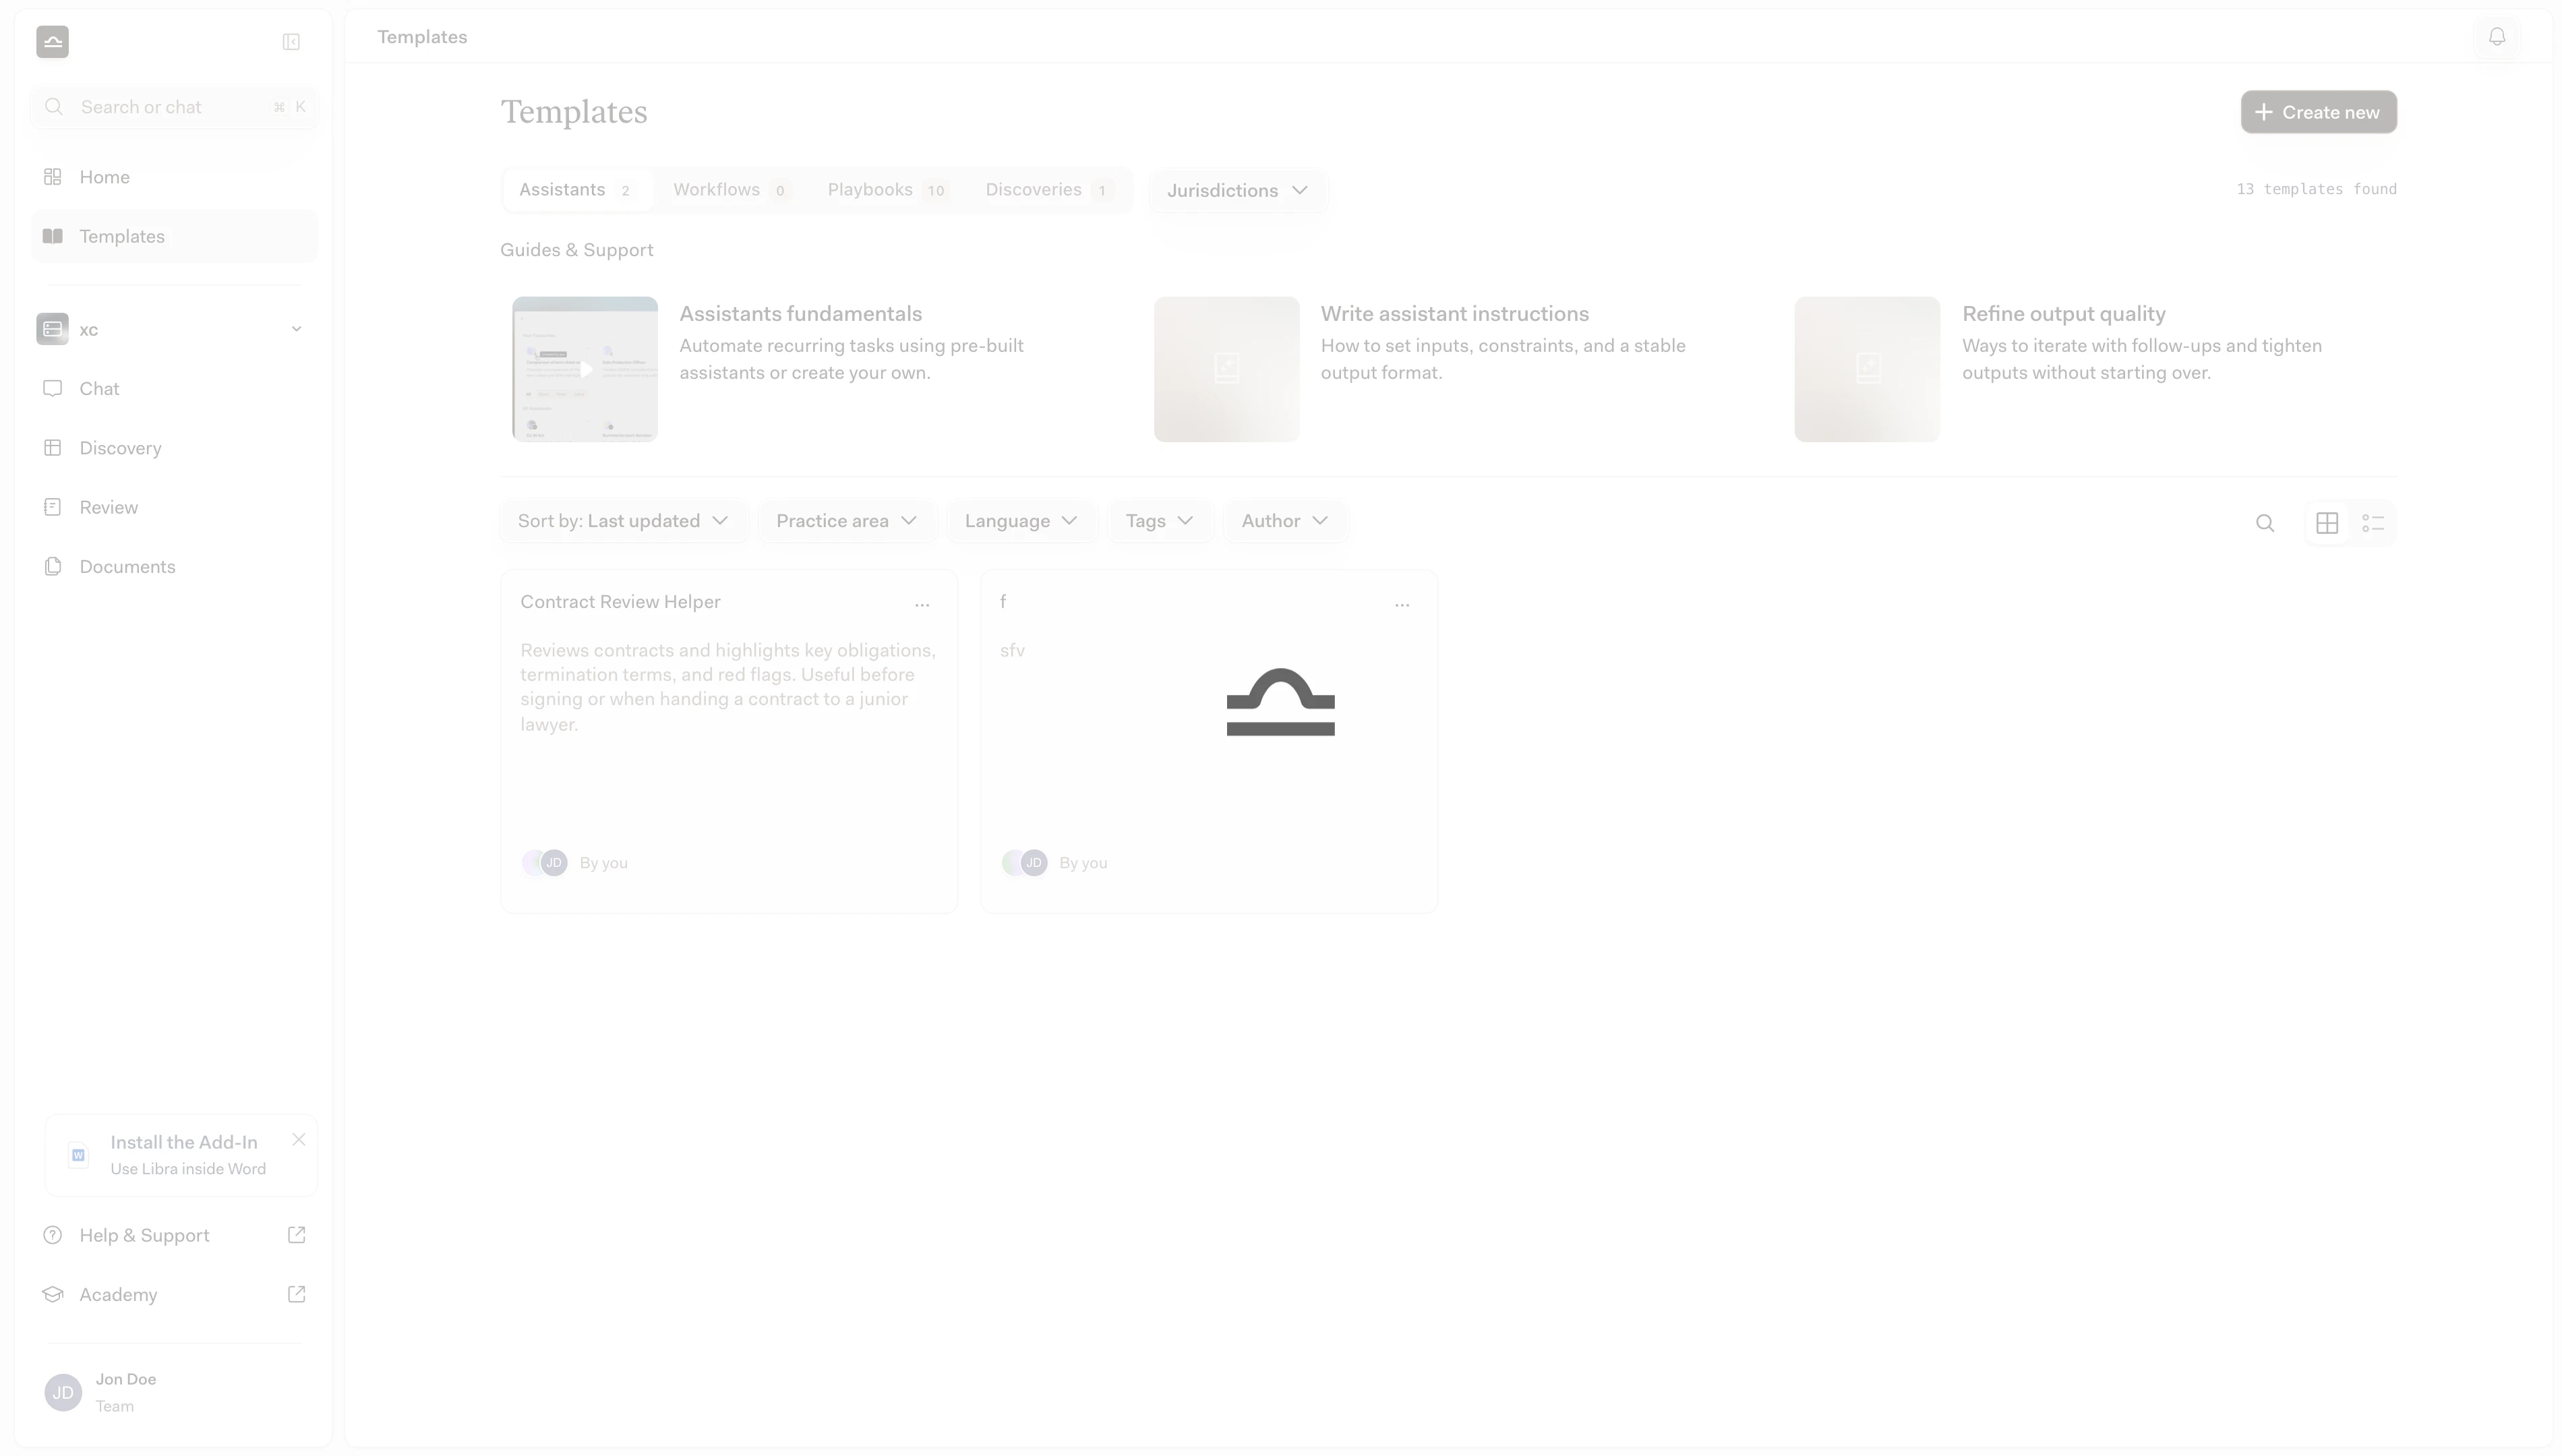
Open the Knowledge & Resources tab
The Assistant editor has two tabs at the top: Setup & Instructions and Knowledge & Resources. Switch to Knowledge & Resources.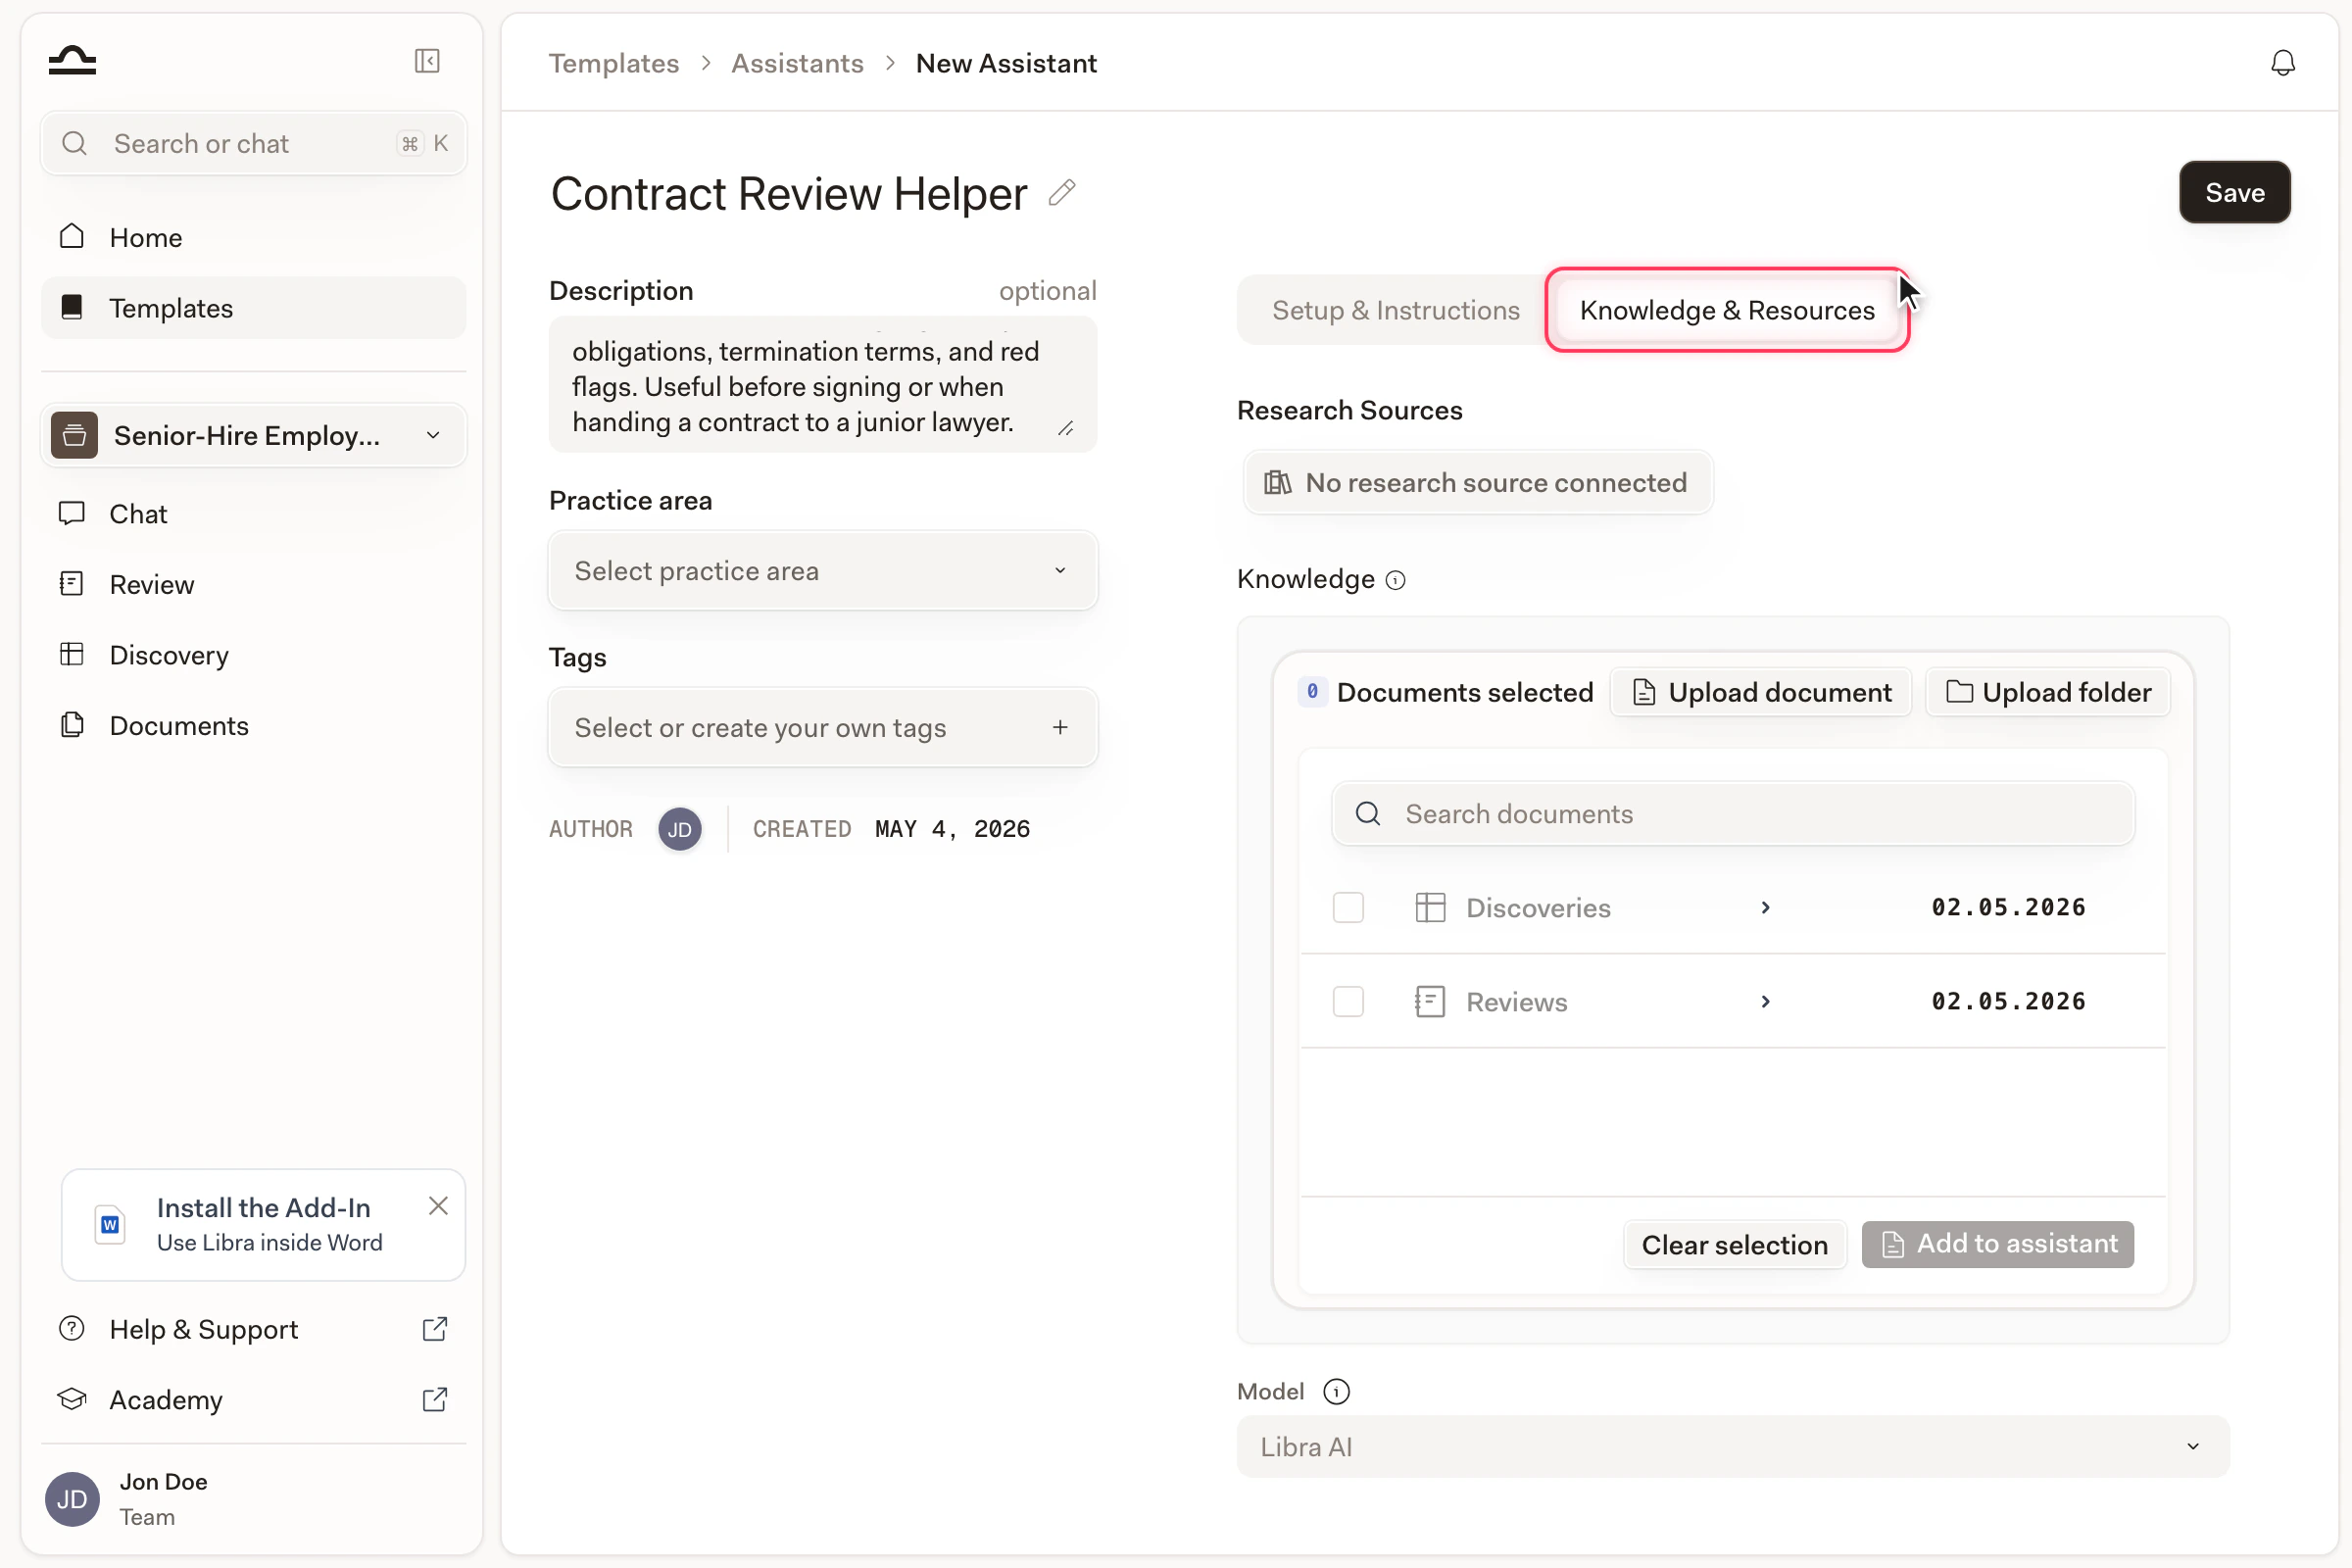
Open the Research Sources picker
Under Research Sources, click the dropdown (it reads “No research source connected” on a fresh Assistant).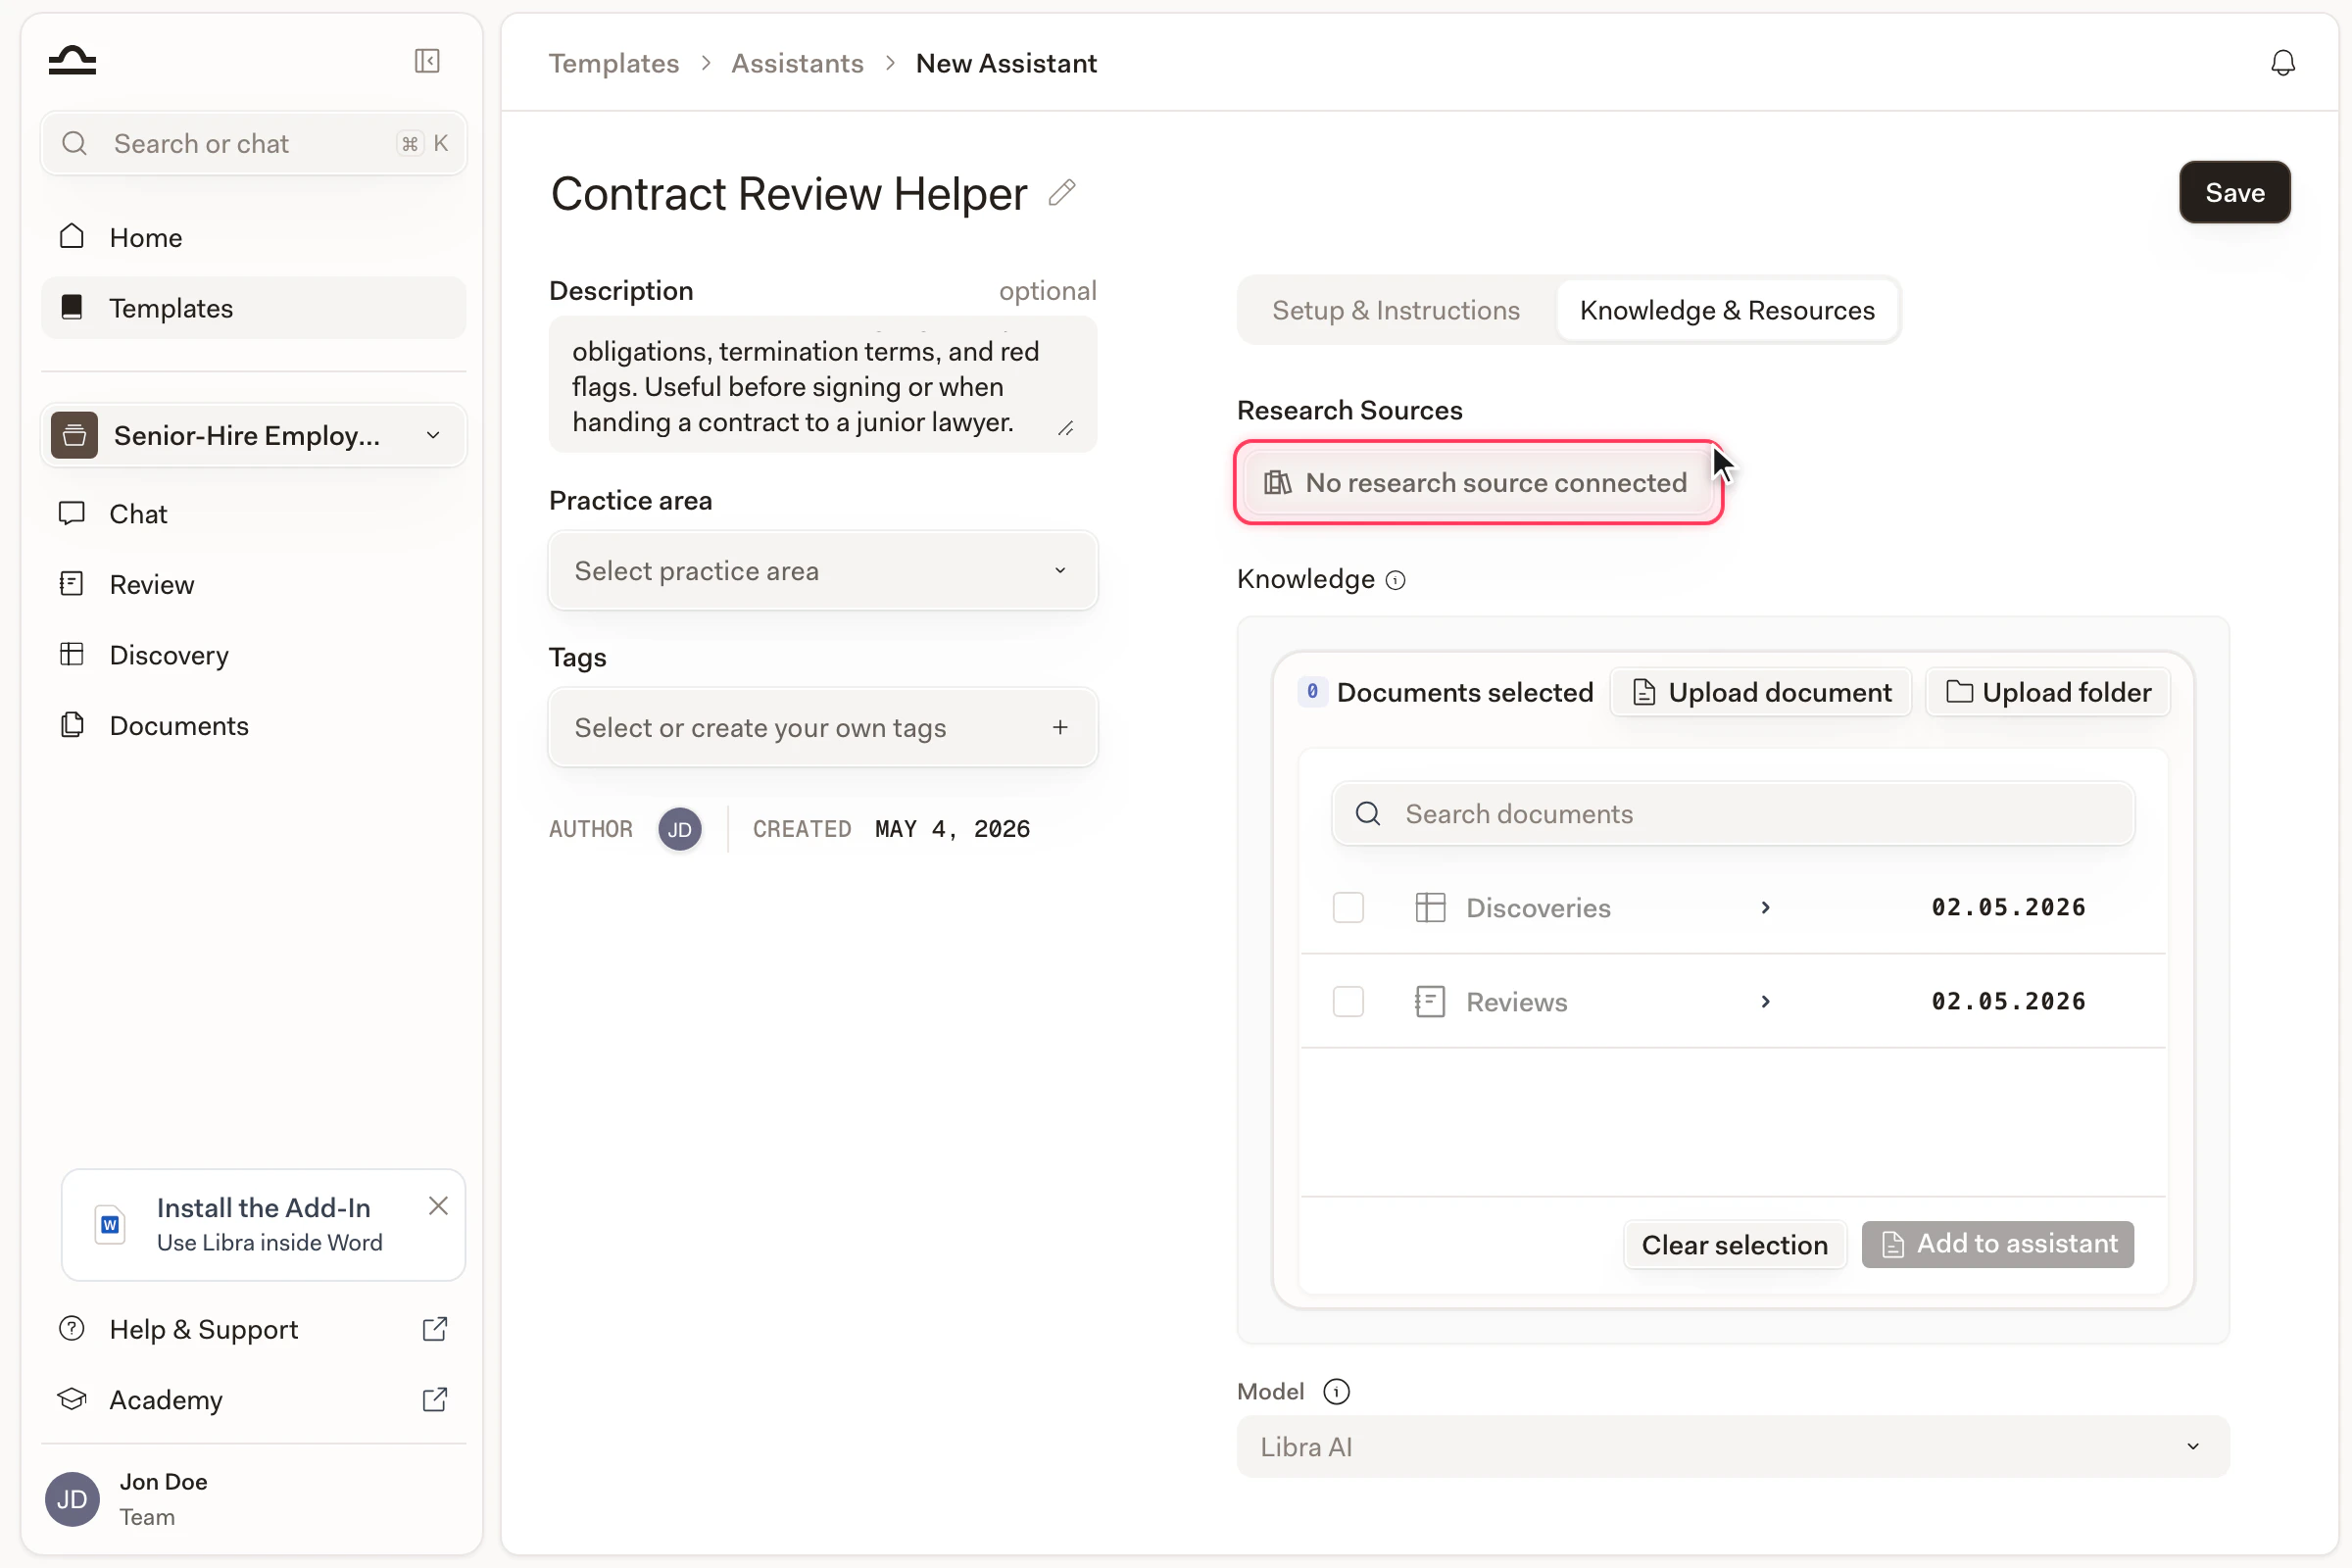
Pick a jurisdiction
The picker is grouped by jurisdiction. Use the Jurisdictions selector at the top to switch between countries; the list below updates to show the sources available there.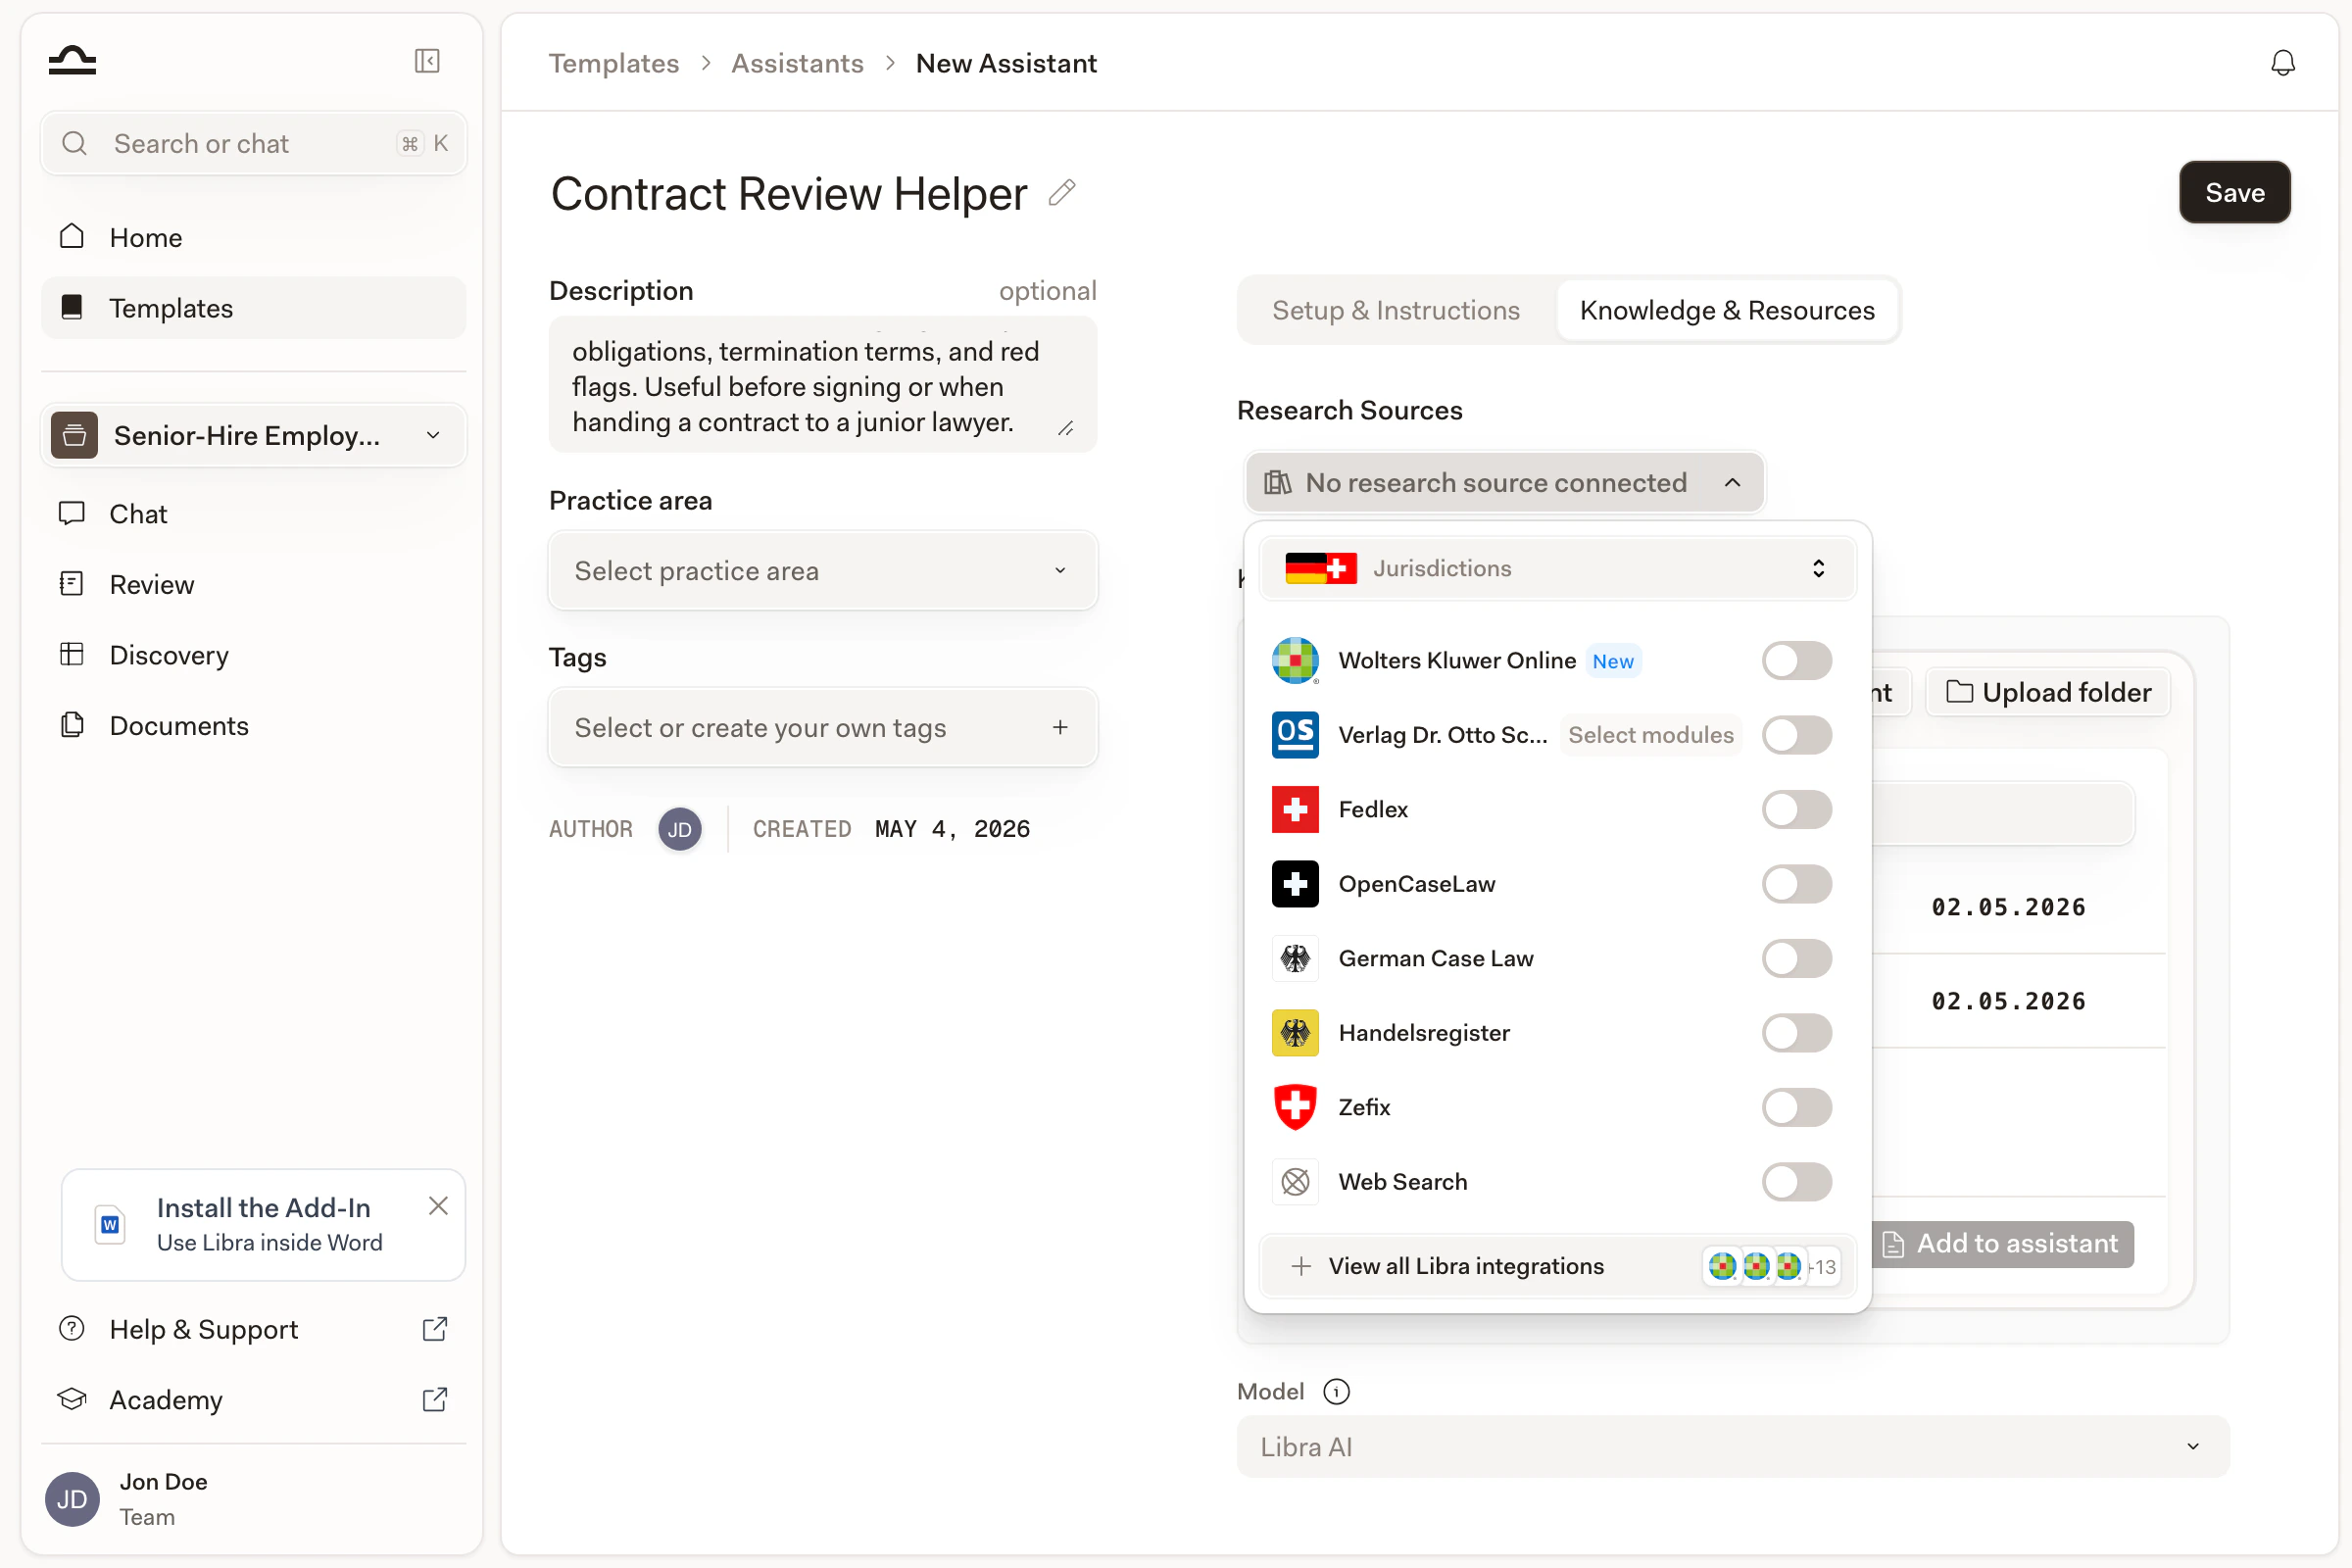
Toggle the sources you want
Each source has a toggle on the right. Sources that need extra setup show their setup link inline — for example, Verlag Dr. Otto Schmidt has a Select modules link, since module access is configured per team.
(Optional) View all Libra integrations
The + View all Libra integrations link at the bottom of the picker opens the full integrations page if you need to connect a new source before adding it here.
Section 4: Sharing
By default the Assistant is Just me. When it’s ready to share: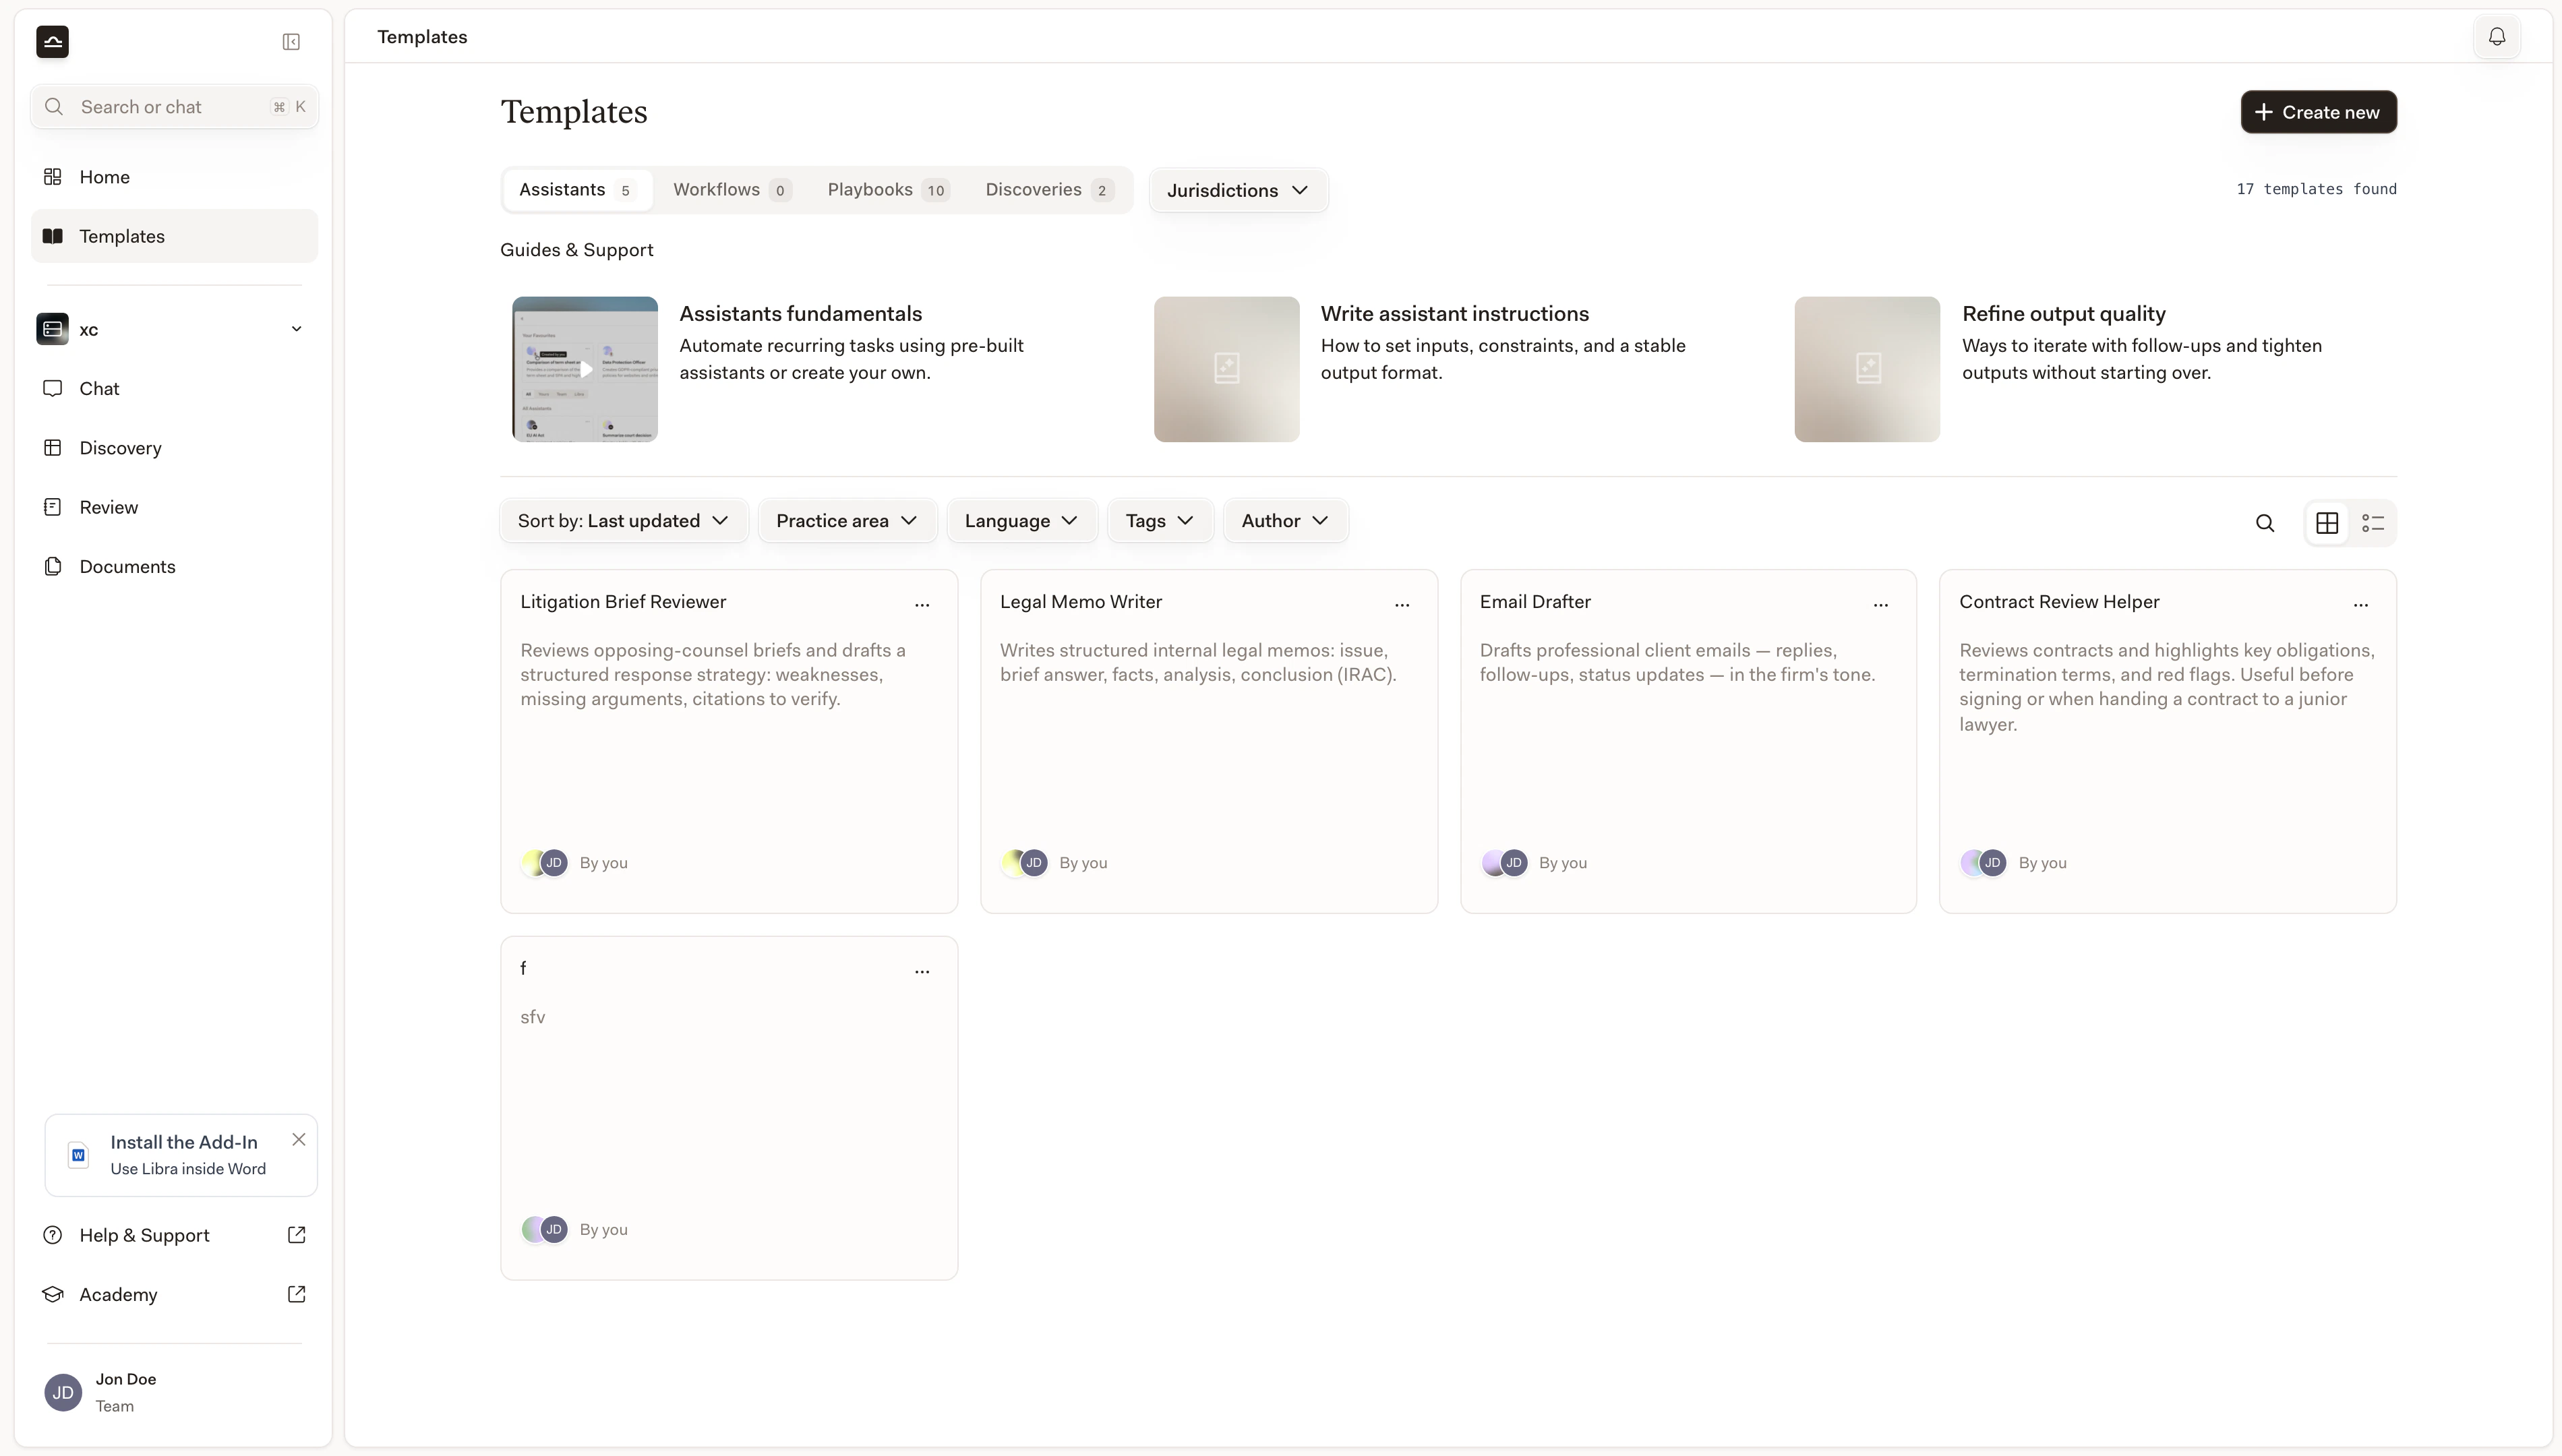
Set access
Pick Everyone in the team for firm-wide; pick specific users or groups for narrower sharing.
Test before you trust
Don’t validate an Assistant on one trial.Read each output critically
| Question | What to check |
|---|---|
| Does it understand the task? | Is the Assistant actually doing what you asked, or interpreting the prompt loosely? |
| Is the format right? | Does the output match the format you specified? |
| Did it use the knowledge? | If you uploaded reference documents, are they cited? |
| Did it stay in scope? | Did it stick to the constraints, or wander into adjacent topics? |
Managing existing Assistants
| Action | How |
|---|---|
| Edit | Open the Assistant card in the Templates library. The editor opens. |
| Duplicate | Open the menu on the card, click Duplicate. Creates a copy under your ownership. Useful for forking a colleague’s Assistant. |
| Delete | Open the menu, click Delete. Confirm. Deletion is permanent for the Assistant; chats that used it are unaffected. |
Tips for instructions that work
Be specific about the task
Be specific about the task
“Review the contract” is too vague. “Review the uploaded contract for termination, liability cap, and IP assignment clauses, flagging any that deviate from our standard” is something the Assistant can act on.
Define the output format explicitly
Define the output format explicitly
“Output as a numbered list with three sections: Risks / Recommendations / Open questions.” Without a format spec, you get whatever the model defaults to.
Provide examples for judgment calls
Provide examples for judgment calls
For tasks involving categorisation, include examples in the instructions. “Treat ‘shall’ and ‘must’ as mandatory; treat ‘should’ and ‘may’ as discretionary.”
Set guardrails the Assistant should never cross
Set guardrails the Assistant should never cross
“Never advise on tax matters. Never quote client-specific information from past matters.” Explicit constraints prevent drift.
Pre-set the Chat mode if the task needs it
Pre-set the Chat mode if the task needs it
Analytical Assistants benefit from defaulting to Deep Thinking. Quick-lookup Assistants benefit from defaulting to Fast.
Next steps
Assistants overview
The conceptual overview.
Workflows
Chain Assistants together for multi-step procedures.