
Per-step prompts ride on top of the Assistant’s instructions; they don’t replace them. Narrow a generic Assistant for one stage without forking it.
Step-by-step
Open the Workflows tab in Templates
Click Templates in the global section of the sidebar, then switch to the Workflows tab.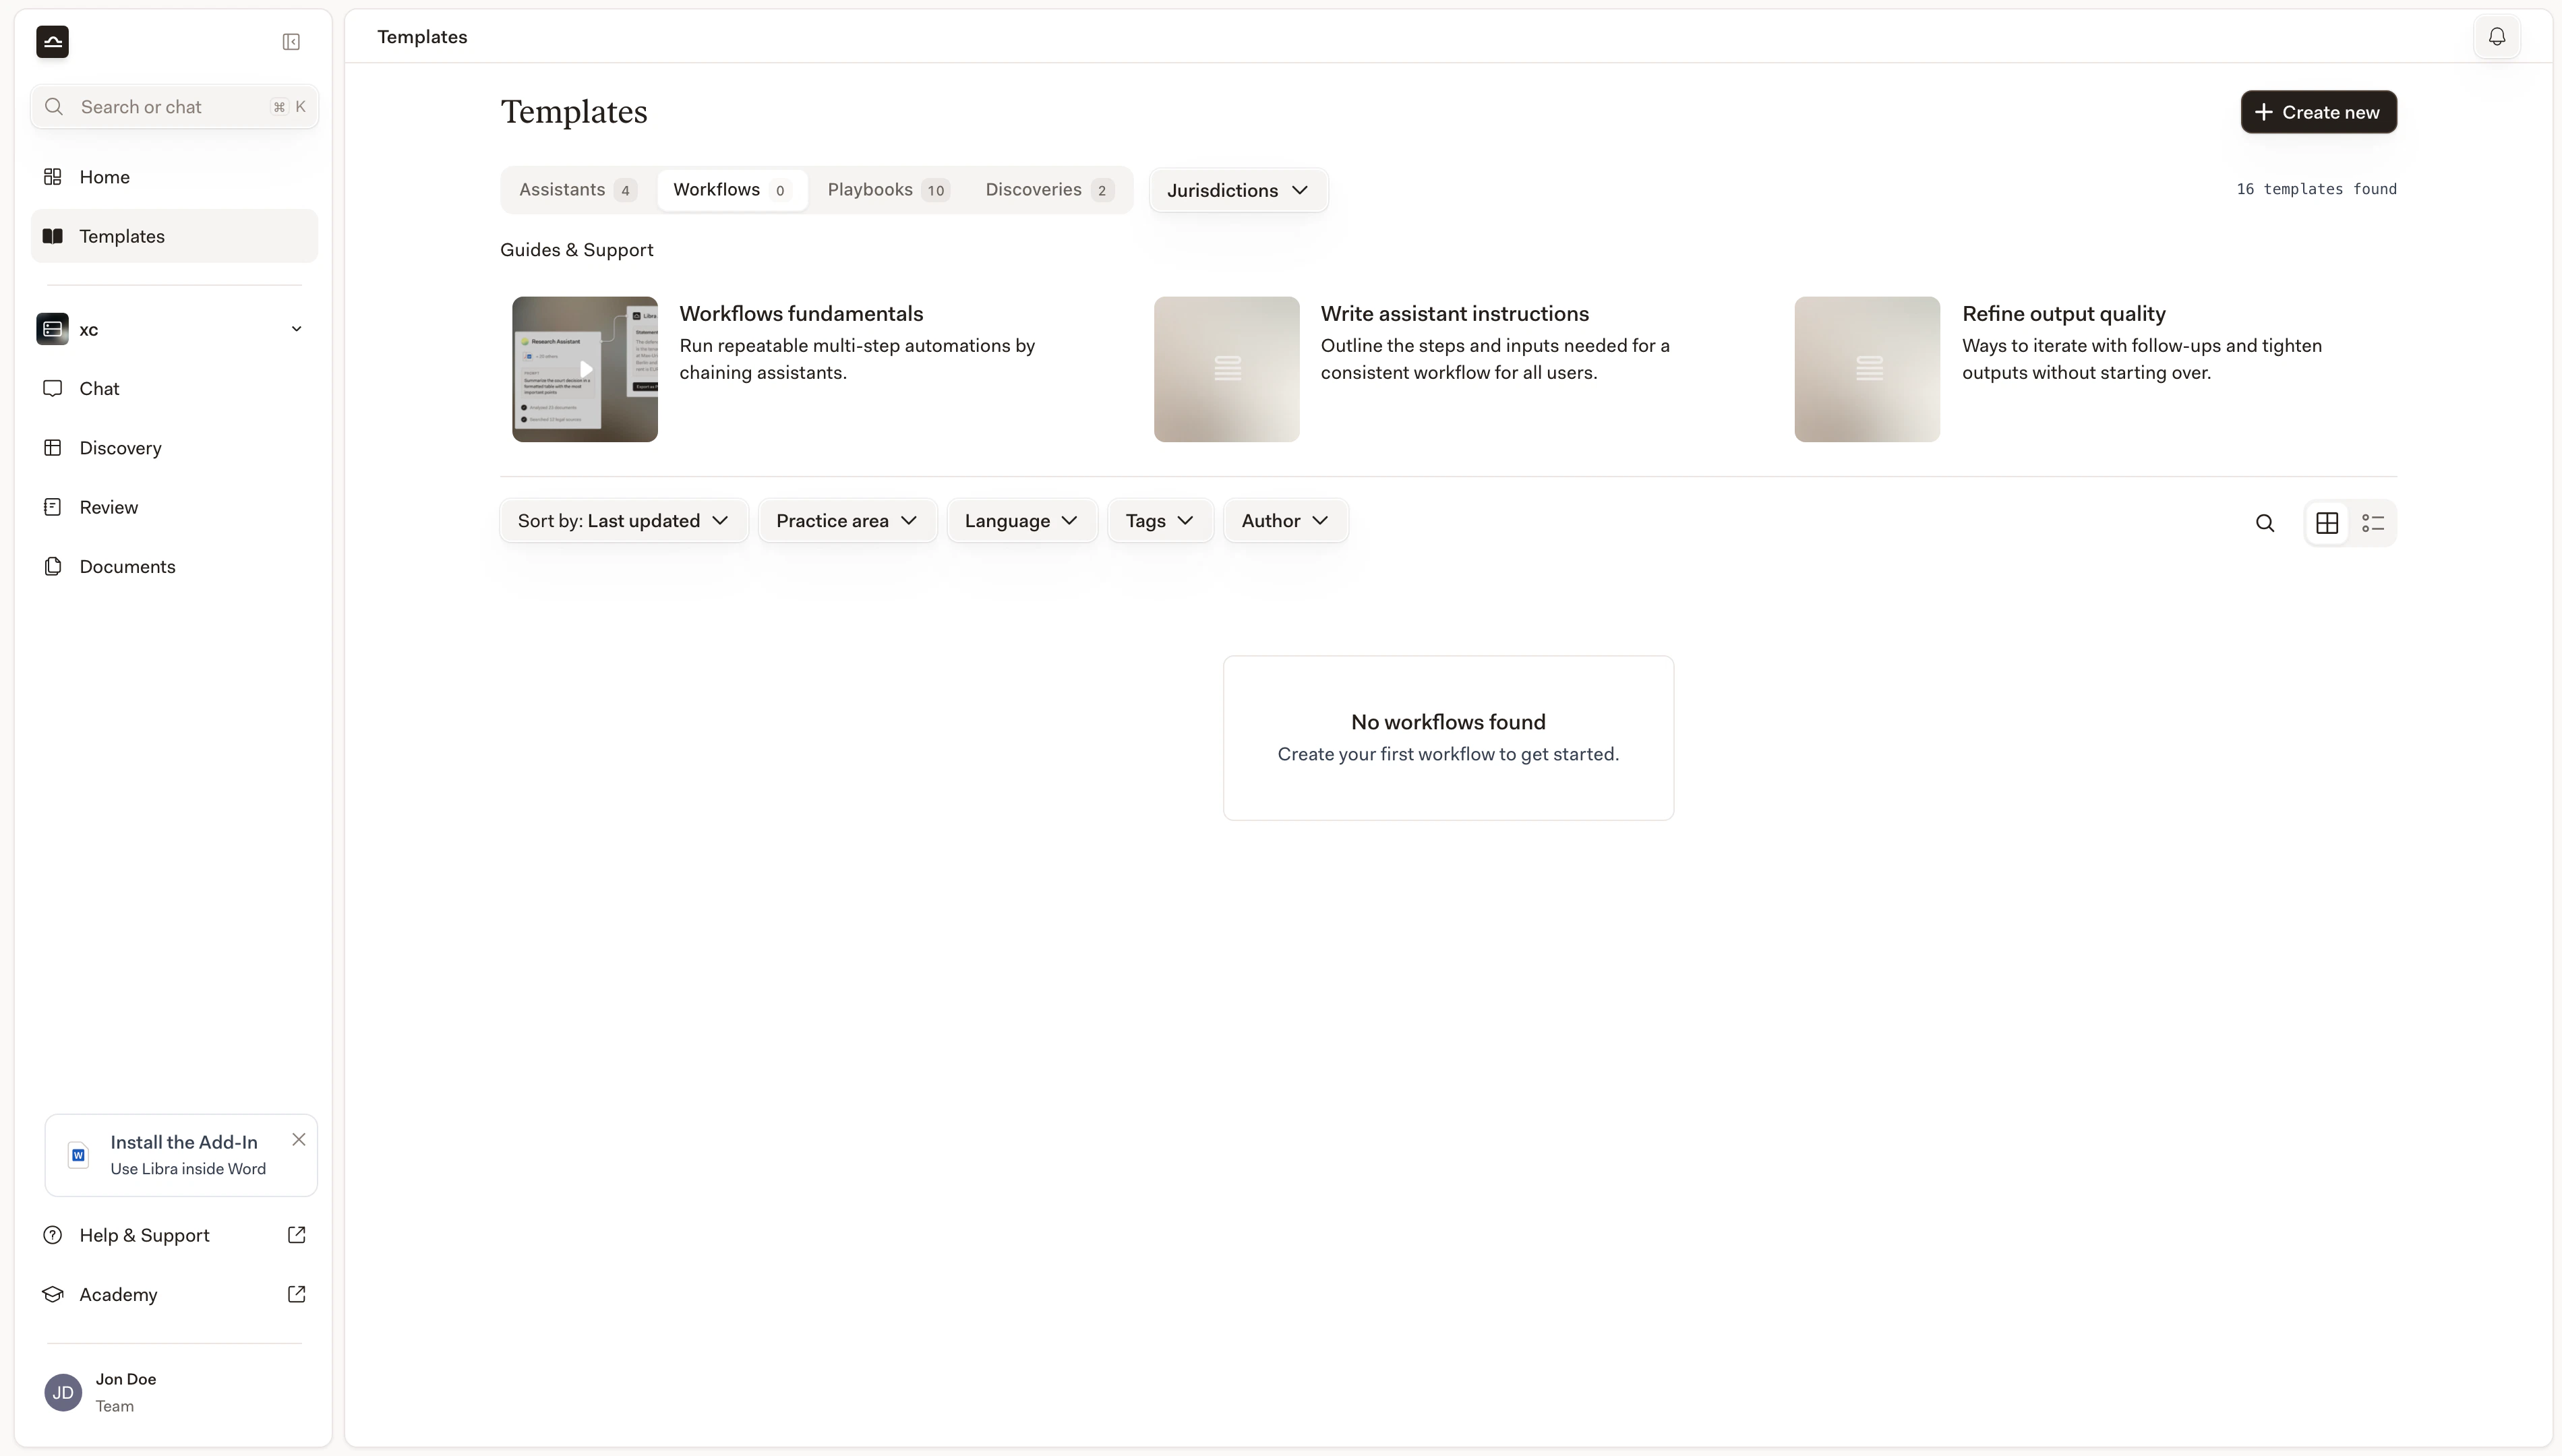
Click + Create new → Workflow
The full-screen Workflow editor opens.The editor has two main areas: the Toolbox on the left (your available Assistants) and the Workflow configuration in the centre (where you’ll arrange the steps).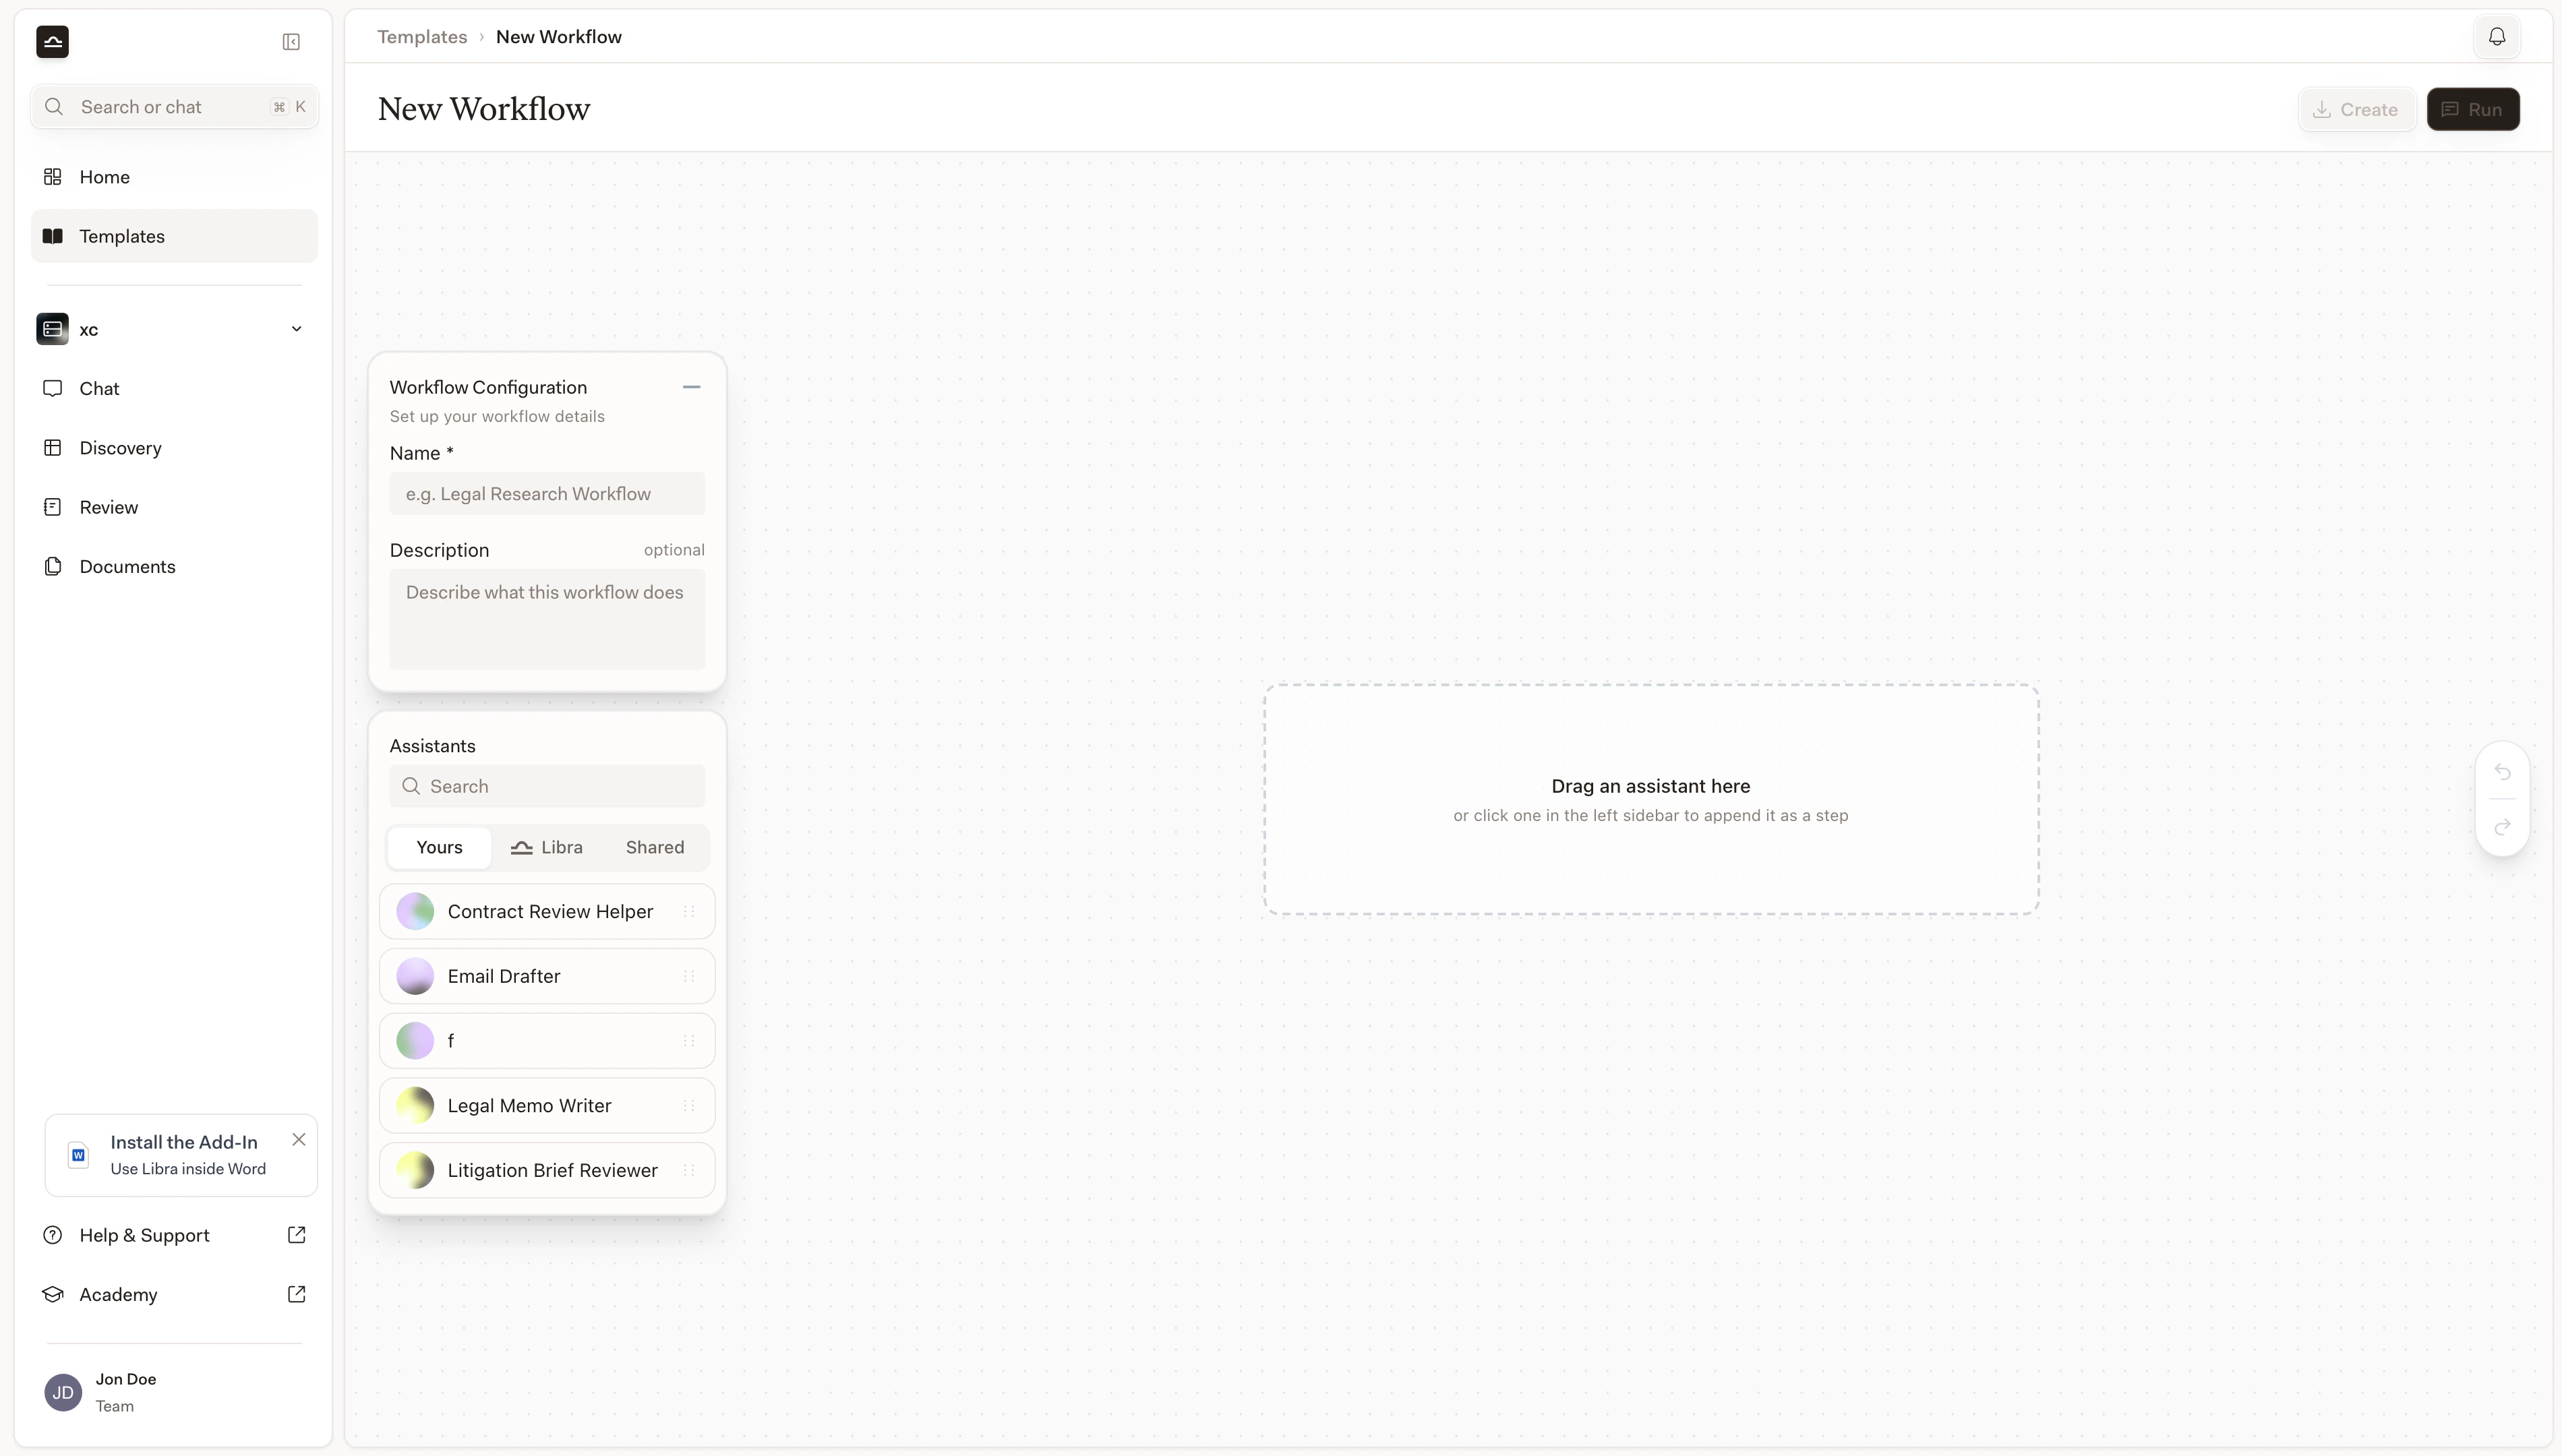
Name and describe the Workflow
Top of the editor:
| Field | What it’s for |
|---|---|
| Name | A descriptive name. “Contract review for clients”, “NDA drafting end-to-end”. |
| Description | One paragraph: what the Workflow is for, what input it expects. |
Add Assistants from the Toolbox
Drag an Assistant from the Toolbox into the configuration panel, or click it to add it as the next step. The Assistant becomes step 1.Add the next Assistant as step 2, then step 3, etc. The order matters: the output of step N is the input to step N+1.
Add a per-step prompt (optional)
Each step can carry its own pre-set prompt: instructions for what that step should focus on. The Assistant uses its own instructions plus the per-step prompt.“Step 1, Document analysis: Focus on termination clauses and IP assignment.”
“Step 2, Risk evaluation: Rank risks by severity, with a single sentence rationale per risk.”
Set sharing
Default is Just me. Share with a team or your firm once the Workflow is validated. See Starring & sharing.
Recipients of a shared Workflow need access to all the Assistants the Workflow uses (unless those Assistants are set to Everyone in the team). Libra warns when a sharing arrangement won’t work.

Running a Workflow
Pick the Workflow
Either click Run template on the Workflow card in the Templates library, or open a chat and click + Tools → Workflows → [your Workflow].
Provide the initial input
Upload the document(s) the Workflow operates on, or type the initial prompt; it depends on what step 1 expects.
Watch the steps run
The chat shows a breadcrumb at the top (Workflow → Step N of M: …). Each step’s output streams in, then the next step starts.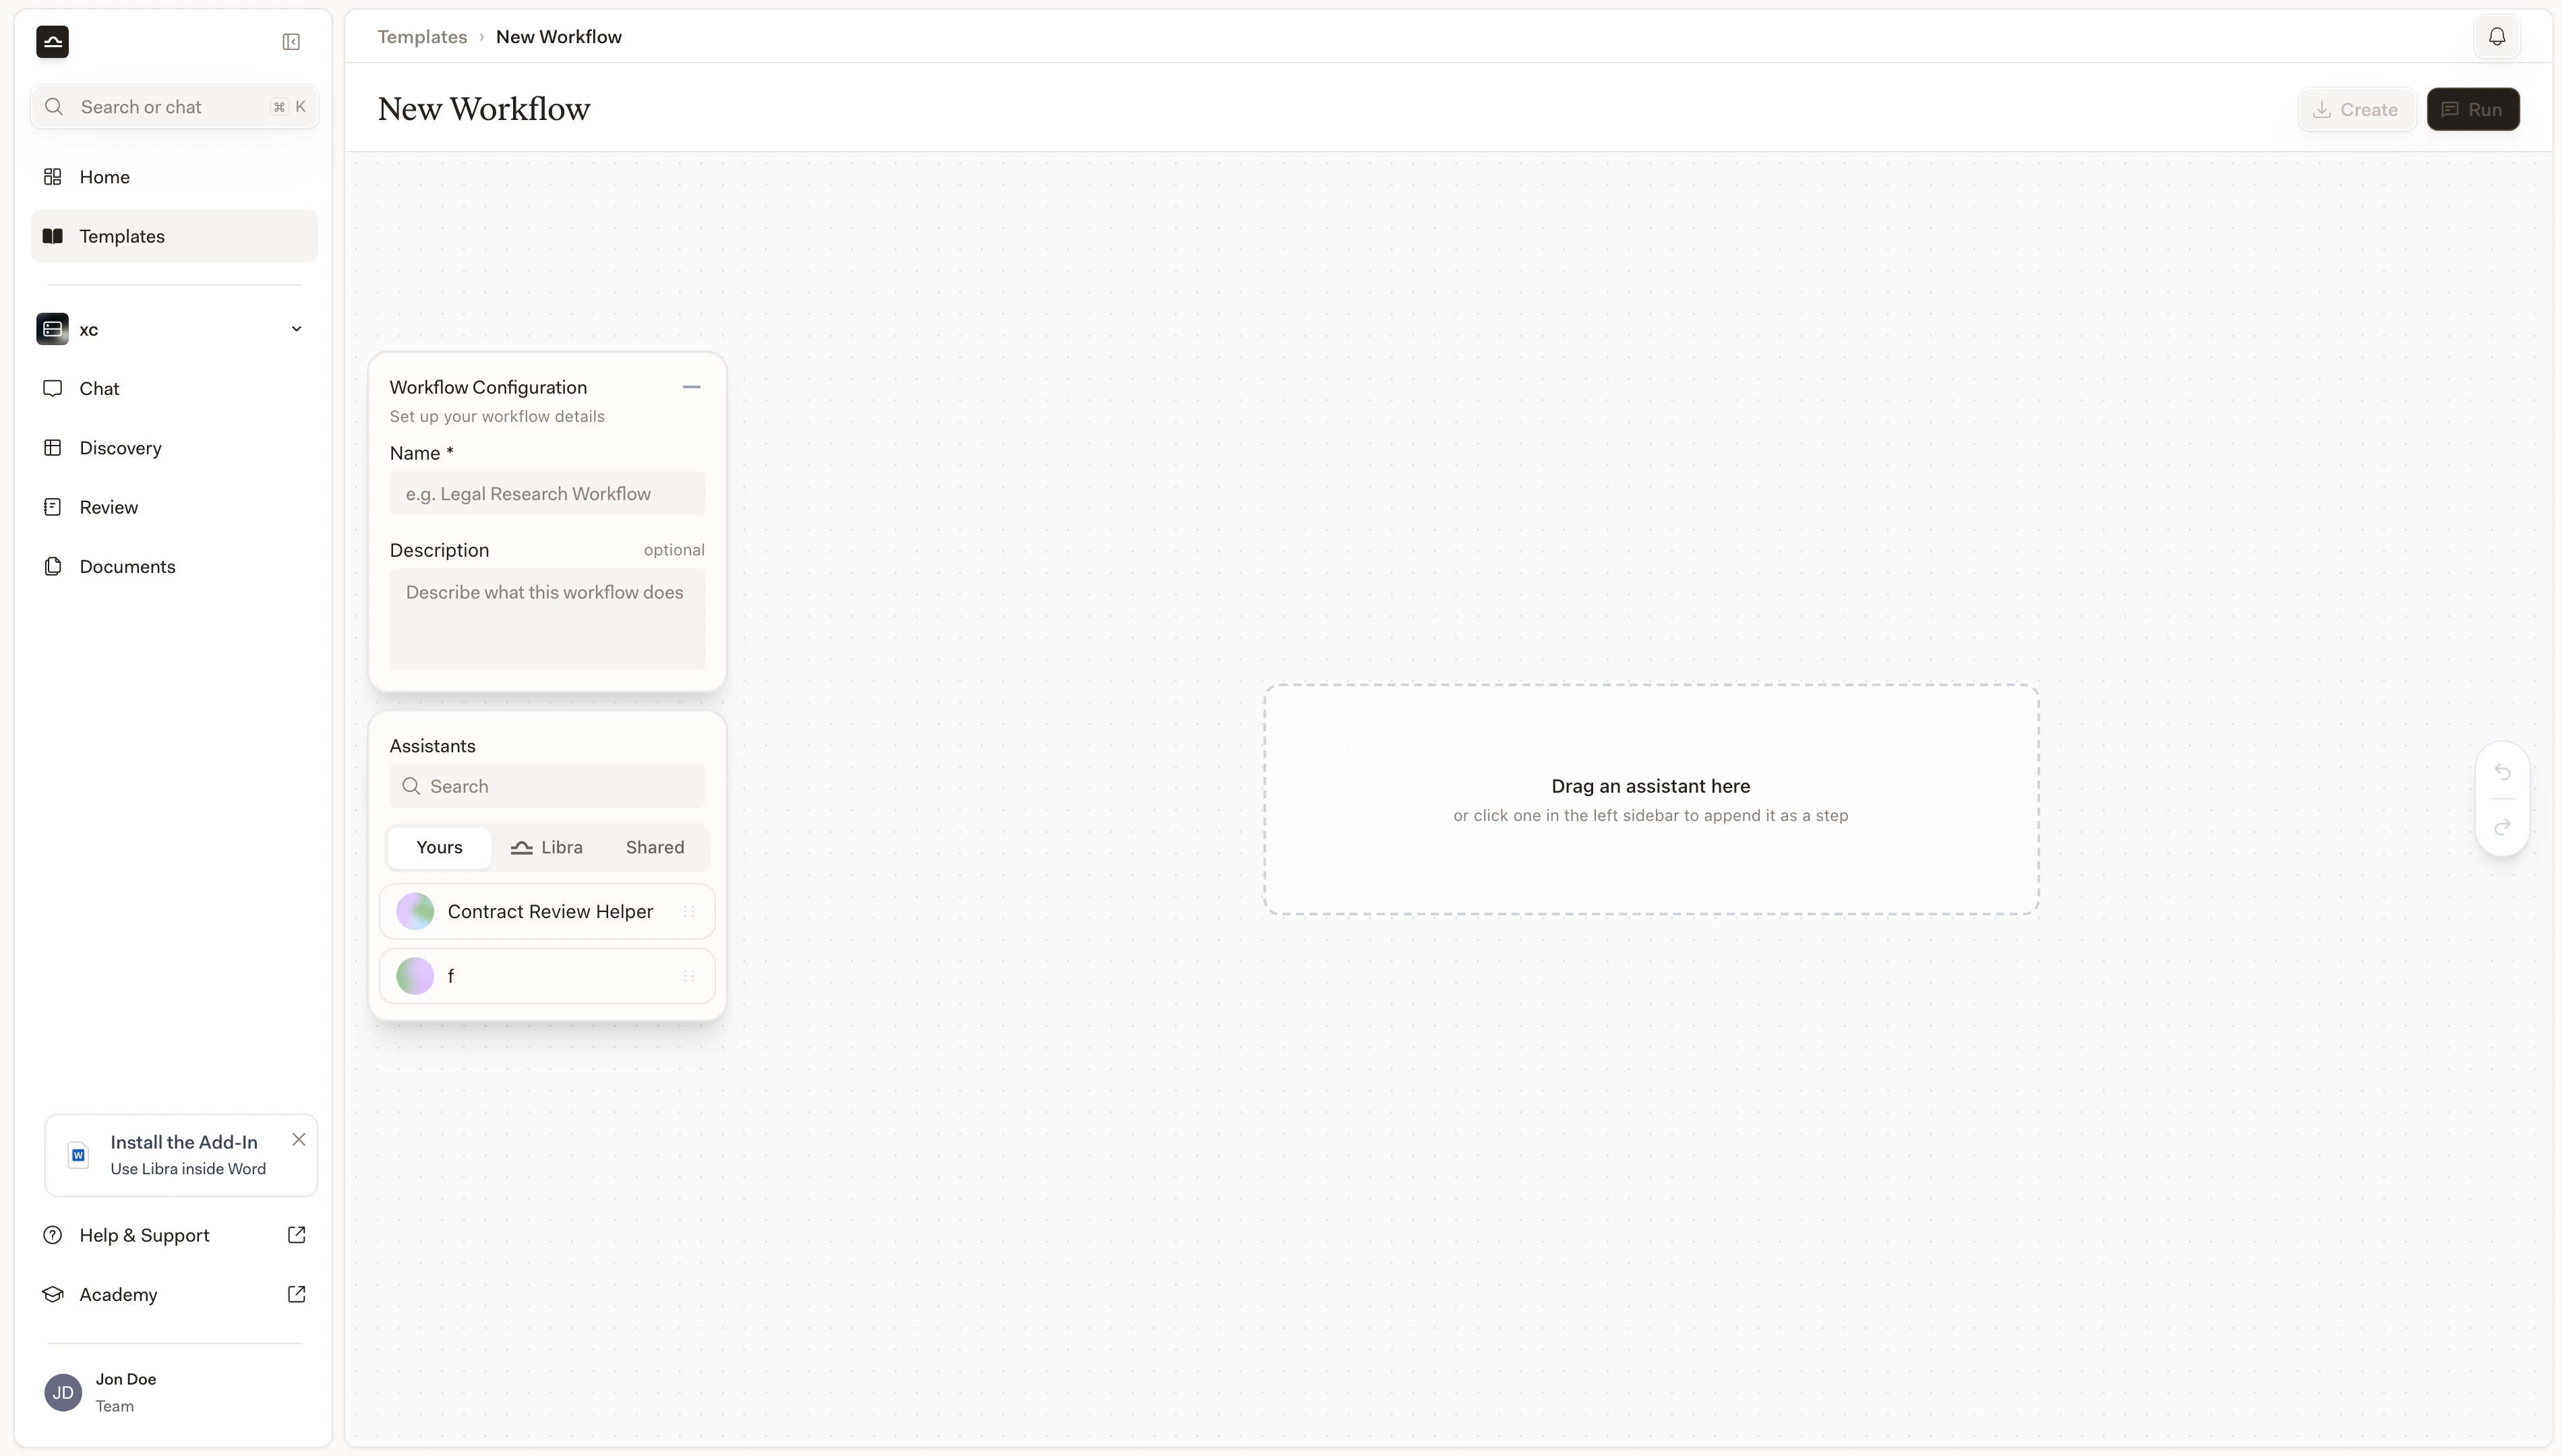
Tips
Keep each step focused
Keep each step focused
One step, one job. “Analyse and draft” is two steps. Splitting them makes failures easier to diagnose.
Build short Workflows first
Build short Workflows first
A 3-step Workflow that works reliably beats a 10-step Workflow that breaks halfway through. Add steps once each one is solid.
Test each Assistant alone first
Test each Assistant alone first
Confirm each Assistant works on its own before chaining them. A bad step in a Workflow is harder to diagnose than a bad Assistant in a chat.
Document the Workflow's expected input
Document the Workflow's expected input
“Expects: a contract document and a one-paragraph description of the matter context.” Future users (and future you) will thank you.
Next steps
Workflow templates
Reuse and share Workflows.
Assistants
The building blocks of Workflows.