
Add columns one at a time to a finished Discovery. A new column re-runs only that column, not the matrix, so you iterate without re-paying for what worked.
What’s in a Discovery
| Element | What it is |
|---|---|
| Template | The set of columns: questions Libra answers for each document. |
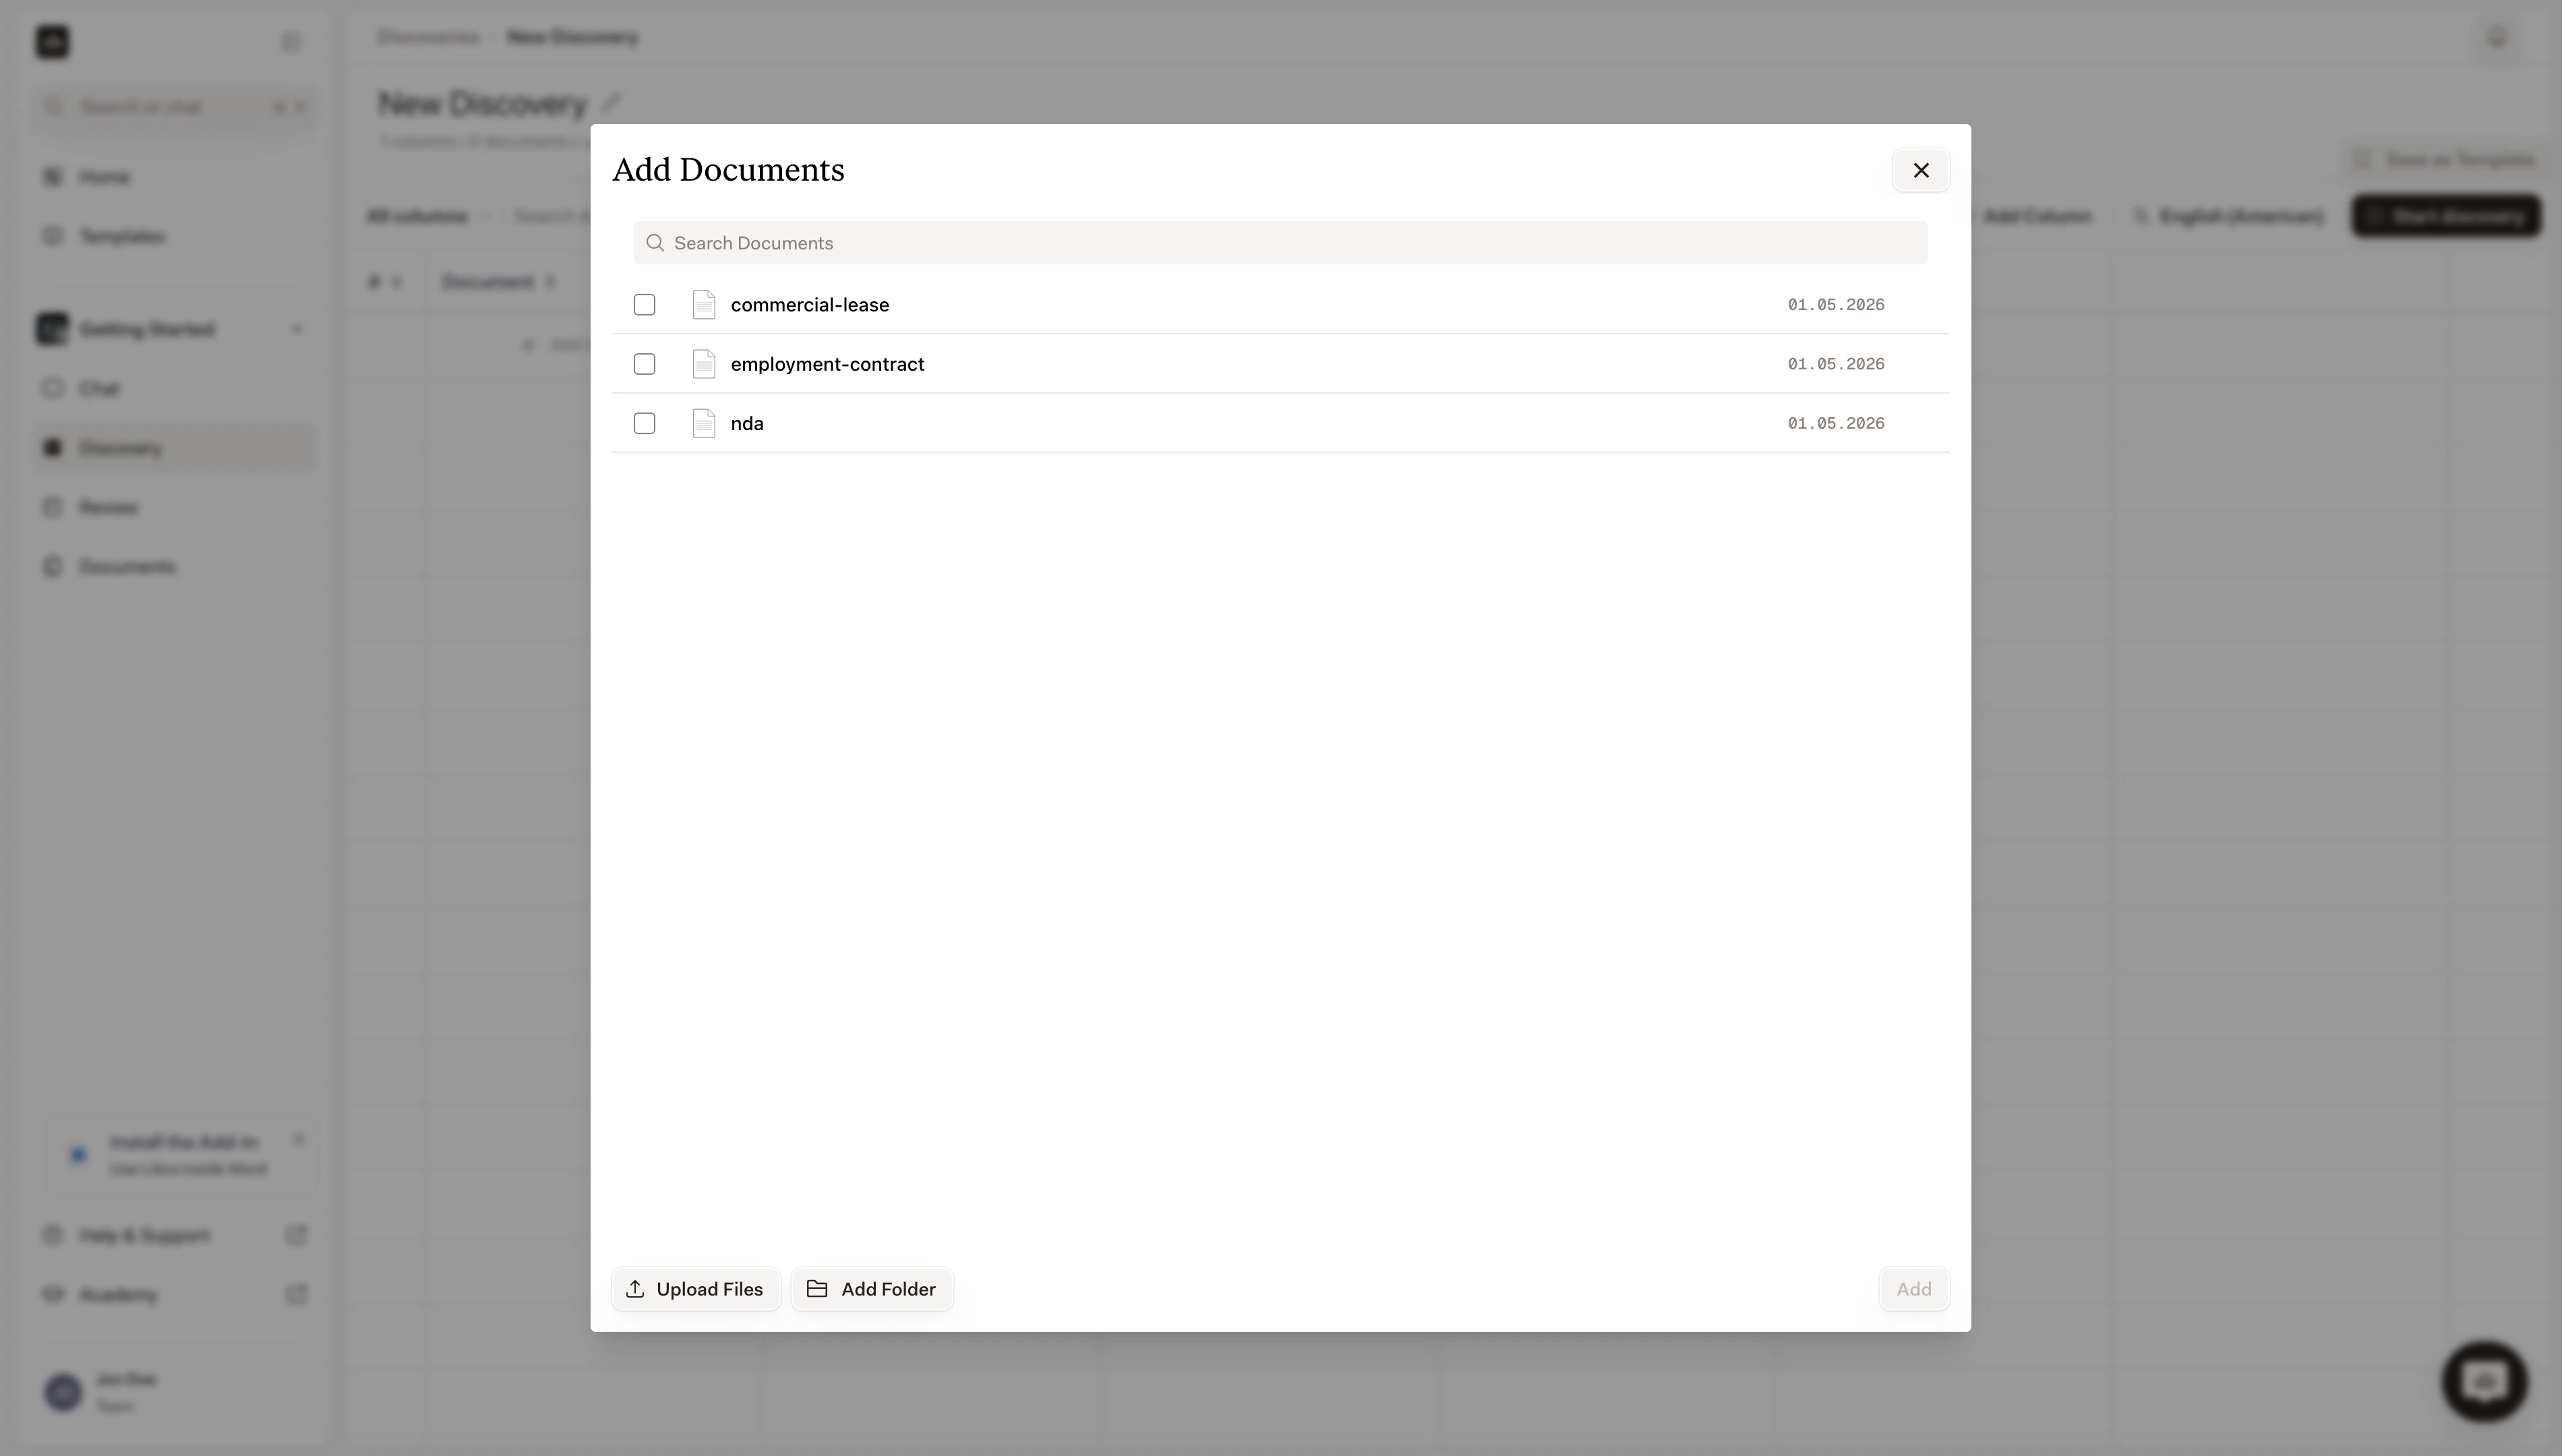
| Documents | The files Libra analyses. One row per document. |
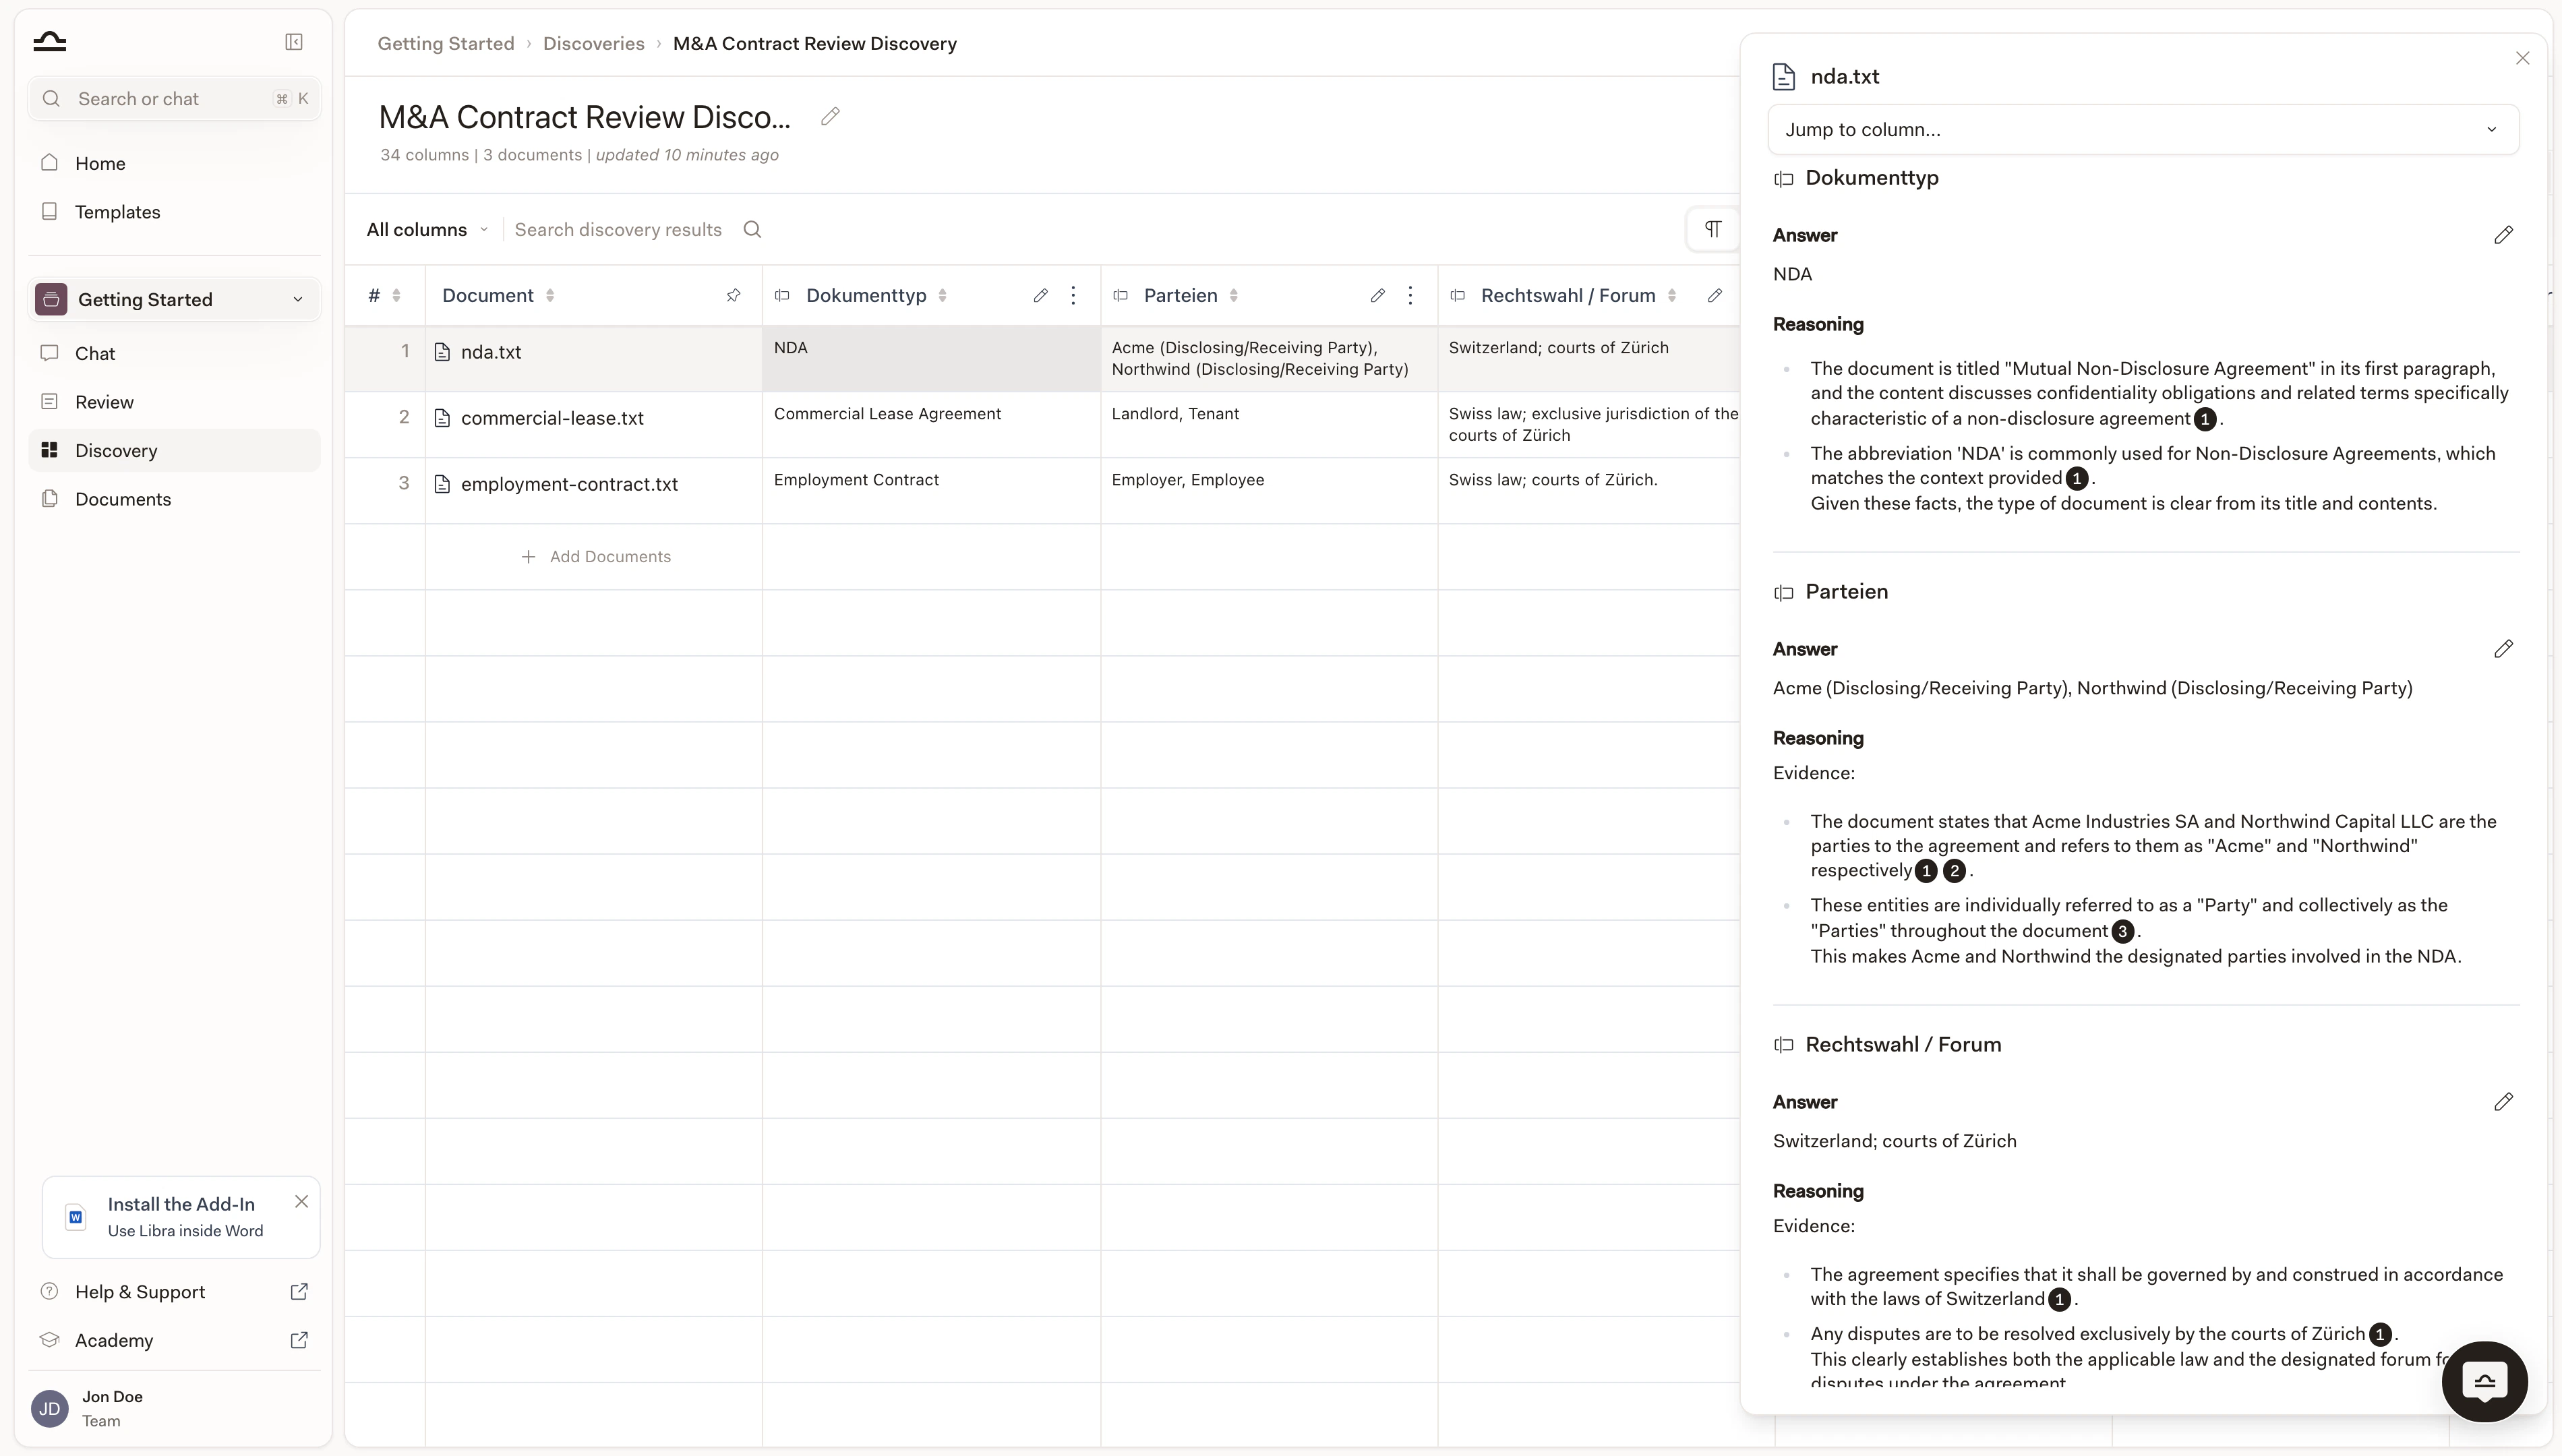
| Results | A table where each cell is the extracted answer for that document/column pair. |
When to use Discovery
Compare provisions across many contracts
“Show me notice periods across our 200 service agreements.”
Extract data from a document set
“Pull party names, signing dates, and contract values from this folder of NDAs.”
Spot inconsistencies in a portfolio
“Find leases where the rent escalation isn’t in line with our standard.”
Build summaries of large stacks of documents
“Summarise the key obligations across these 50 employment contracts.”
How Discovery works
Define the columns
Each column is a question: “What is the contract term?”, “Who is the counterparty?”, “Is there a non-compete clause?”. Each gets an answer type (text, date, number, yes/no, currency, bullet list).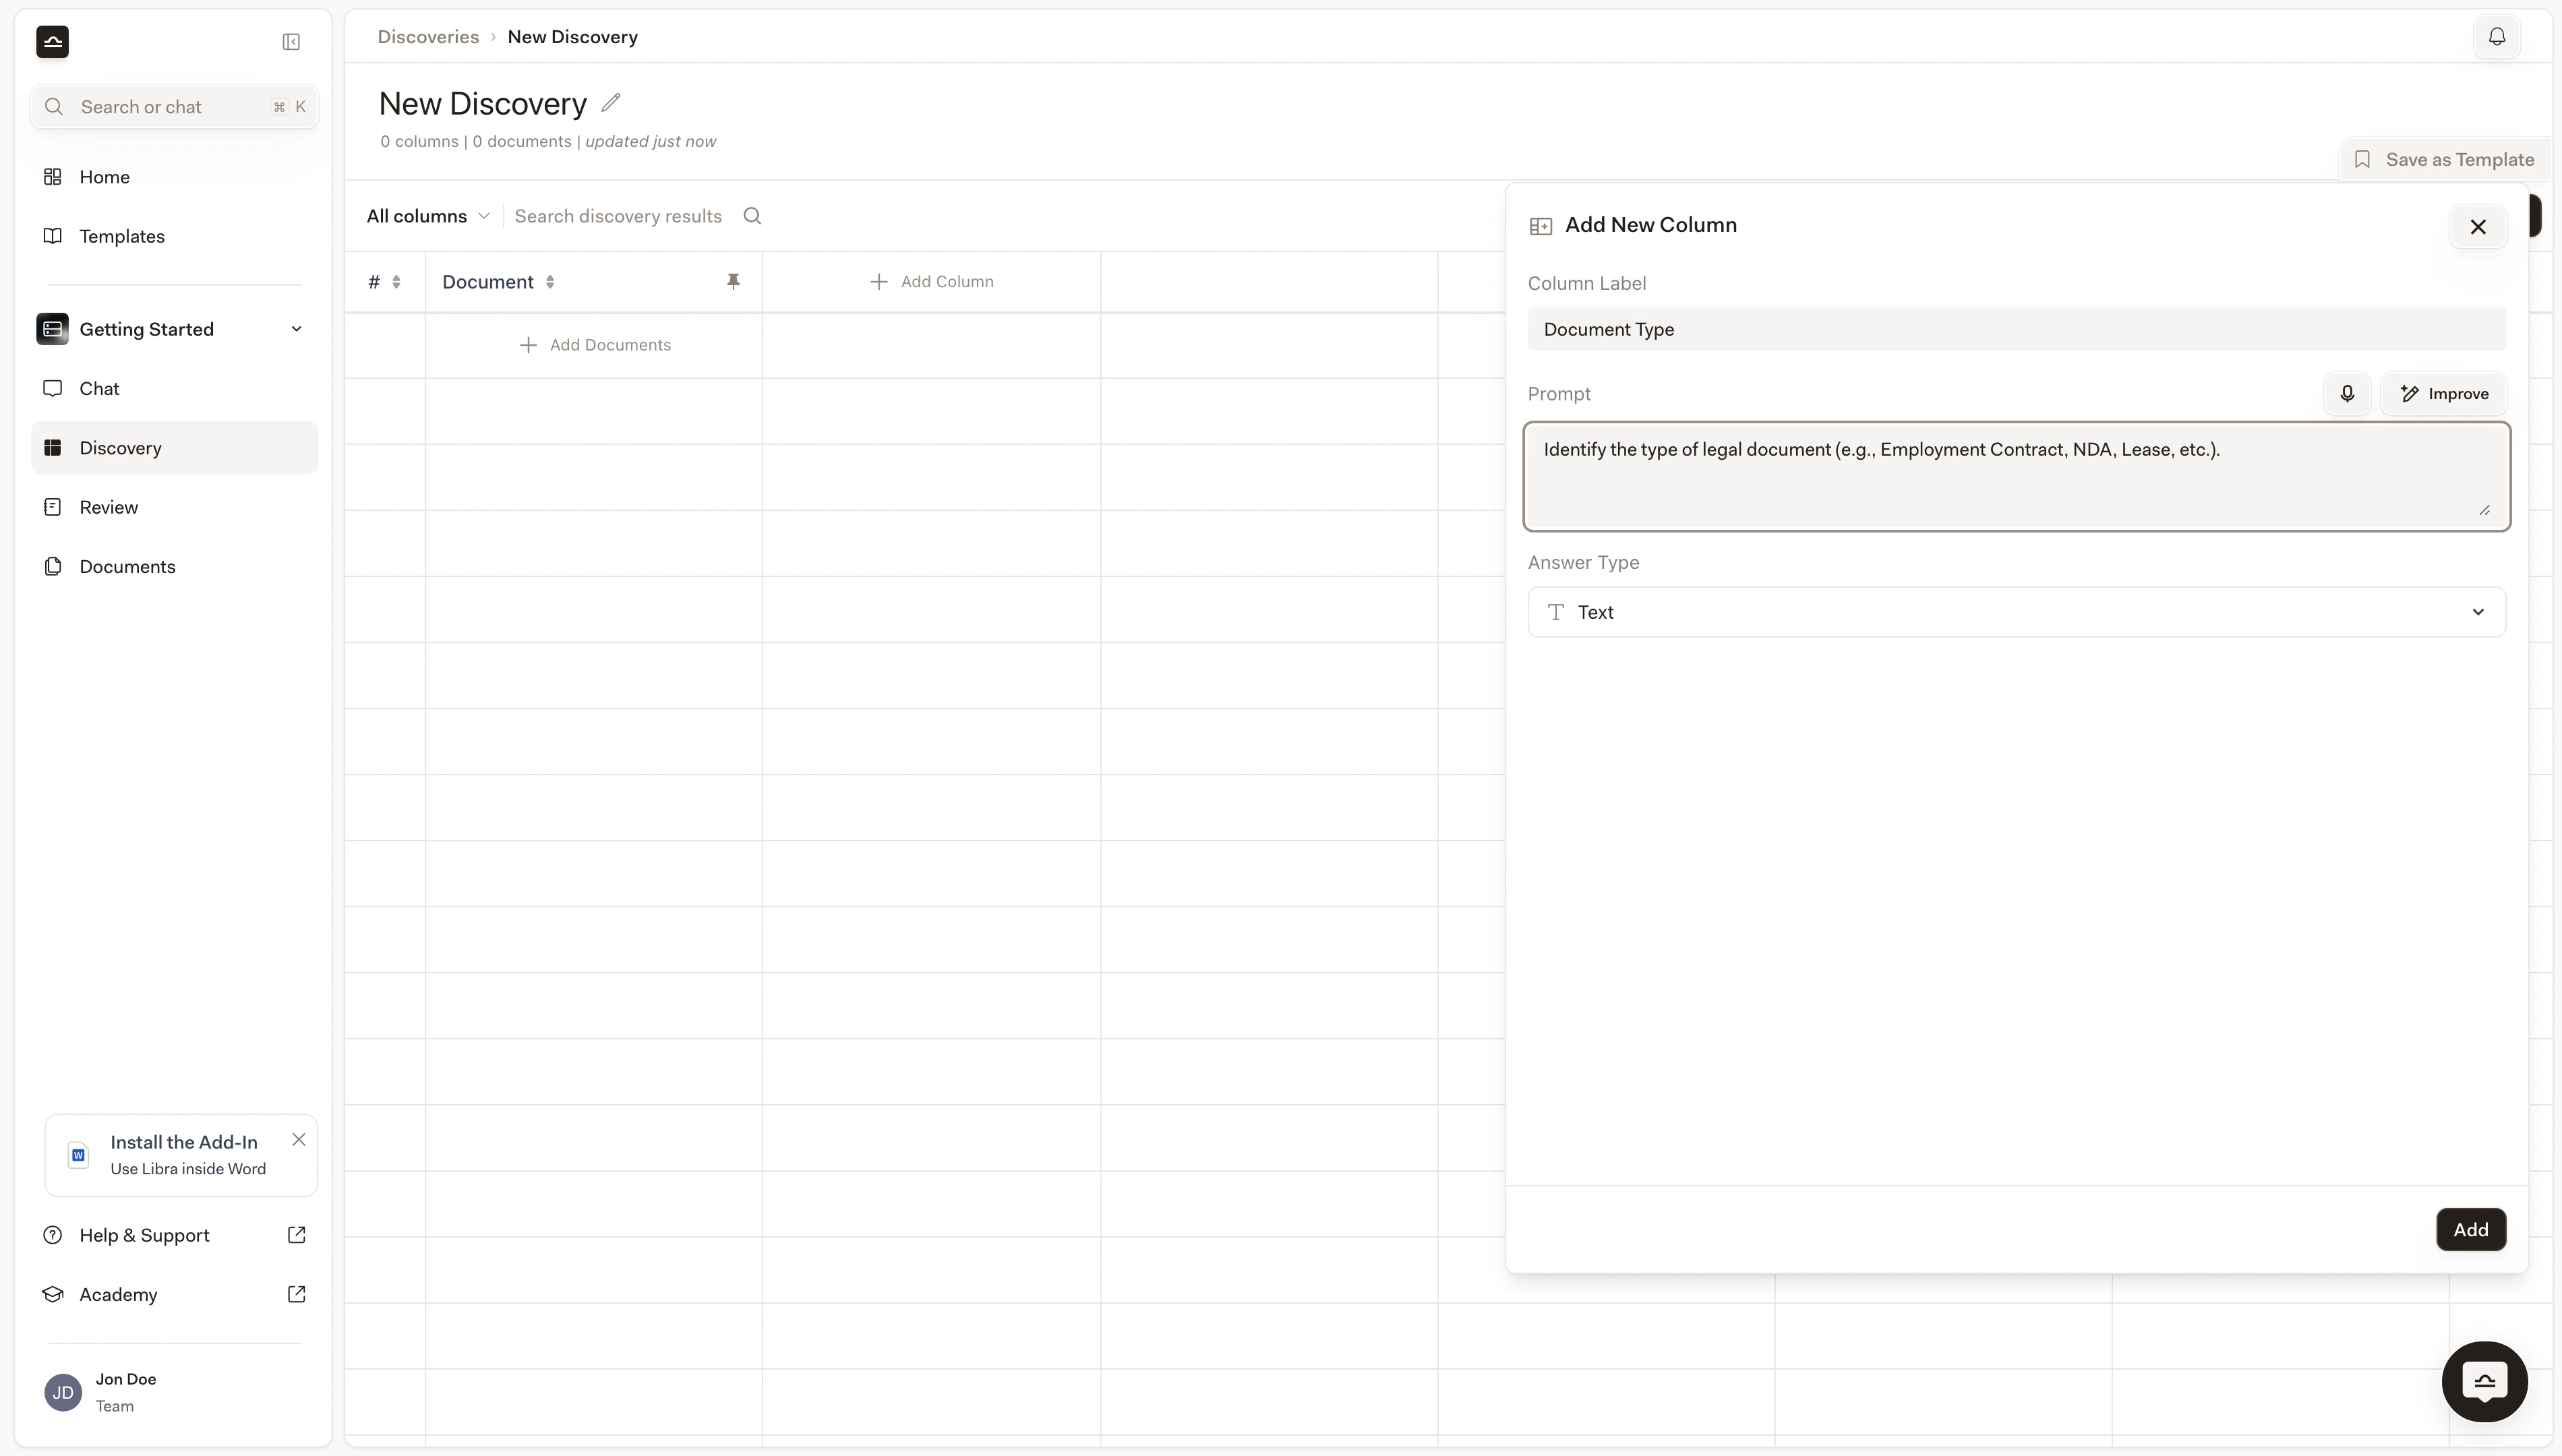
Libra runs
For every document, Libra answers every column. Cells fill in as the Discovery streams. You can keep working in Libra; you’ll be notified when results are ready.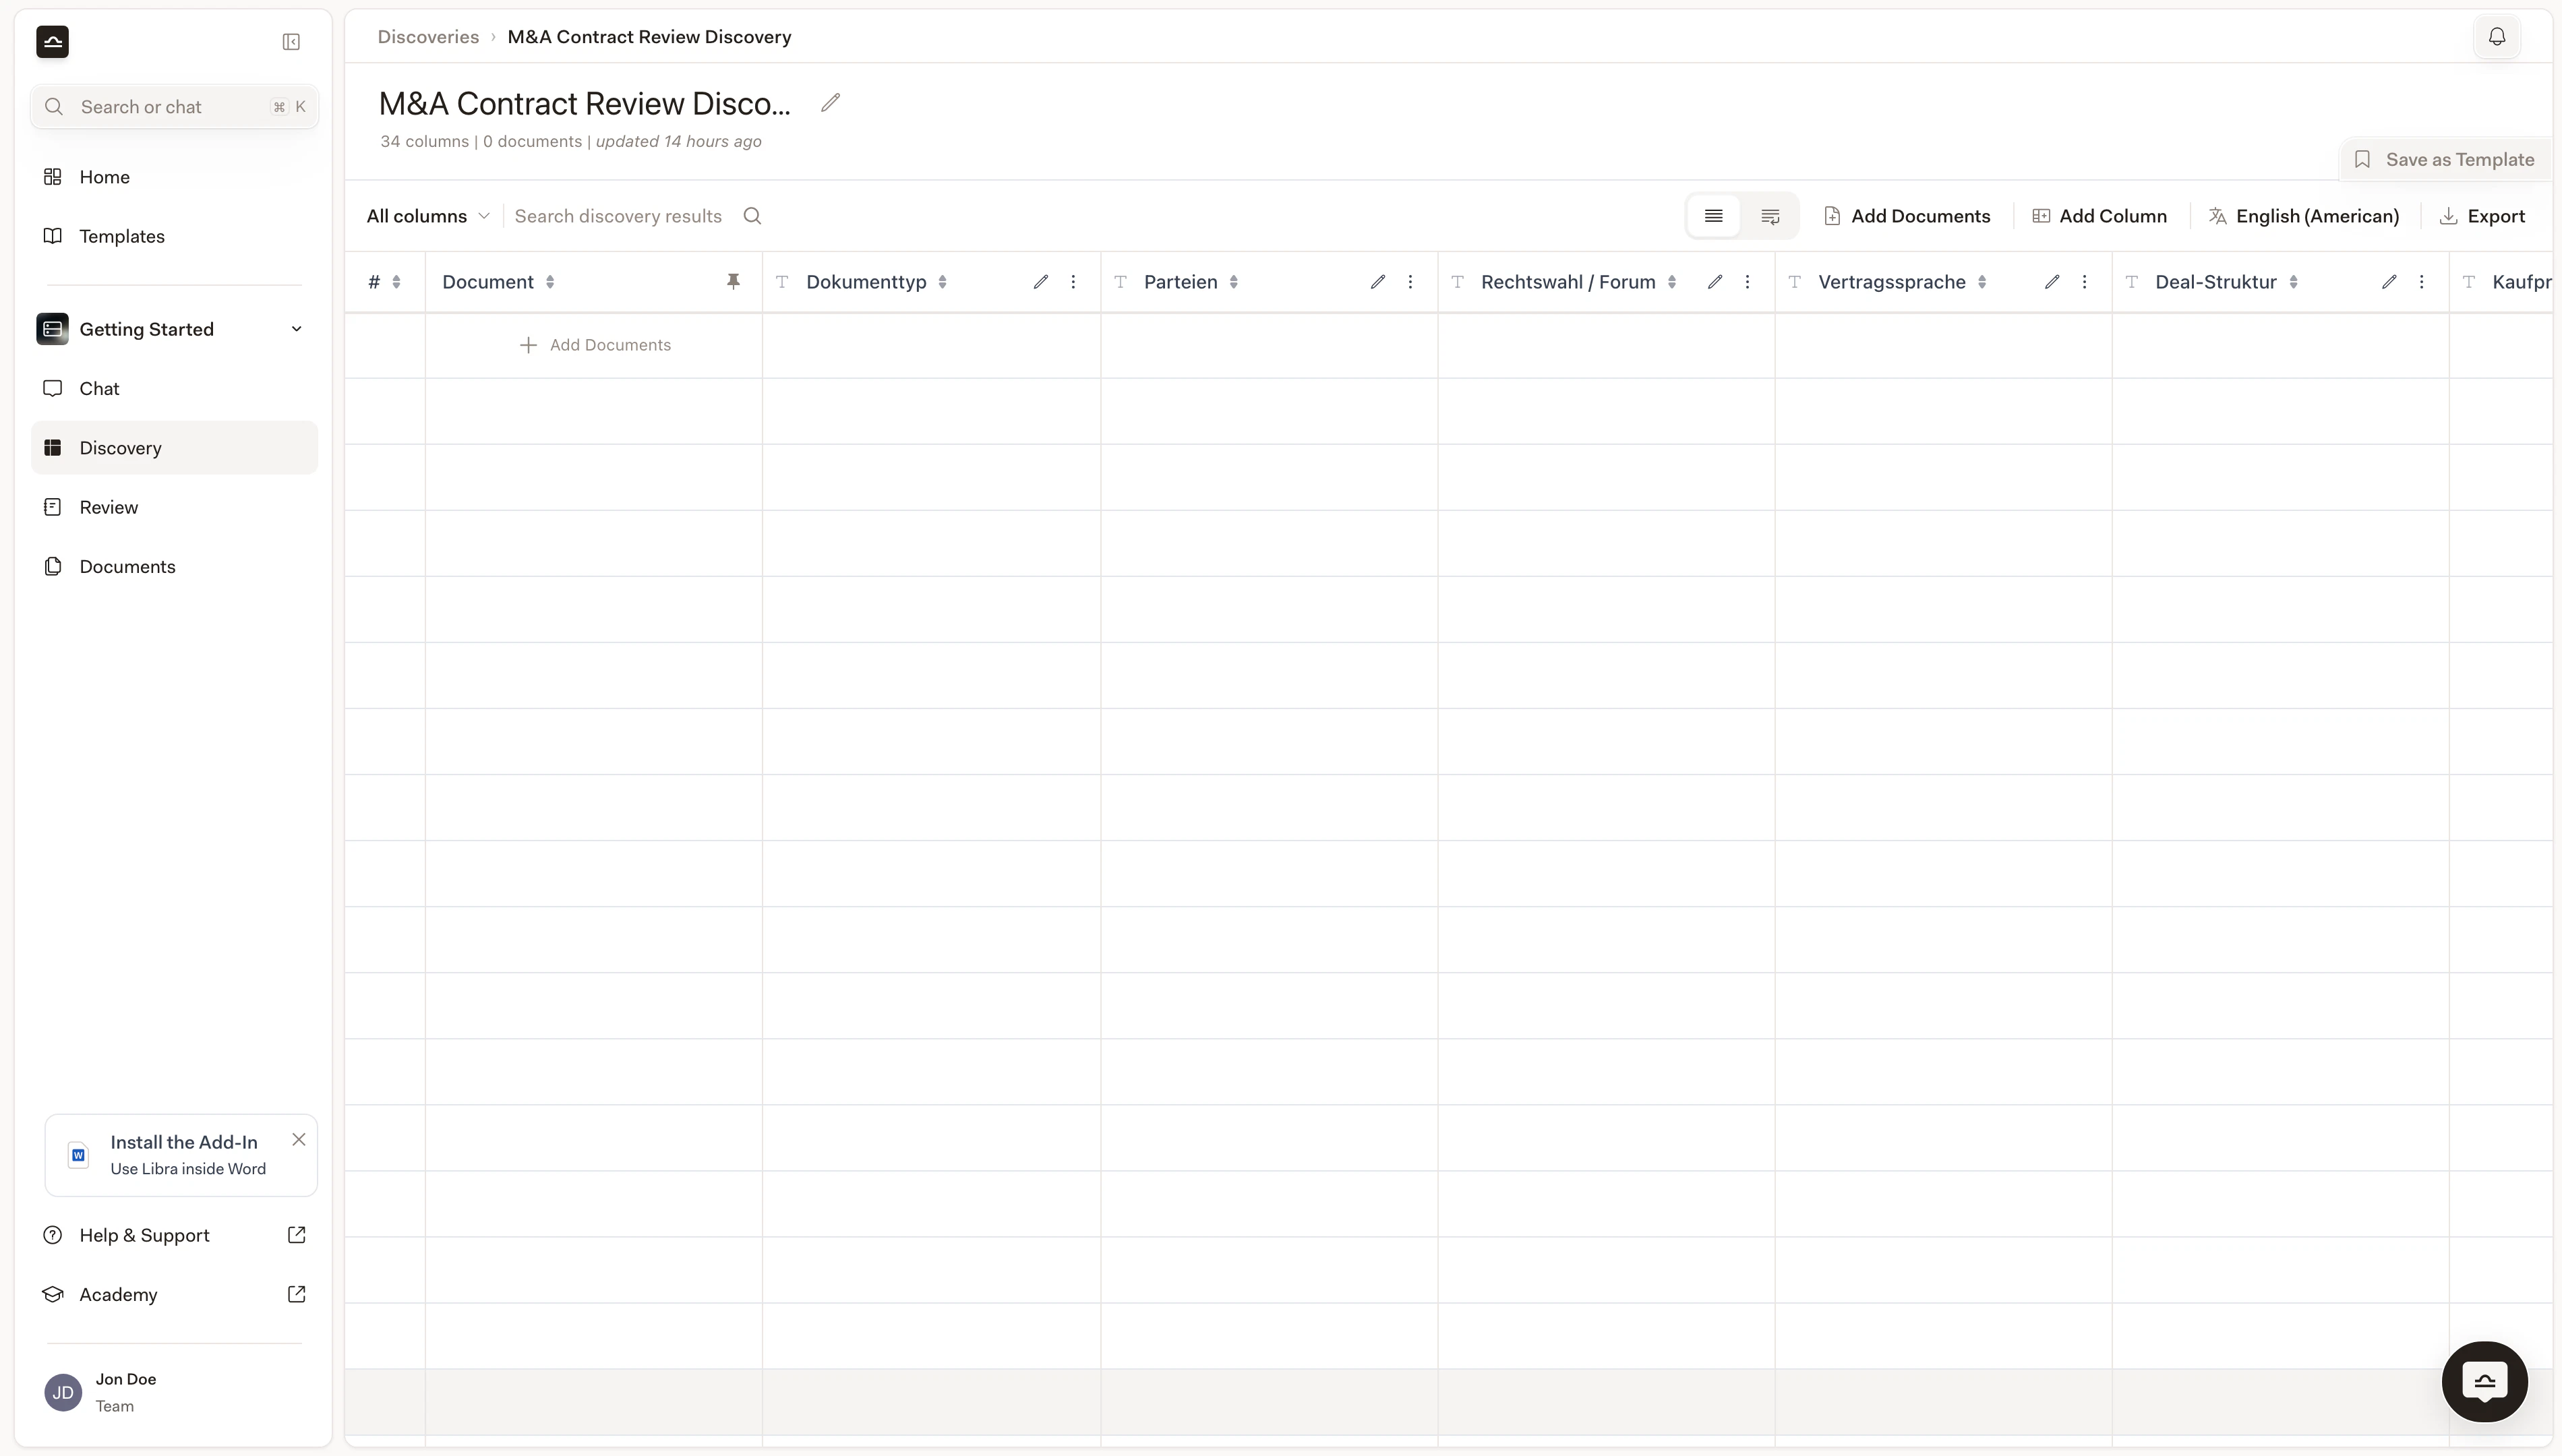
How Discoveries get started
There are three paths into a Discovery, and the right one depends on how settled the questions are. The most common is to start from a template: open the Discovery section in your project, pick one your team or Libra has saved, attach the documents, and run. That’s the path you take when this is a recurring task and the columns are stable. (See Discovery templates for how the templates library works.) When no template quite fits, you start from scratch: + New Discovery in the Discovery section, define the columns yourself, attach documents, run. The columns you define become a candidate template; once they work for one matter, you save them and they’re available next time. The third path is from Chat, and it’s the one that surprises people. Drop documents into a chat and describe what you want extracted in plain language, like “extract employee name, job title, and home office location for each contract”, and Libra creates a Discovery on the fly, runs it, and shows the result inline. That’s the right path when the columns are still half-formed in your head; the chat is where you find out what you actually want to know. See Starting work from Chat.Discovery vs. Review
| Discovery | Review | |
|---|---|---|
| Question | How do these documents compare? | Does this contract meet our standard? |
| Documents | Many. | One at a time. |
| Output | Table, one row per document. | Per-Topic risk + rule-level reasoning. |
| Best for | Portfolio analysis, data extraction, comparison. | Negotiation, redlining, compliance check. |
Tips
Group similar documents
Group similar documents
Discovery works best when documents share a structure. Don’t run an NDA Discovery against a mix of NDAs and lease agreements; split them into separate Discoveries.
Start with key fields, add later
Start with key fields, add later
A Discovery with three or four columns gives you cleaner output than one with twenty. Once you trust the basics, add columns. Adding a column re-runs only that column.
Verify the cells that matter
Verify the cells that matter
For high-stakes decisions, click through to the source for the cells you’ll rely on. Citations are the verification path.
Use Chat for follow-up analysis
Use Chat for follow-up analysis
Once a Discovery is finished, attach it to a chat with
@-mention to ask deeper questions: “which rows have non-compete clauses longer than 12 months?” Libra cites the specific cells. See Discovery from chat.Next steps
Create a Discovery
Step-by-step: define columns, add documents, work with results.
Discovery templates
Reuse and share Discovery configurations.
Reference in chat
Cite Discovery cells, rows, and columns in follow-up conversations.
Review
For deep analysis of a single contract.