


Search matches both chat names and message bodies. Quote a phrase you remember from the conversation; it’s usually the fastest way back into a chat from weeks ago.
Finding a chat
Press Cmd+K (Mac) or Ctrl+K (Windows) to open Search from anywhere in Libra. Search runs across every project you have access to, matching chat names and full message content. Filter by Type → Chats to limit the results to conversations only. See Search for the full picker. Chat History, at the top right of a chat, opens that same picker with two filters already set for you: the project you’re working in, and Chats. It’s the shortest route to a recent conversation in the current project, and because it is Search underneath, you can widen it at any time — change the project chip, or click Clear all filters to look everywhere. The button is disabled while Chat History is switched off in Settings, since nothing is being saved to list.Chat names
Libra automatically generates a name for each chat based on its content, usually a one-line summary of the first prompt. Names appear in Search results and at the top of the chat itself. You can rename any chat at any time.1
Open the chat actions menu
Click the ⌄ next to the chat title, in the bar at the top of the conversation.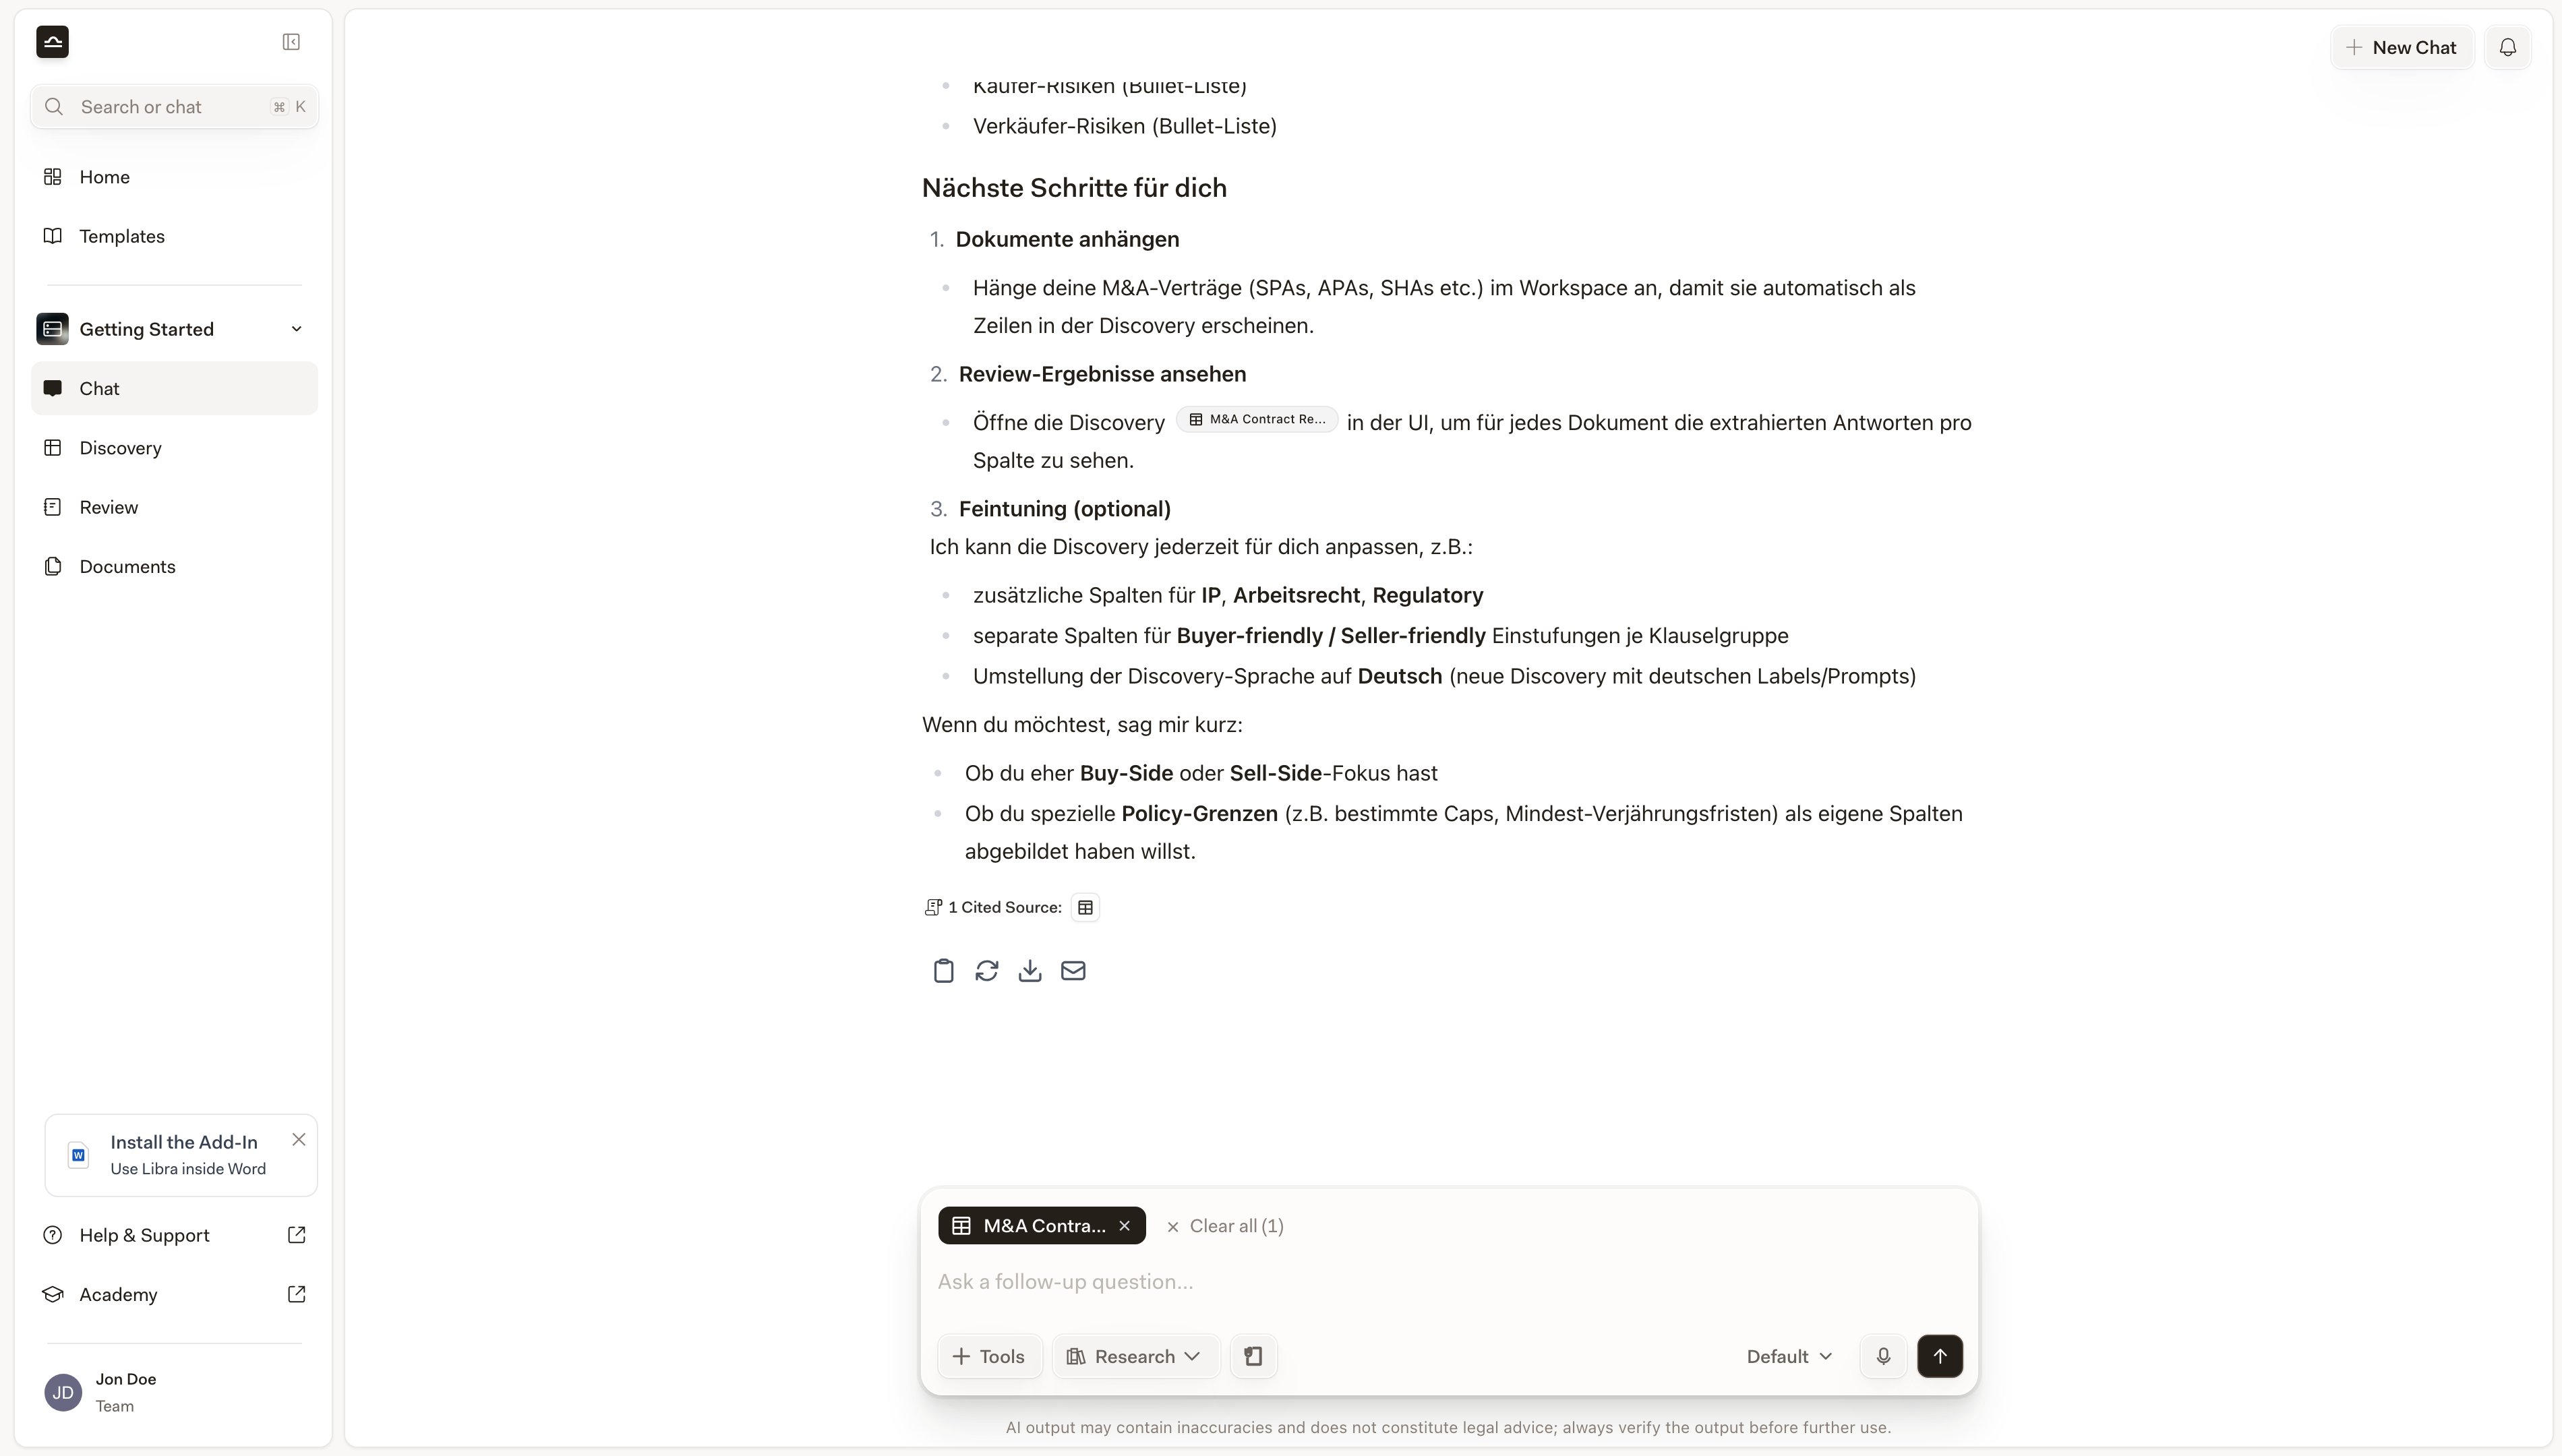
2
Choose Edit Details
Update the Chat name field and save. Meaningful names make chats easier to find later, especially in long lists.
Managing a chat
Open a chat and click the ⌄ next to its title to open the Chat actions menu.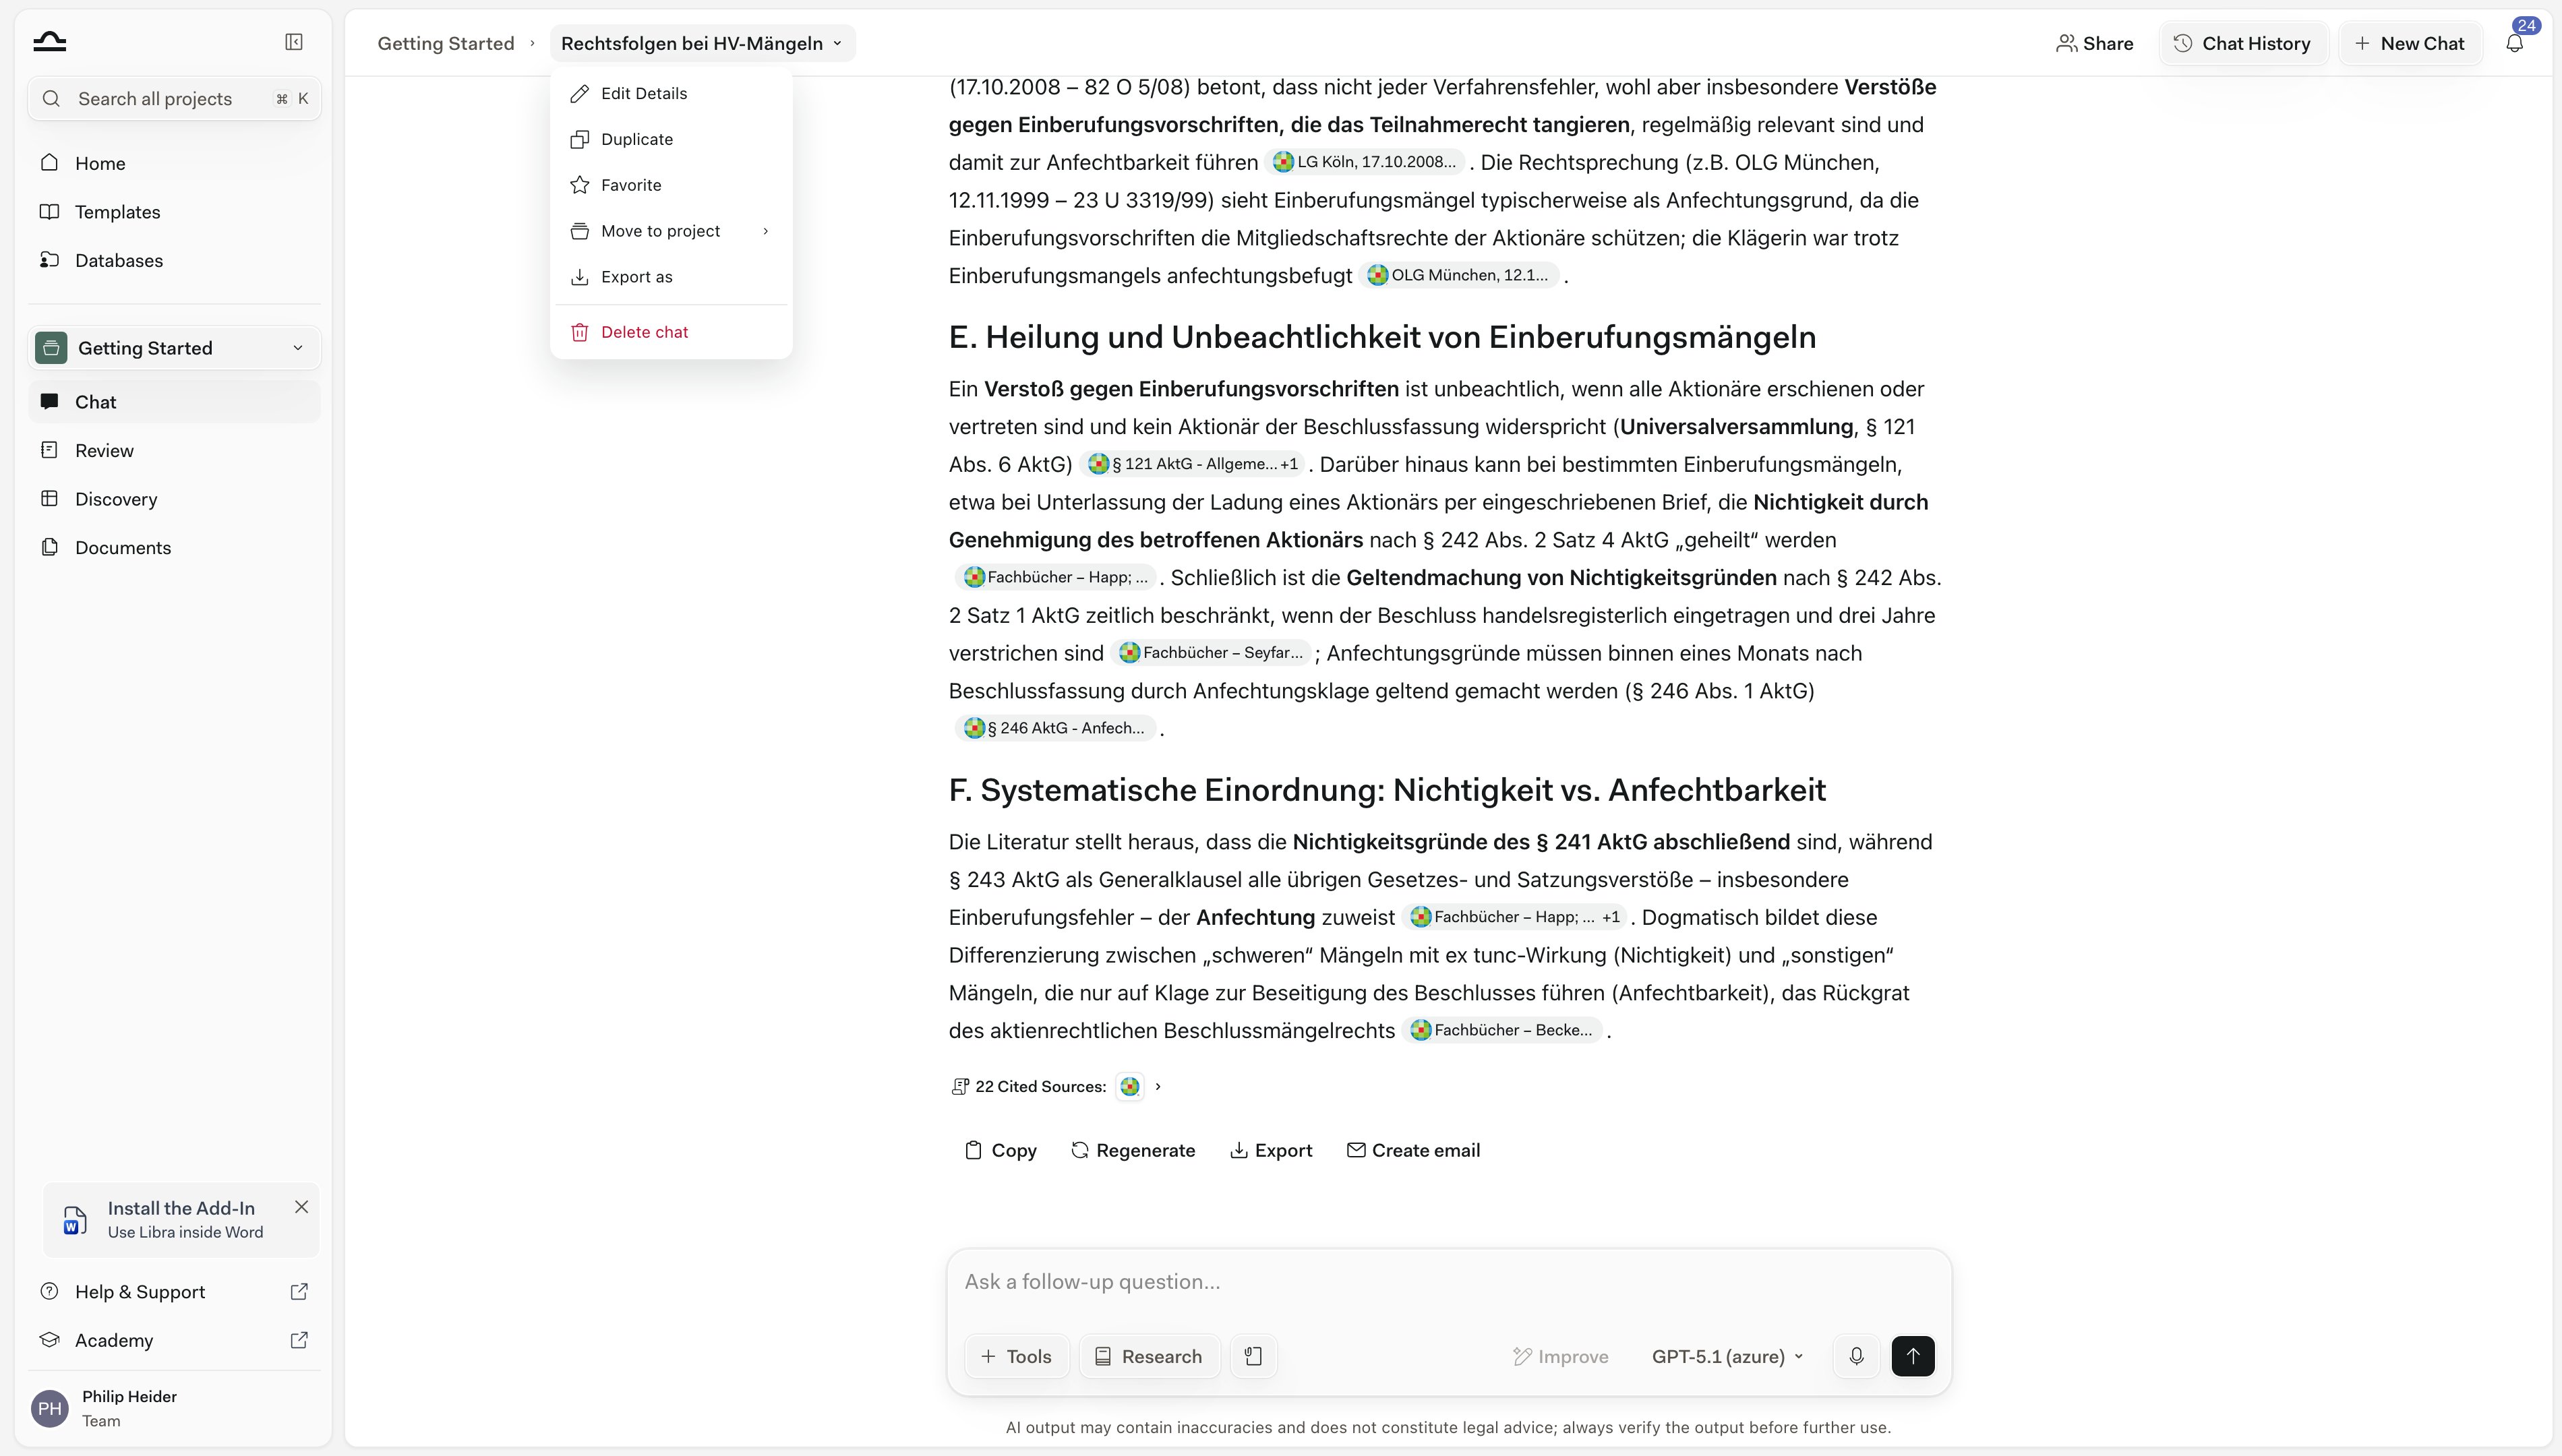
A chat you reach as a result — in Search, and therefore in Chat History, which is the same picker — carries its own ⋯ menu with a different set: Open, Edit, Share, Move to project, Duplicate, Archive, and Delete. Archive is offered only there, never on the open chat’s Chat actions menu.
Archiving and restoring
Archive is the right move for chats you want to keep but don’t need at hand.1
Archive a chat
Archiving is offered from a chat’s ⋯ menu in a Search result list — Chat History included — and not from the Chat actions (⌄) menu on the open chat. Open the ⋯ menu, click Archive, and confirm. The chat disappears from the active list.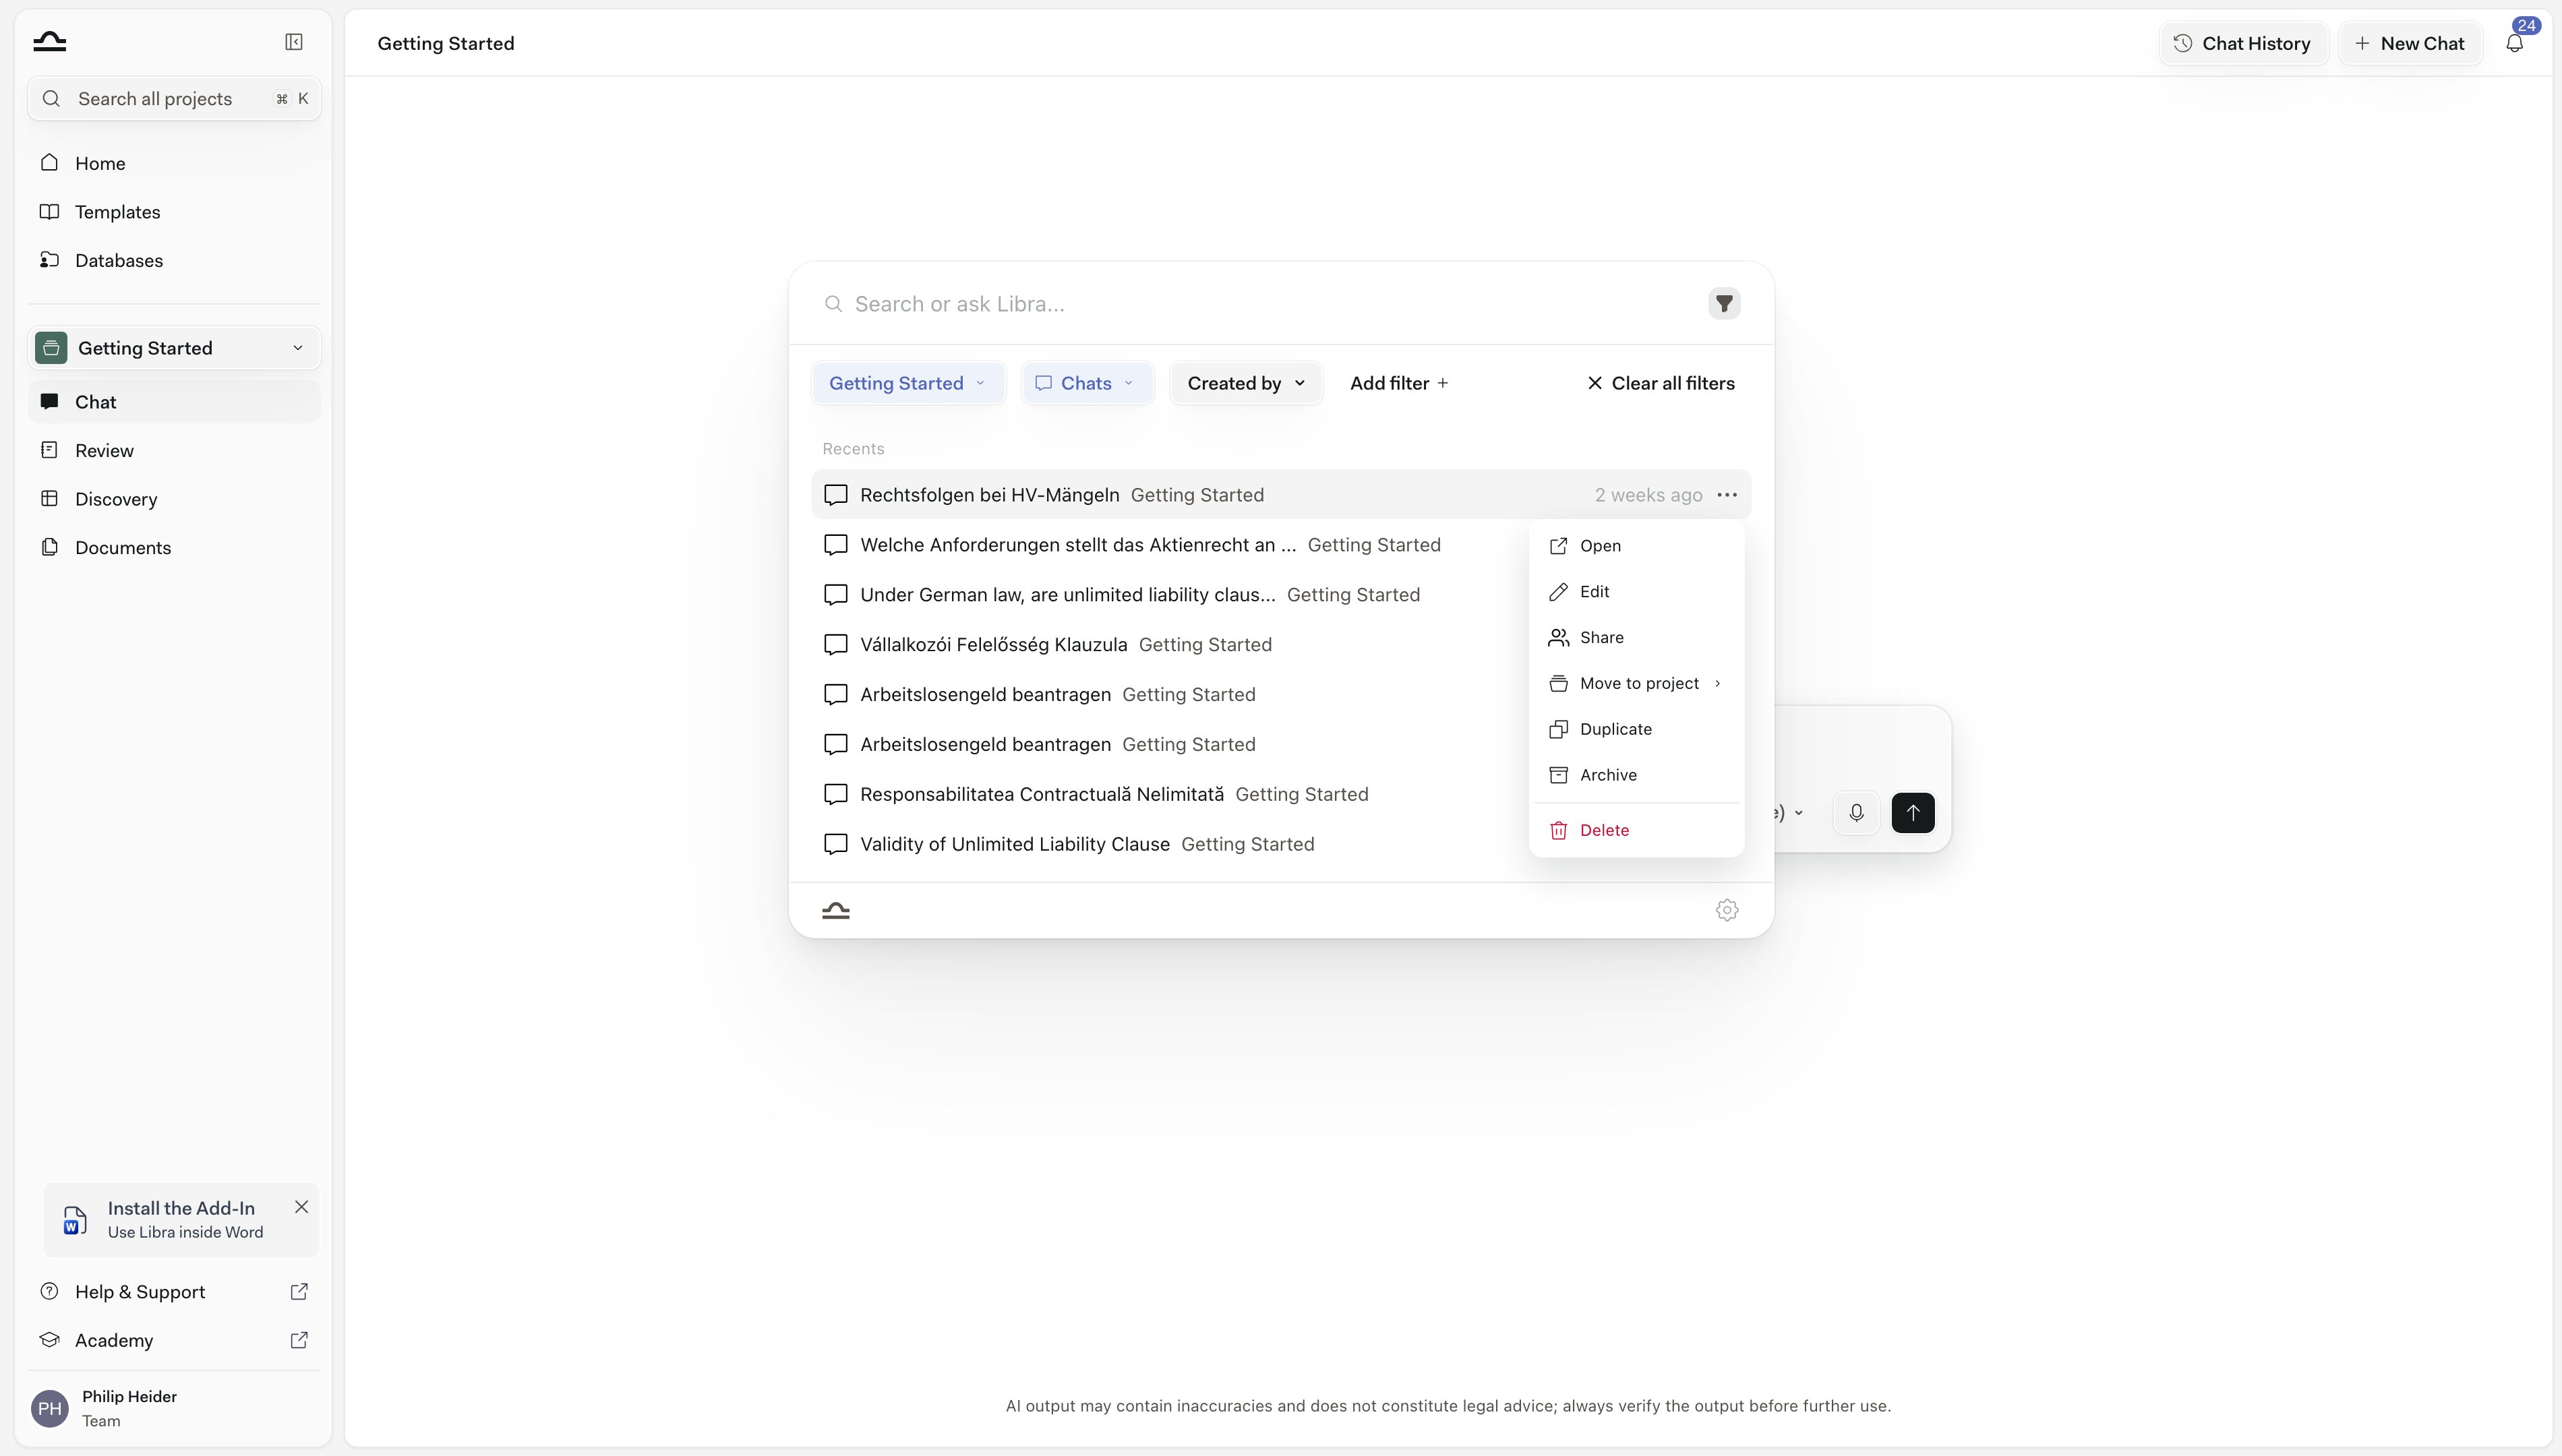
2
Find archived chats
Click your profile icon at the bottom of the sidebar and choose Archived Chats. The list shows the archived chats you own in the project you’re currently working in, with a search box to narrow it by name — switch projects to see the others, or click Export to download every archived chat in your account as a JSON file.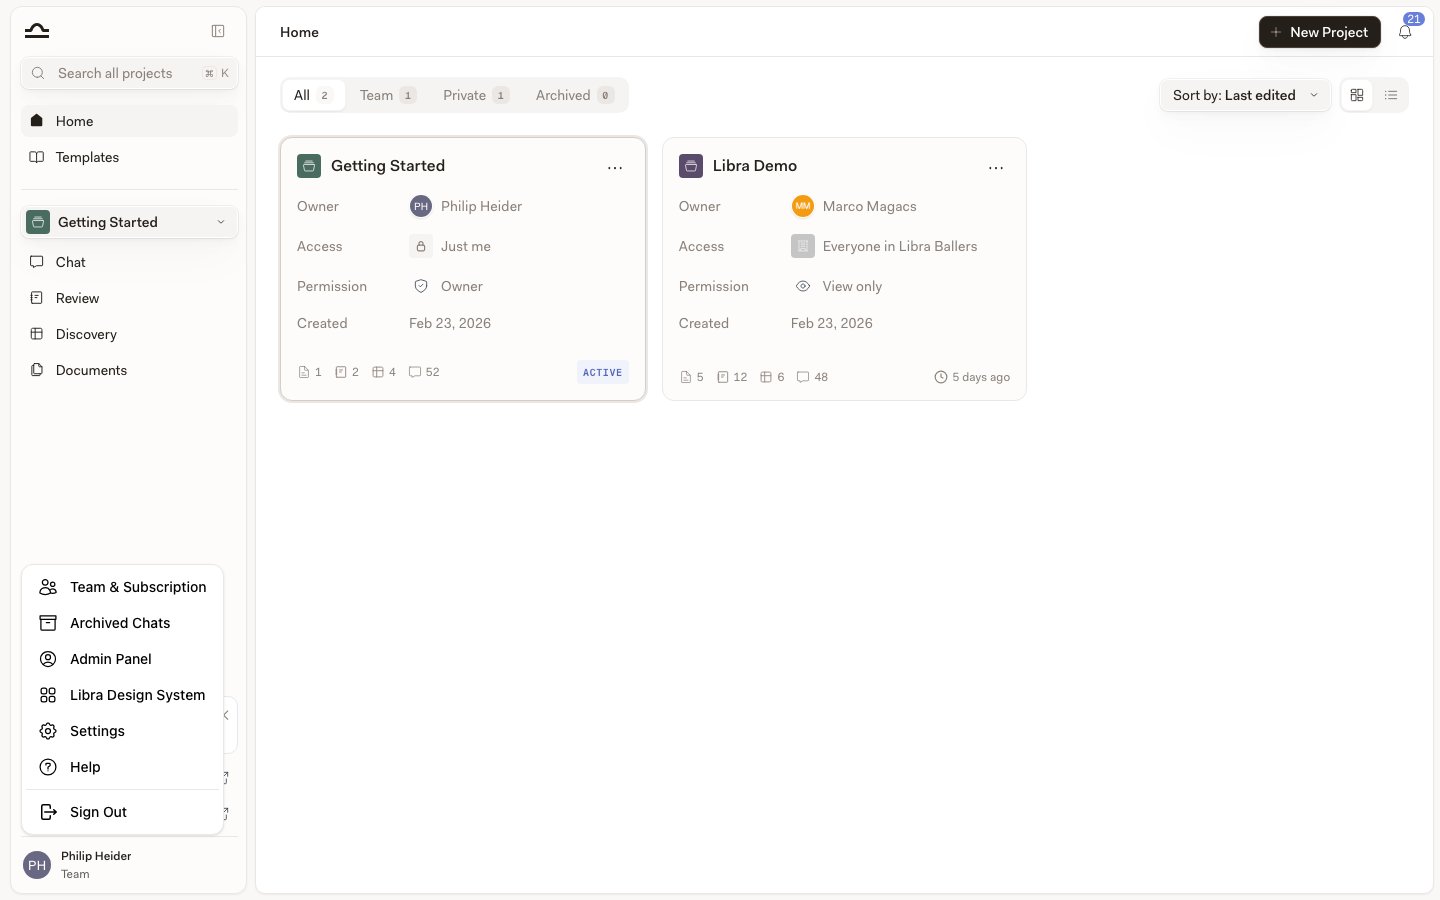
3
Restore
On the archived chat’s row, click the unarchive icon on the right (tooltipped Unarchive Chat) to bring the chat back to the active list. The bin icon next to it is Delete Chat, and it deletes for good — including for anyone the chat was shared with.
Sharing a chat
By default, chats are private, even when working in shared projects. You can share a chat manually.1
Click Share
Open the chat and click the Share button at the top right.
2
Add people or groups
Search for a person by name or email, or pick a group. Set the access level: Can view, Can edit, or Full access. Click Add for each recipient.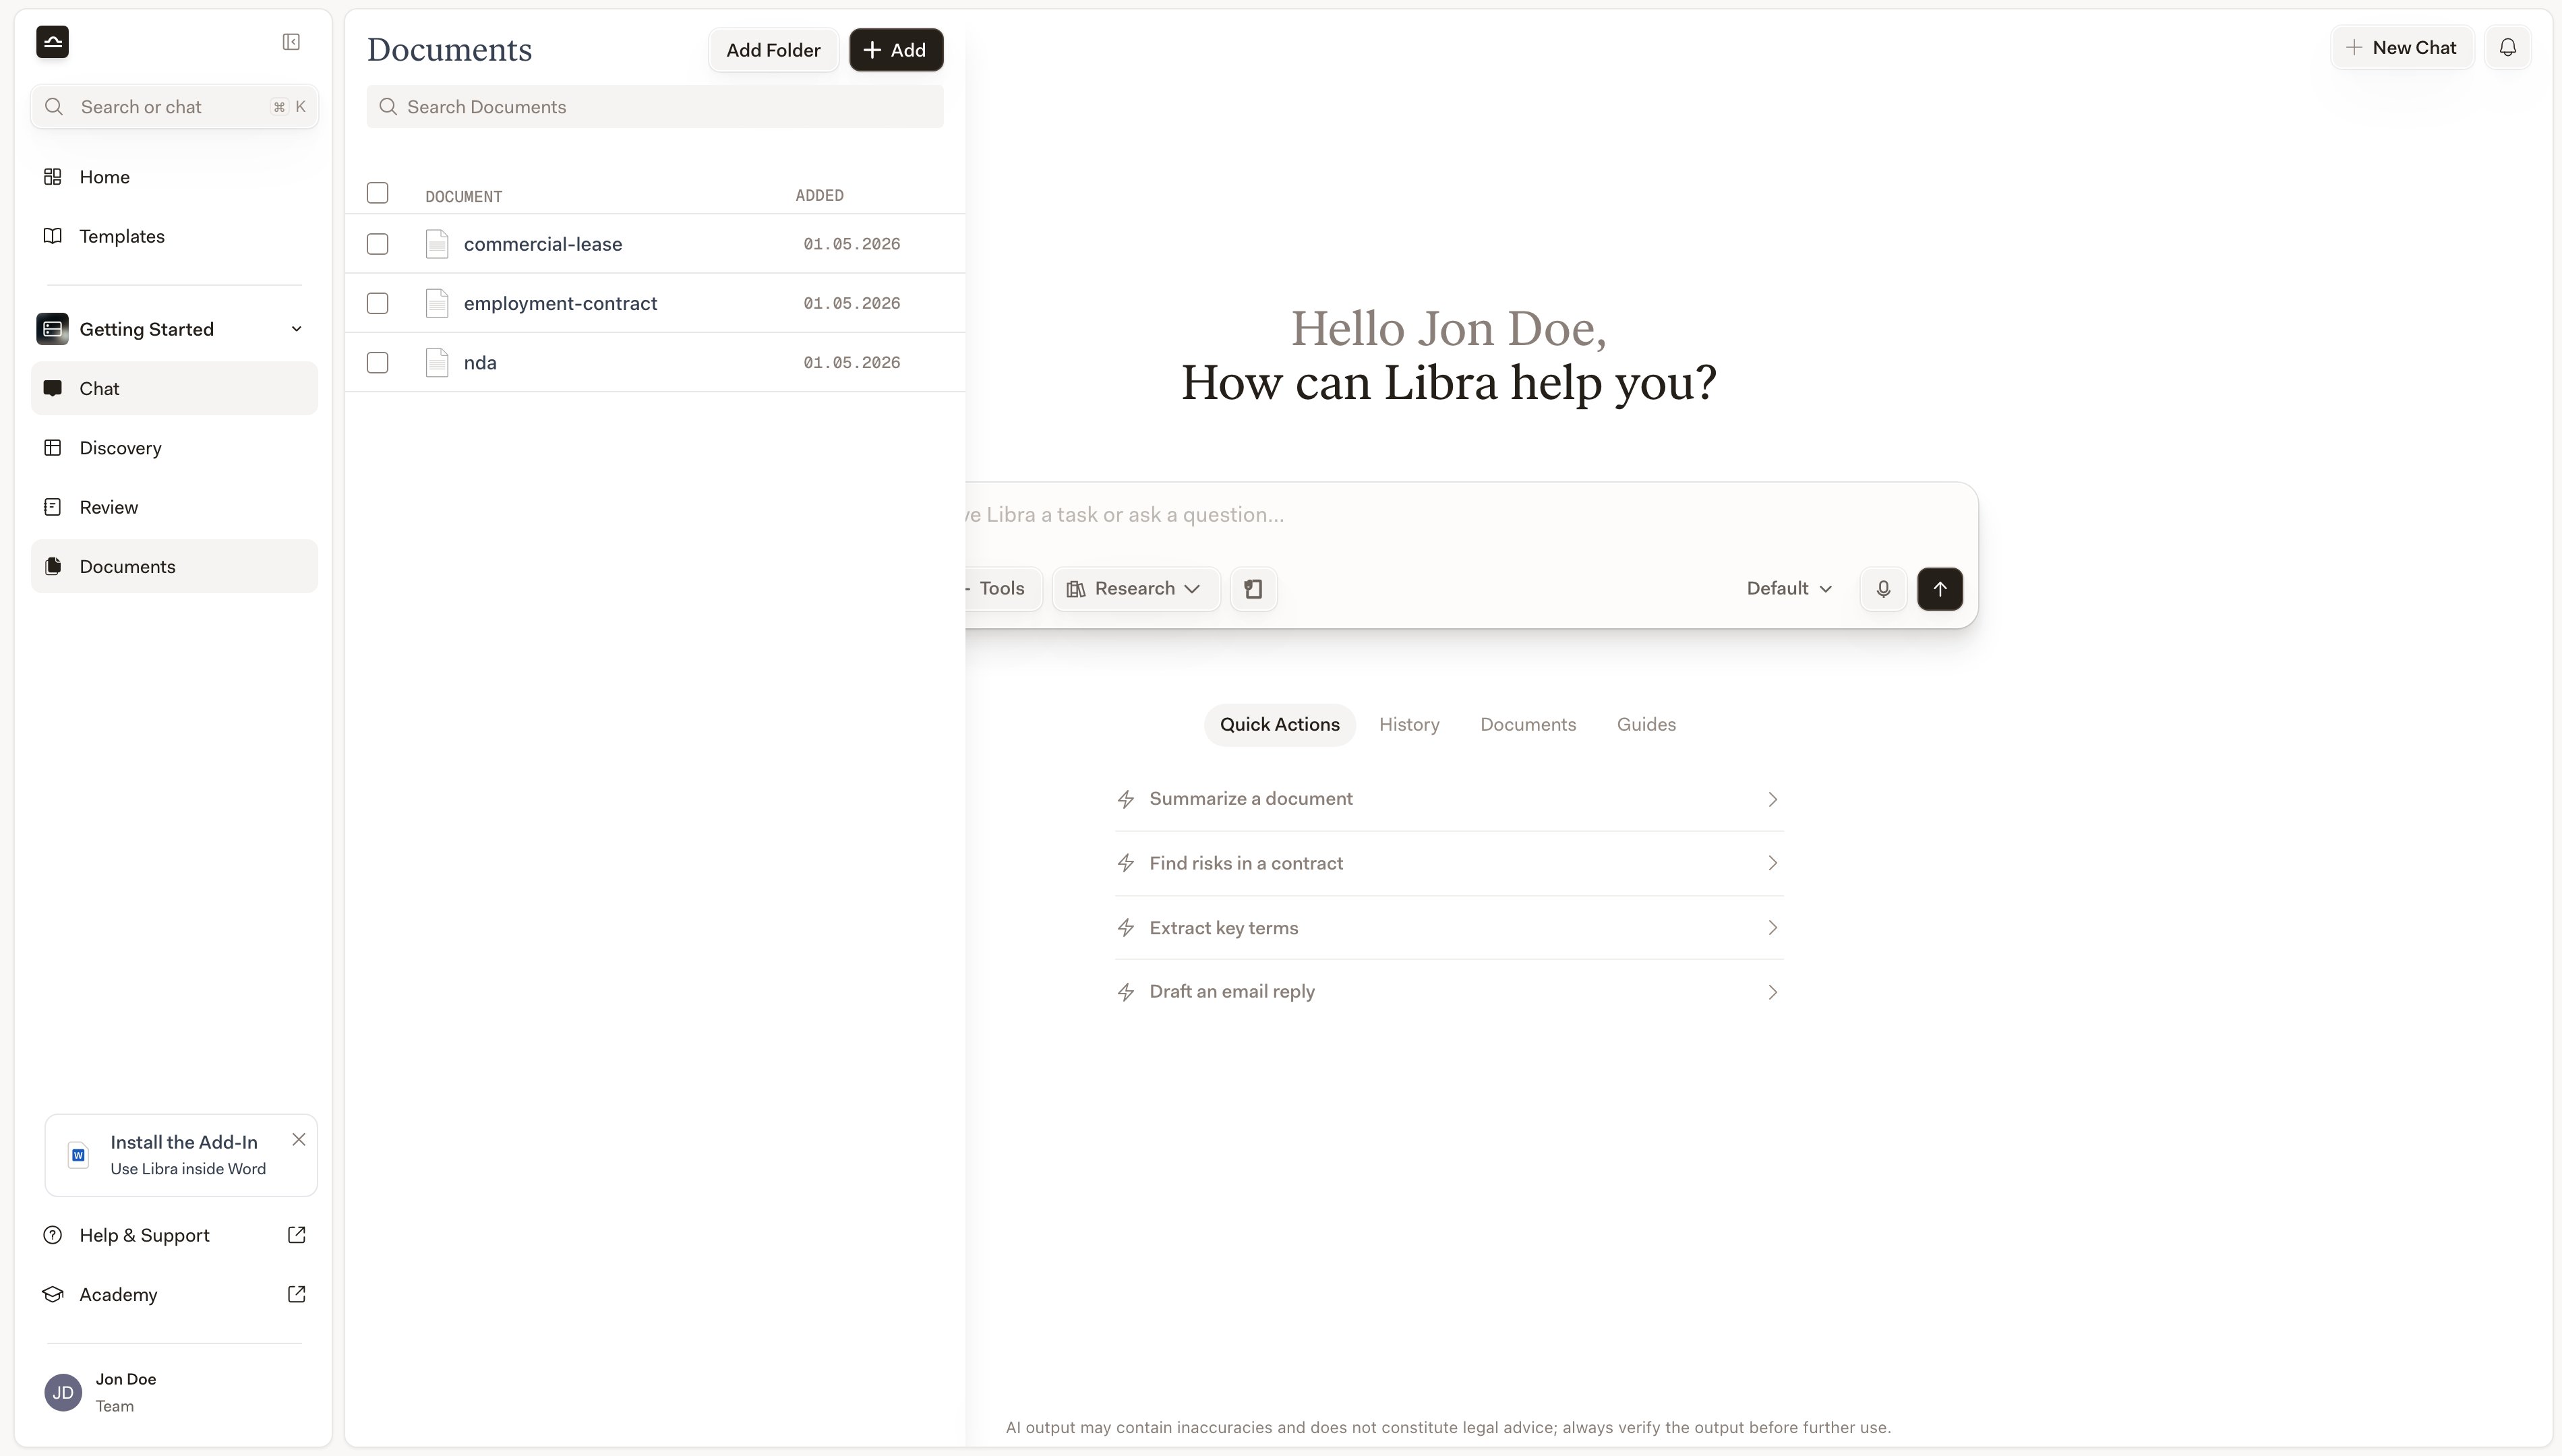
3
Close
There’s no Save button — each person is shared the moment you click Add, and permission changes apply as soon as you pick them. Close the dialog with the X when you’re done.
Chats belong to a project, so a colleague needs access to that project too. If they don’t have it, Libra offers to grant them view access to the project as part of the share — confirm Grant project access and share and they receive the chat at the permission you picked. If you can’t manage the project’s sharing, Libra asks you to contact the project owner or an editor instead.
Exporting a chat
1
Choose Export as
Open the chat, click the ⌄ next to its title, and choose Export as.
2
Check the preview
Libra shows the whole conversation, formatting intact, exactly as it will be exported. If the chat contains citations, Include citations is on by default: it numbers the references in the text and adds a bibliography at the end of the document. Turn it off for a clean copy.
3
Pick a format
Click PDF or Word to download.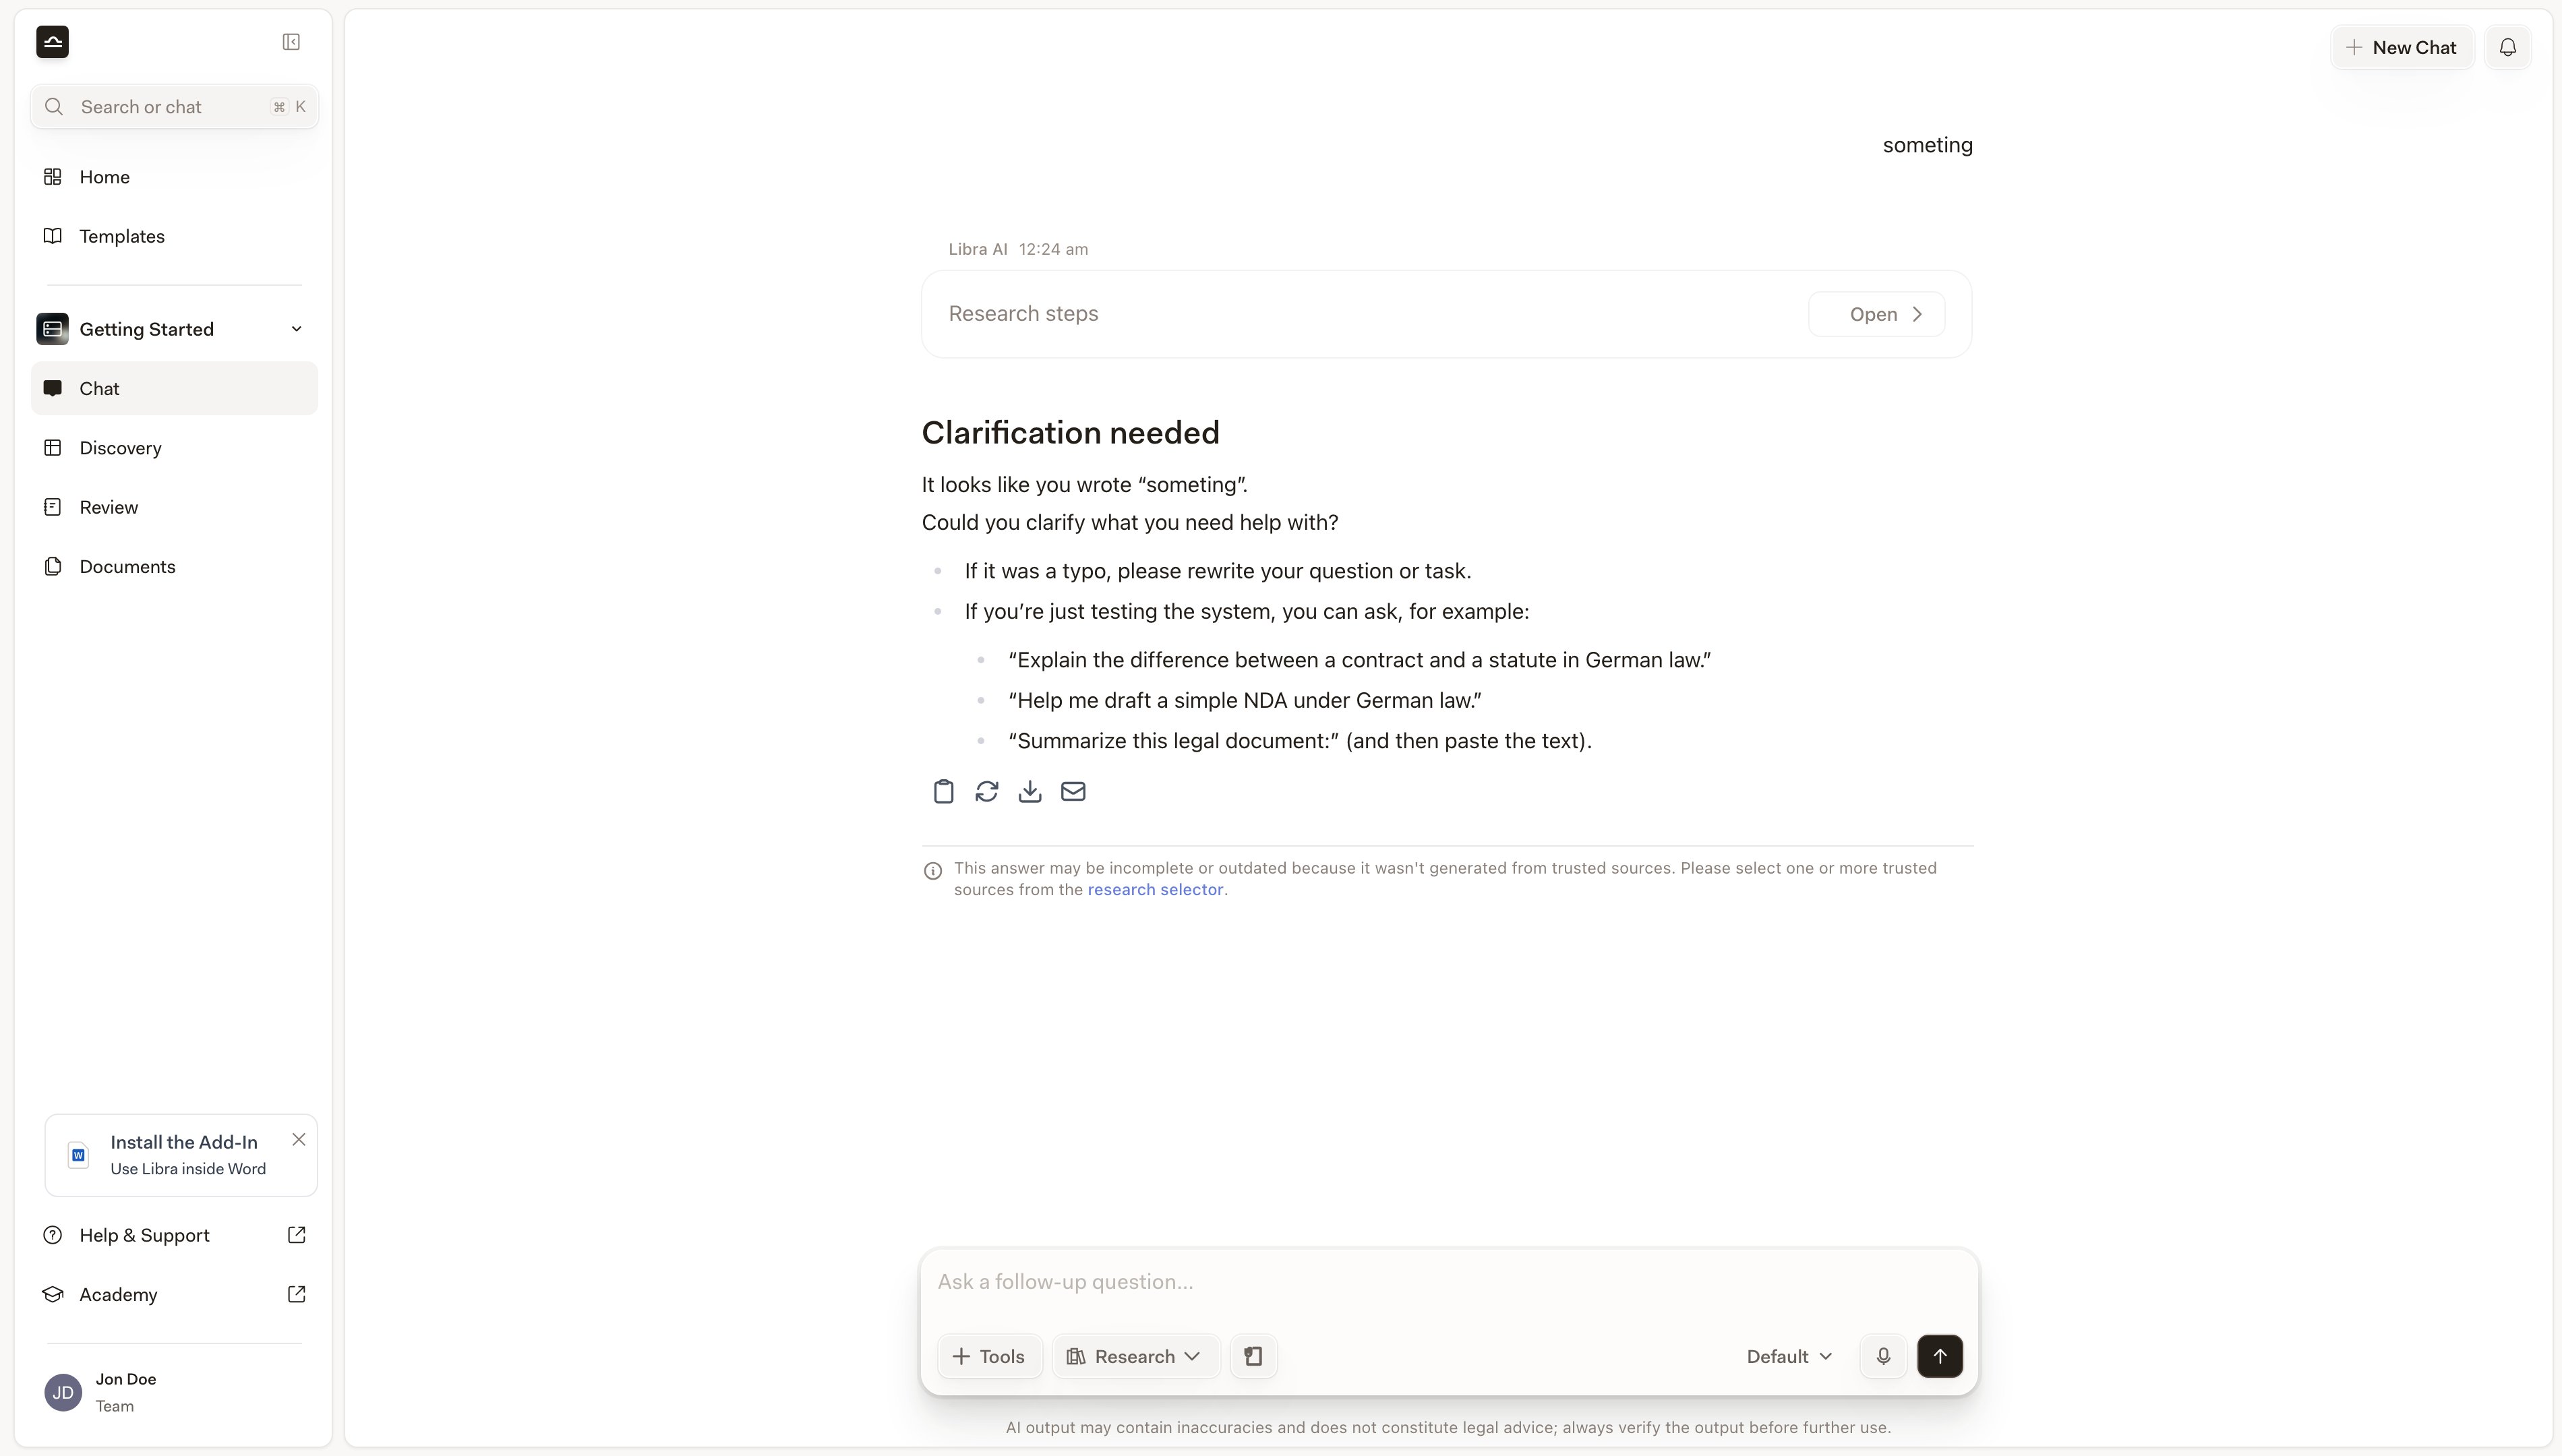
Tips
Rename chats you'll come back to
Rename chats you'll come back to
The auto-generated name is good but generic. The first time a chat becomes “the negotiation chat for the Acme acquisition”, rename it.
Archive instead of deleting
Archive instead of deleting
Disk space isn’t an issue. An archived chat can always be restored; a deleted one can’t. Note that archived chats are left out of Search results — find them under Archived Chats in your profile menu, or restore one to bring it back into Search.
Chat History is Search with the filters pre-set
Chat History is Search with the filters pre-set
Chat History opens Search already narrowed to chats in the project you’re working in. To look across every project at once, change the project chip, click Clear all filters, or just press Cmd+K instead.
Next steps
Search
Cross-project search by name and content.

Chat basics
Back to the chat input walkthrough.